
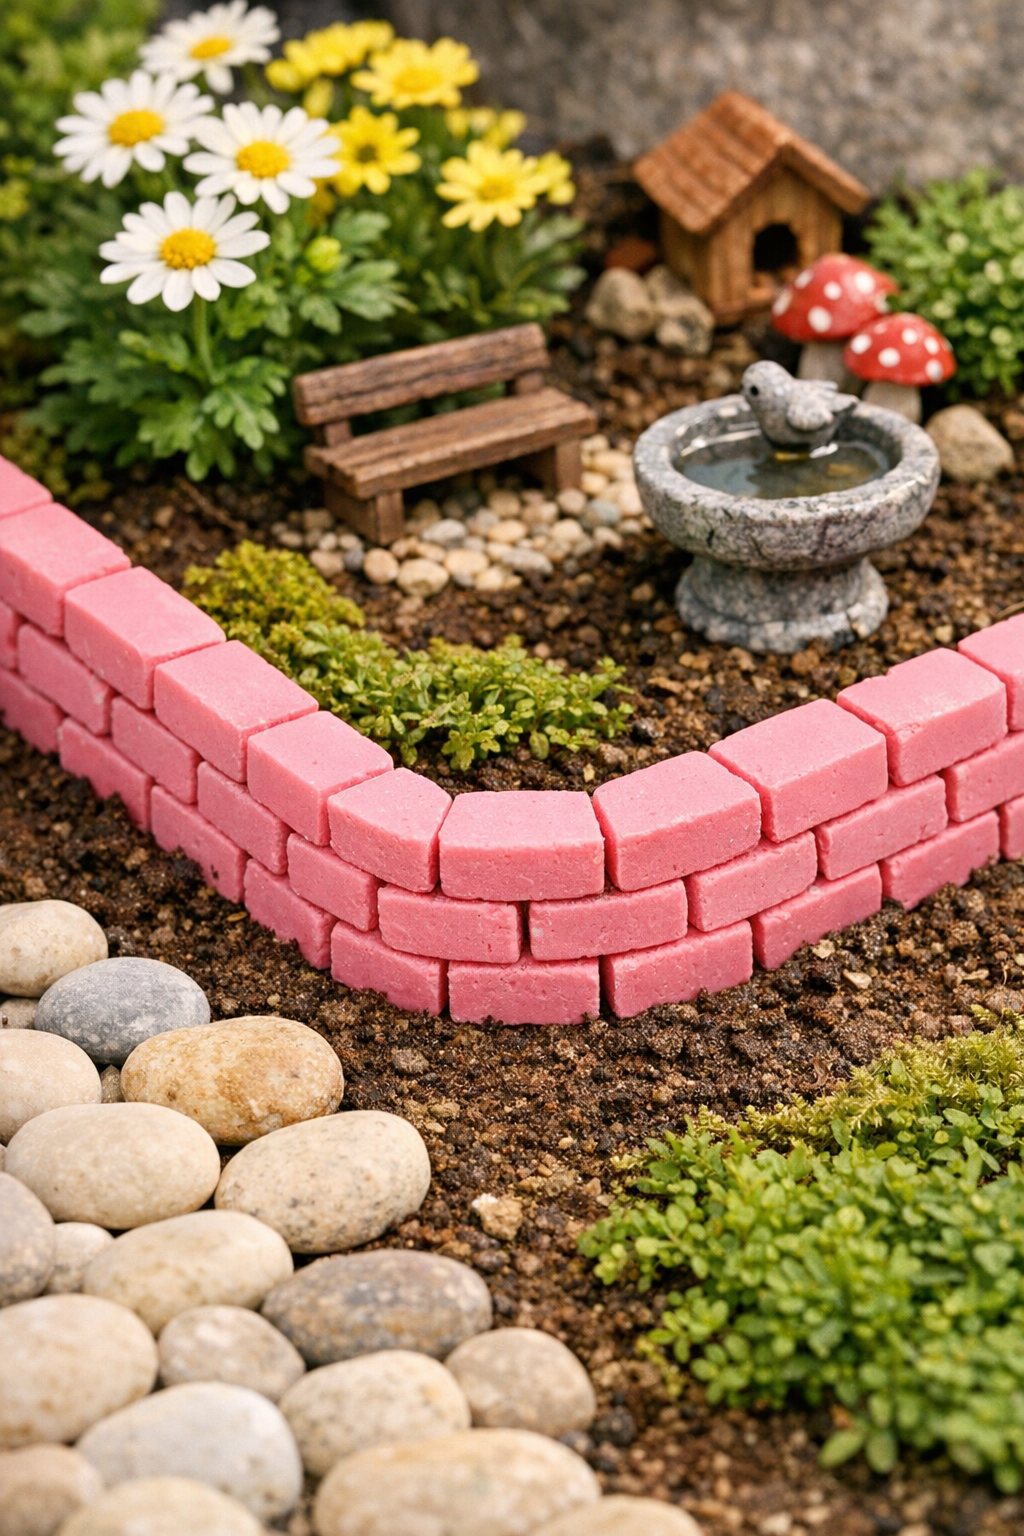
There’s something so satisfying about giving a garden bed a tidy, finished edge, especially when you can do it with inexpensive materials you may already have around the house. This faux brick border uses sliced pink school erasers to mimic tiny bricks, and once it’s set into place, the effect is surprisingly charming. It’s a simple little project that works beautifully for fairy gardens, potted arrangements, miniature scenes, or any decorative garden display that needs a playful border.
I love projects like this because they feel a bit magical without being fussy. If you enjoy easy crafts, budget-friendly garden décor, or making miniature details with kids at the kitchen table, this one is for you. It only takes three basic materials, and the steps are straightforward enough for a relaxed afternoon project.
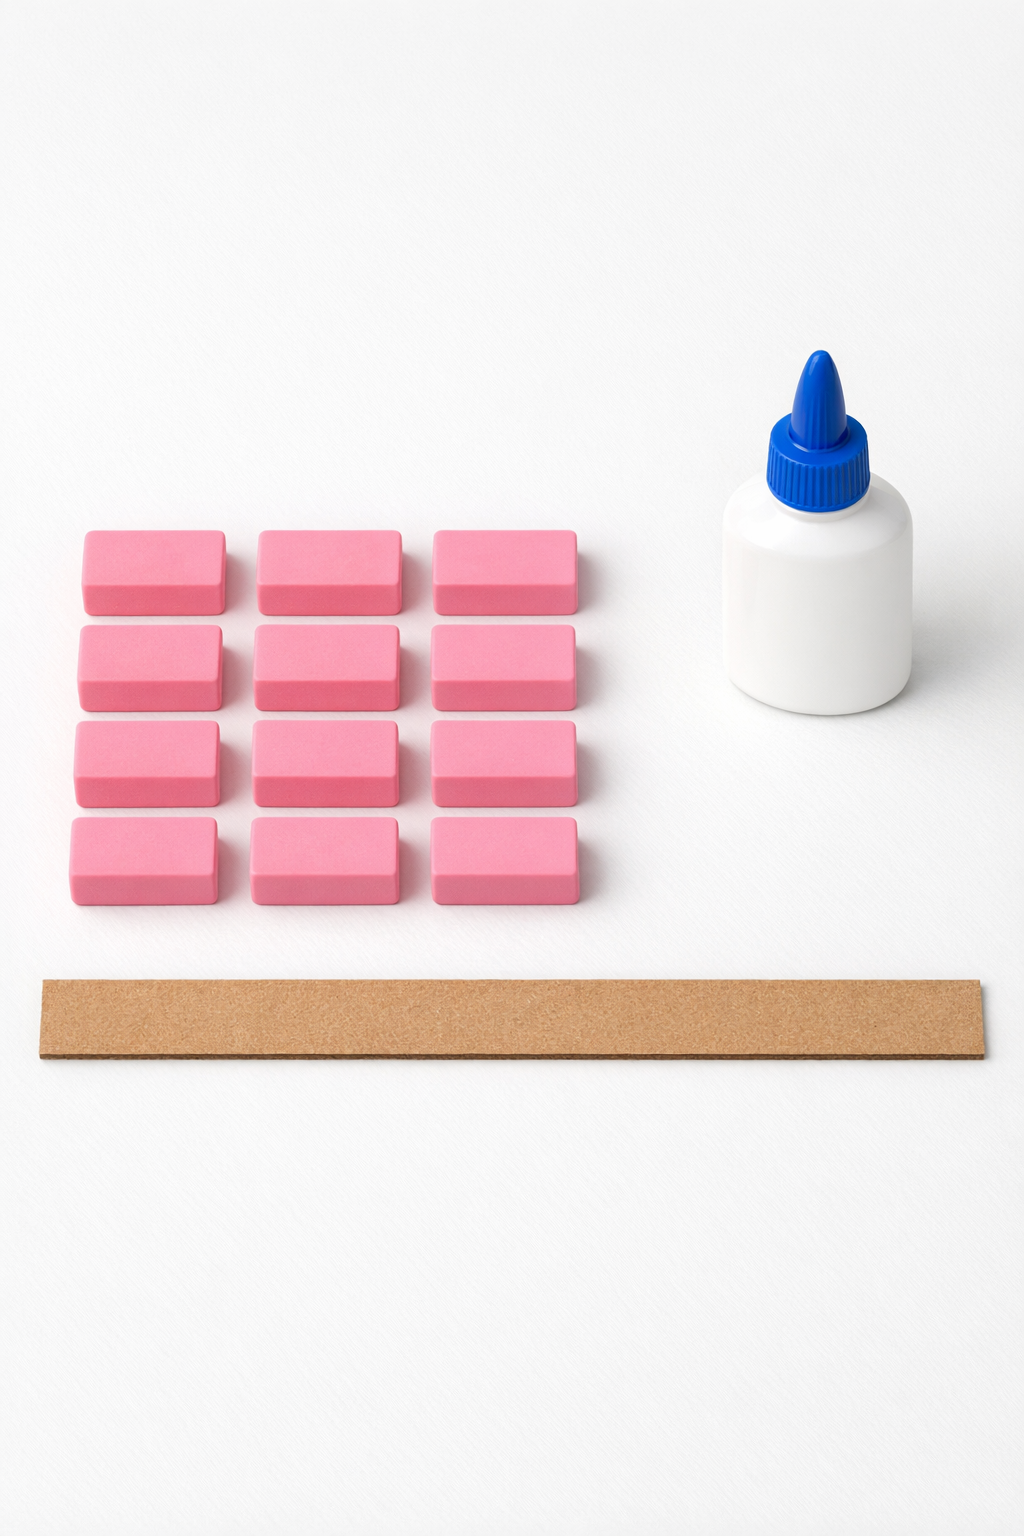
Materials
Instructions
1. Cut the cardboard into the exact length you want for your garden border, then gently curve it if you want the border to follow a round pot or flower bed.
2. Slice each pink eraser crosswise into thin pieces about 1/8 inch thick so they resemble small brick pavers.
3. Spread a thin line of craft glue along one short section of the cardboard so the glue stays workable while you place the eraser pieces.
4. Press the eraser slices onto the glued cardboard one at a time, standing them upright side by side to create the first row of faux bricks.
5. Continue gluing the slices along the full length of the cardboard, keeping the spacing very close so the border looks solid and brick-like.
6. If you’d like a more realistic brick pattern, stagger a second partial row by gluing additional slices over the seams between the first pieces.
7. Let the glue dry completely until the border feels firm and the eraser pieces no longer shift when touched.
8. Set the finished border around a fairy garden, tuck it into the soil of a planter, or place it along the edge of a miniature display to show off the faux brick effect.
Variations & Tips
For a weathered look: Lightly dab a tiny bit of brown or gray craft paint over the pink eraser slices after the glue dries if you want them to look more like aged brick.
For picky little helpers: If you’re making this with kids, I like to pre-slice the erasers first and let them handle the arranging and gluing part. It keeps the project easy and lets everyone join in safely.
For curved borders: Thin cardboard bends more smoothly than thick cardboard, so it’s my first choice when I’m edging a round flower pot or a curved miniature path.
For better hold: Work in small sections with the glue instead of coating the whole strip at once. That simple change helps the eraser pieces stay upright while you build.
For display use: This border is best for decorative miniature gardens and container displays rather than full-size outdoor landscaping, since school erasers and cardboard can wear down in heavy weather.