
There are a few backyard projects that instantly make everyday life easier, and this shoe rinse station is one of them. If you have kids tracking in mud, a garden that somehow ends up on your sneakers, or a dog-walking routine that leaves your shoes looking rough, this simple PVC arch sprayer over a drainage mat is such a smart fix. It gives you a quick rinse spot right outside the door without hauling out the hose every single time.
I love projects like this because they solve a real problem without taking a whole weekend. This one is especially great for busy households, gardeners, anyone with a muddy side yard, or honestly anyone who is tired of sweeping grit off the kitchen floor. The build is straightforward, affordable, and easy to customize for your space.
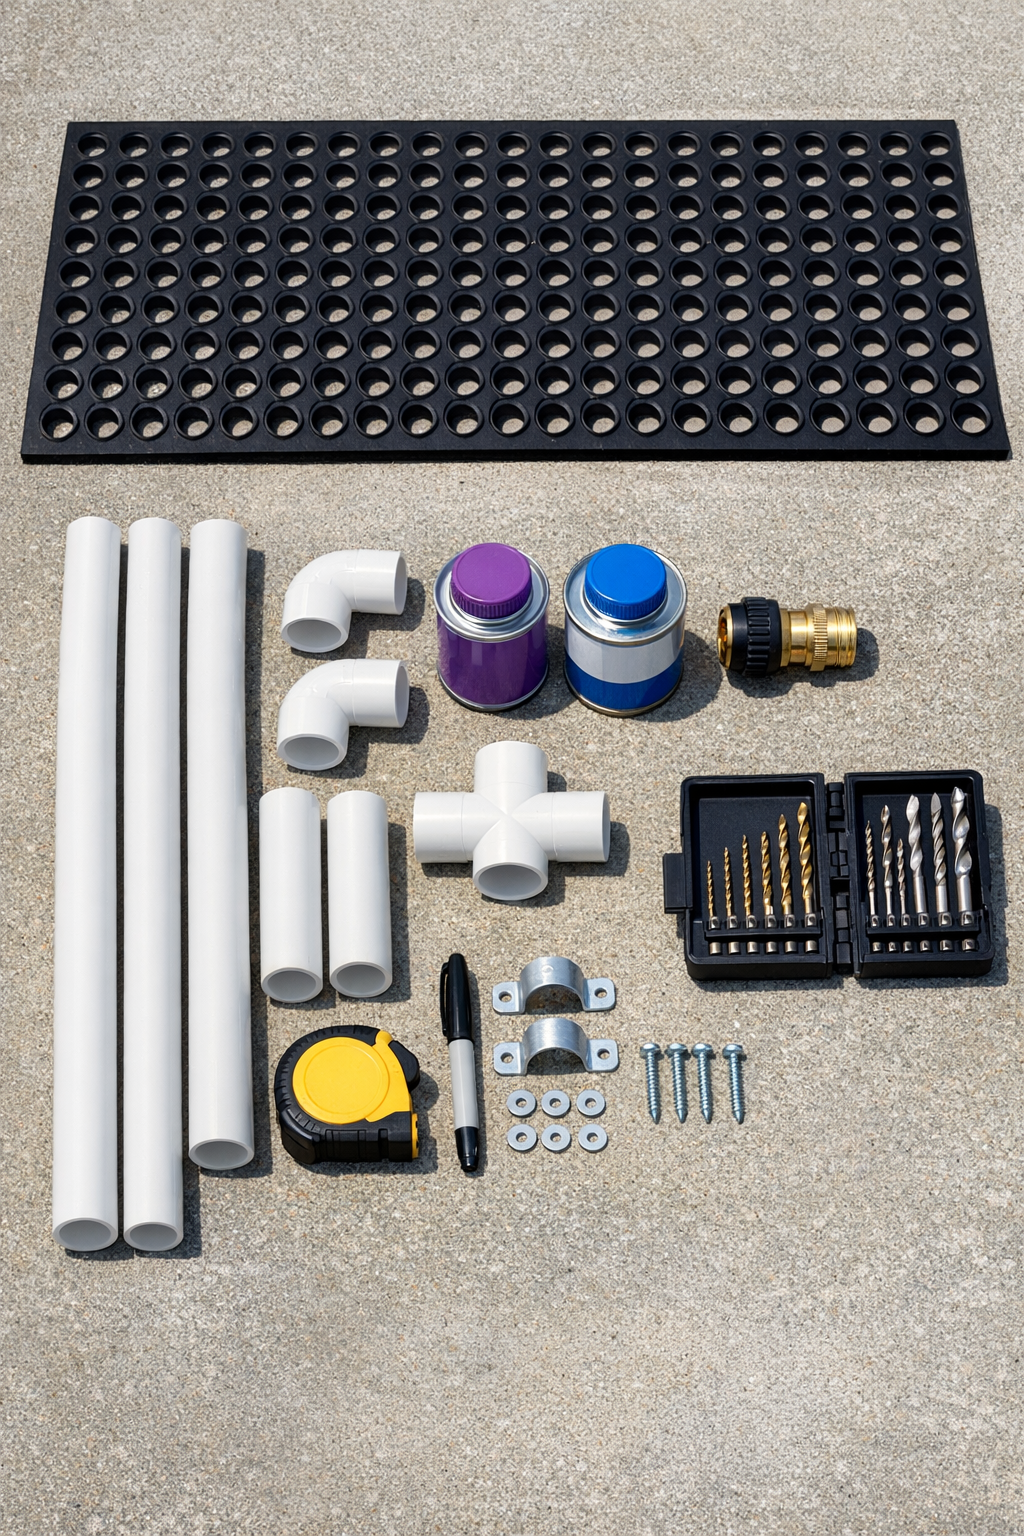
Materials
1 piece 1/2-inch Schedule 40 PVC pipe, 10 feet long
Instructions
1. Set the rubber drainage mat in the spot where you want the rinse station, ideally on level ground near a hose connection and where runoff can drain safely.
2. Cut the 10-foot PVC pipe into one 72-inch piece for the arch and two 18-inch pieces for the side uprights, then smooth the cut edges with sandpaper.
3. Mark a spray zone on the 72-inch pipe, leaving about 6 inches unmarked at each end, and use a marker to draw a straight guide line along the inside curve where the water will aim downward.
4. Drill tiny holes along that marked line, spacing them about 3/4 inch apart and using a small bit around 1/16 inch so the spray comes out in narrow streams instead of heavy spurts.
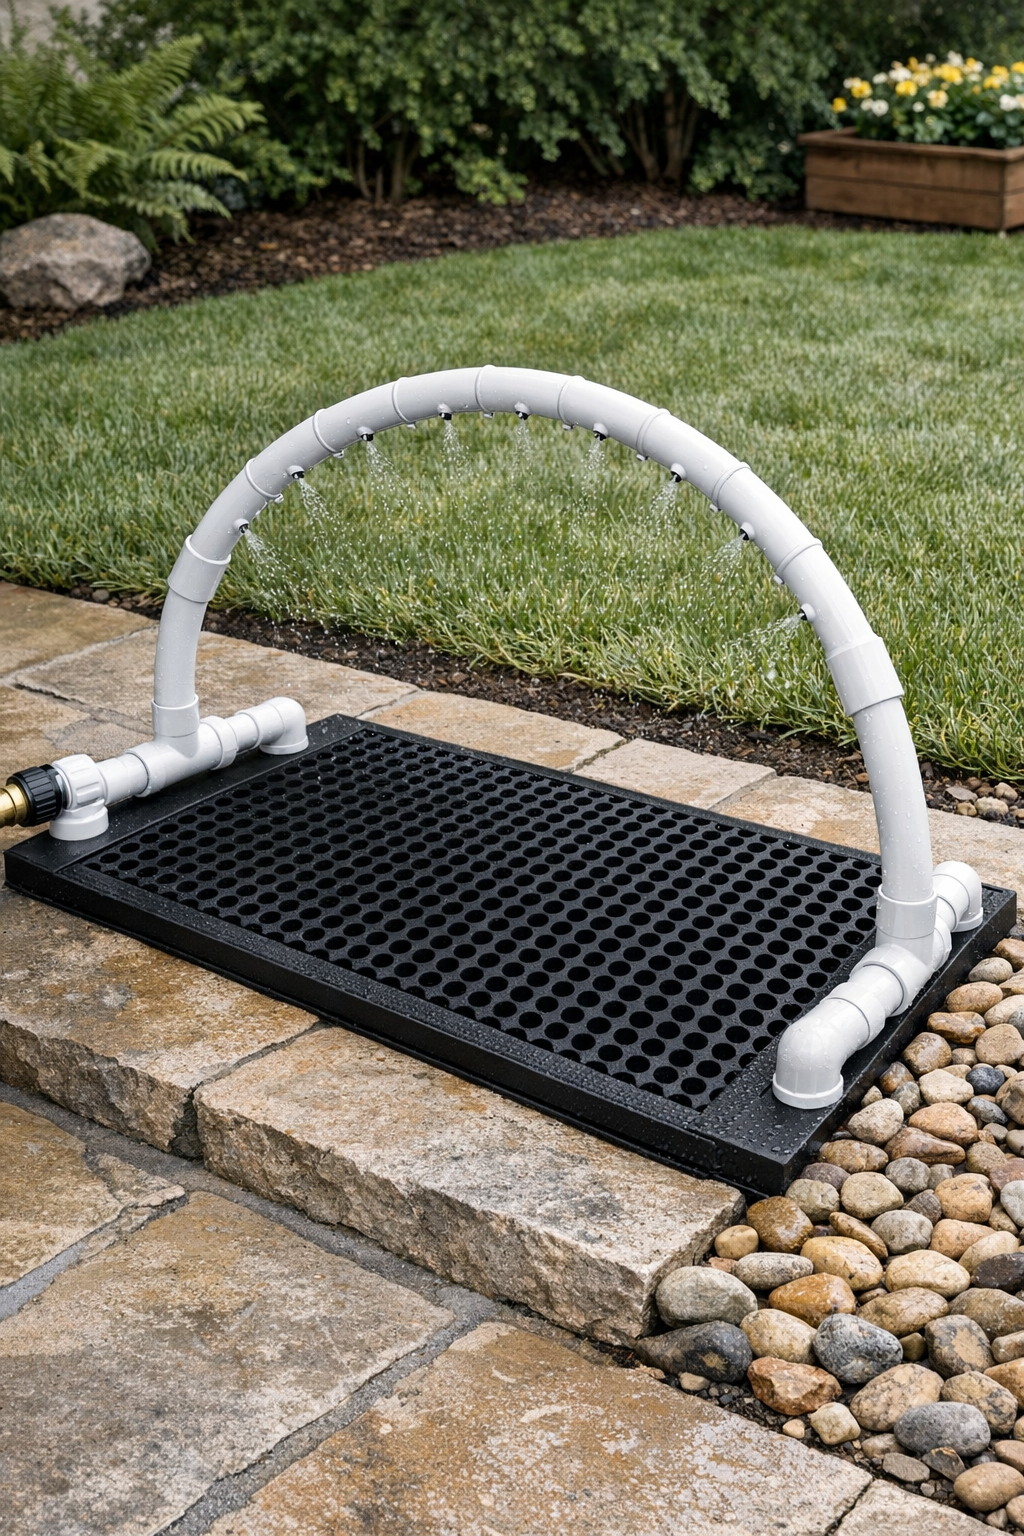
5. Dry-fit the two 18-inch uprights into the elbow fittings, connect those to the ends of the drilled arch pipe, and add the 12-inch base pieces with the tee fitting and hose adapter at the water-entry side.
6. Adjust the width and height so the arch sits centered over the mat and the spray holes face inward and slightly downward toward where shoes will stand.
7. Once the fit looks right, mark the joints, disassemble, then apply primer and PVC cement to each slip connection and reassemble quickly in the same orientation.
8. Wrap plumber’s tape around the threaded hose adapter and attach it securely so the garden hose connection will not leak.
9. Let the glued assembly cure according to the cement directions, then position it over the mat and secure the lower pipe sections with two pipe straps and exterior screws if you want a more permanent setup.
10. Connect the garden hose, turn the water on slowly, and test the spray pattern; if needed, widen a few holes slightly or drill one or two extra holes in sparse spots to even out the rinse.
11. Use the station by stepping onto the mat and moving each shoe under the spray, then shut the water off when finished so the station stays simple and low-maintenance.
Variations & Tips
Make it kid-friendly: Lower the height of the arch by shortening the side uprights to 12 or 14 inches so smaller shoes are easier to rinse.
Add stronger cleaning power: Drill a second row of holes on the opposite inside curve if you want spray hitting both sides of the shoes, but keep the holes small so the water pressure stays decent.
Use it for garden cleanup: This station also works well for rinsing off rain boots, gardening clogs, and even the bottoms of small tools before bringing them into the garage.
Choose the right mat: A drainage mat with open holes or channels works best because it keeps shoes above the runoff instead of letting them sit in muddy water.
Test before gluing: I always recommend doing a full dry fit first because it is much easier to adjust the arch shape and spray direction before the cement sets.
Watch your water pressure: If the spray feels too forceful, open the hose less or drill a couple more holes to spread out the flow more gently.
Plan for winter: If you live somewhere with freezing temperatures like I do in the Midwest, disconnect the hose and drain the pipe before winter so trapped water does not crack the PVC.