
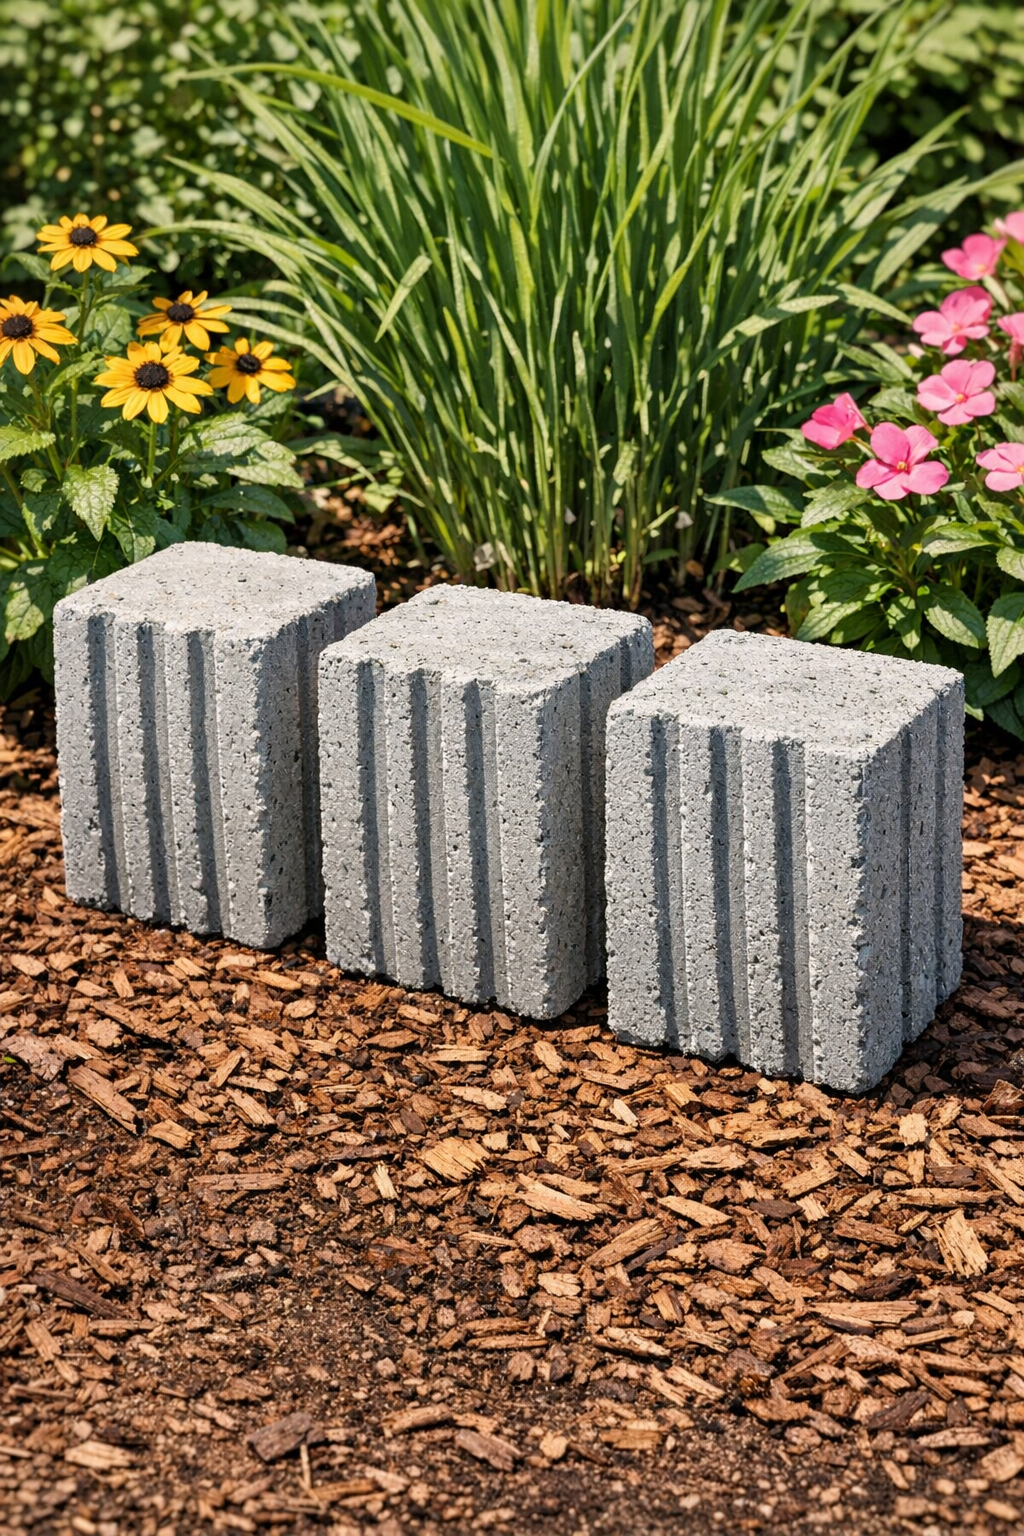
These heavy grooved yard blocks are one of those simple little projects that look surprisingly high-end once they’re tucked into a garden bed or lined along a walkway. By using plastic strawberry containers as the mold, the finished cement blocks pick up those pretty built-in grooves, which give them a textured, almost stone-like look without any fancy tools or forms.
I love projects like this because they’re affordable, sturdy, and easy to make in an afternoon, even if you’ve never worked with cement before. If you enjoy adding handmade touches to your yard, these are especially nice for edging flower beds, filling gaps between plants, or creating a neat decorative border that can handle real outdoor wear.
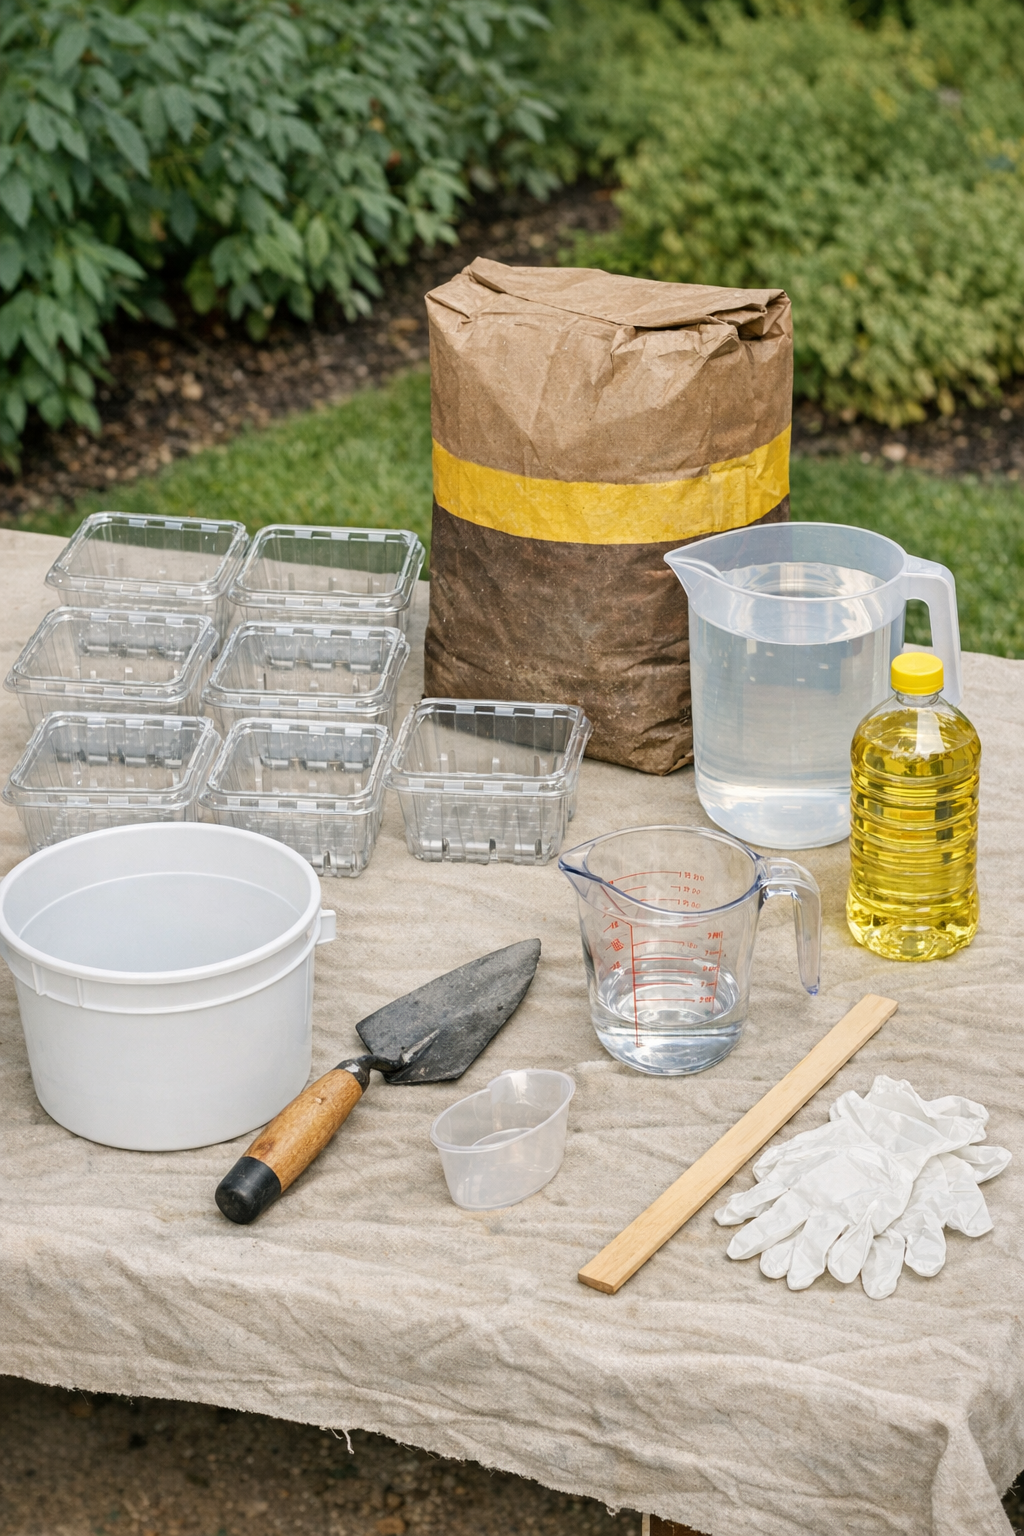
Materials
6 clean plastic strawberry containers, standard 1-pound size, with vented grooved sides
Instructions
1. Set up your workspace on a flat outdoor surface and cover it with a drop cloth or cardboard so cleanup is easy.
2. Wash and dry the strawberry containers well, then check that each one is free of cracks or holes large enough to leak wet cement.
3. Lightly coat the inside of each container with cooking oil or mold release, using just enough to cover the grooves without pooling.
4. Pour concrete mix into the bucket, add water a little at a time, and stir until it reaches a thick brownie-batter consistency that holds its shape but still settles when tapped.
5. Fill each berry container about 3/4 full with the cement mixture, then tap the container firmly on the work surface several times to release trapped air bubbles.
6. Smooth the tops with a trowel or stick so each block will sit evenly once unmolded, then leave the containers undisturbed on a level surface.
7. Let the cement set according to the mix instructions, usually 24 hours for handling, then gently peel or cut away the plastic containers to release the blocks.
8. Stand the blocks in a shaded spot and cure them for another 2 to 3 days, lightly misting once or twice a day if the weather is hot and dry.
9. Place the finished grooved blocks in your garden bed, along a path, or around a small planting area, pressing them slightly into the soil so they stay stable.
Variations & Tips
For a cleaner finish: If you want sharper edges, run a gloved finger around the top rim of each mold right after filling to tidy up any drips or rough spots.
For larger batches: I like to save containers over a couple of weeks and make several blocks at once, since mixing a full batch of cement is easier than making tiny amounts over and over.
For different placement: These look lovely as simple garden accents, but you can also use them as spacers between potted plants or as a rustic border around a vegetable bed.
For added character: Once fully cured, you can dry-brush the raised grooves with a little exterior masonry paint in gray, sand, or soft white to highlight the texture.
For durability: Let the blocks cure completely before putting them through heavy rain or freezing temperatures; that extra patience really helps them last.
Kid- and family-friendly tip: This is a fun one to do while the kids help wash containers and choose where the blocks will go, but I always keep the actual cement mixing and unmolding as the grown-up job.