
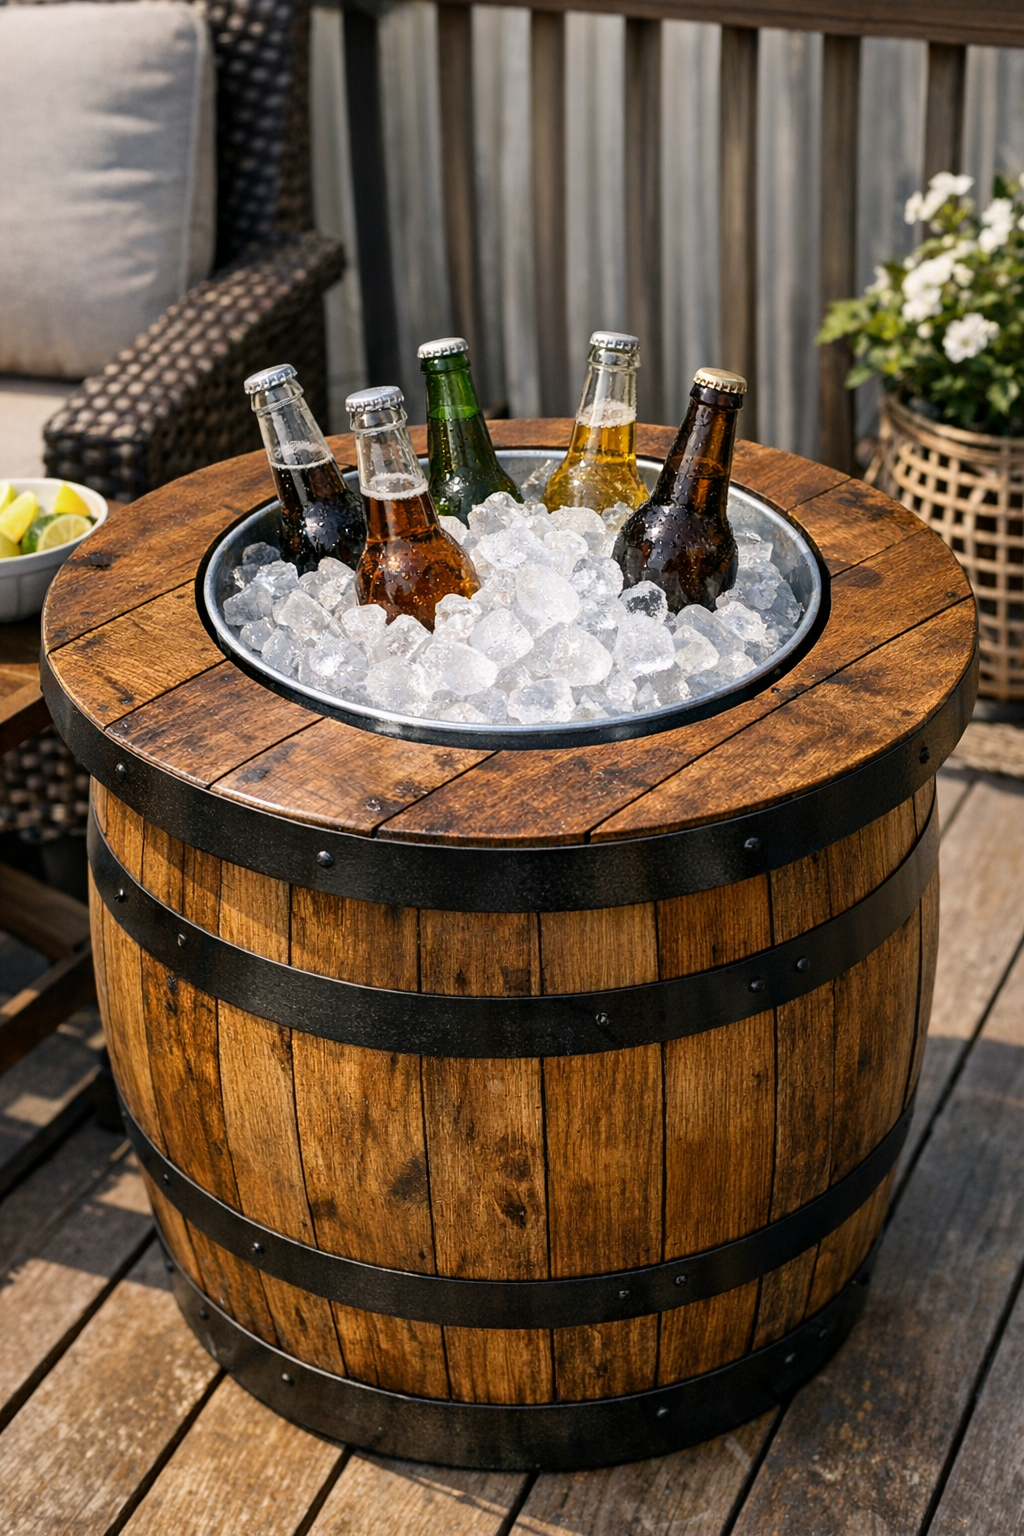
Turning an old wine barrel into an outdoor ice bucket table is one of those projects that looks far fancier than it is to build. You end up with a sturdy little table for a deck or patio, plus a built-in place to chill bottled drinks, canned sodas, or even sparkling water for a family cookout. I love projects like this because they make entertaining easier without taking up much space.
If you enjoy simple woodworking and want a statement piece that’s practical too, this is a wonderful weekend build. I especially like that you can dress it up or keep it rustic, and once it’s finished, it becomes the spot everybody gathers around during parties.
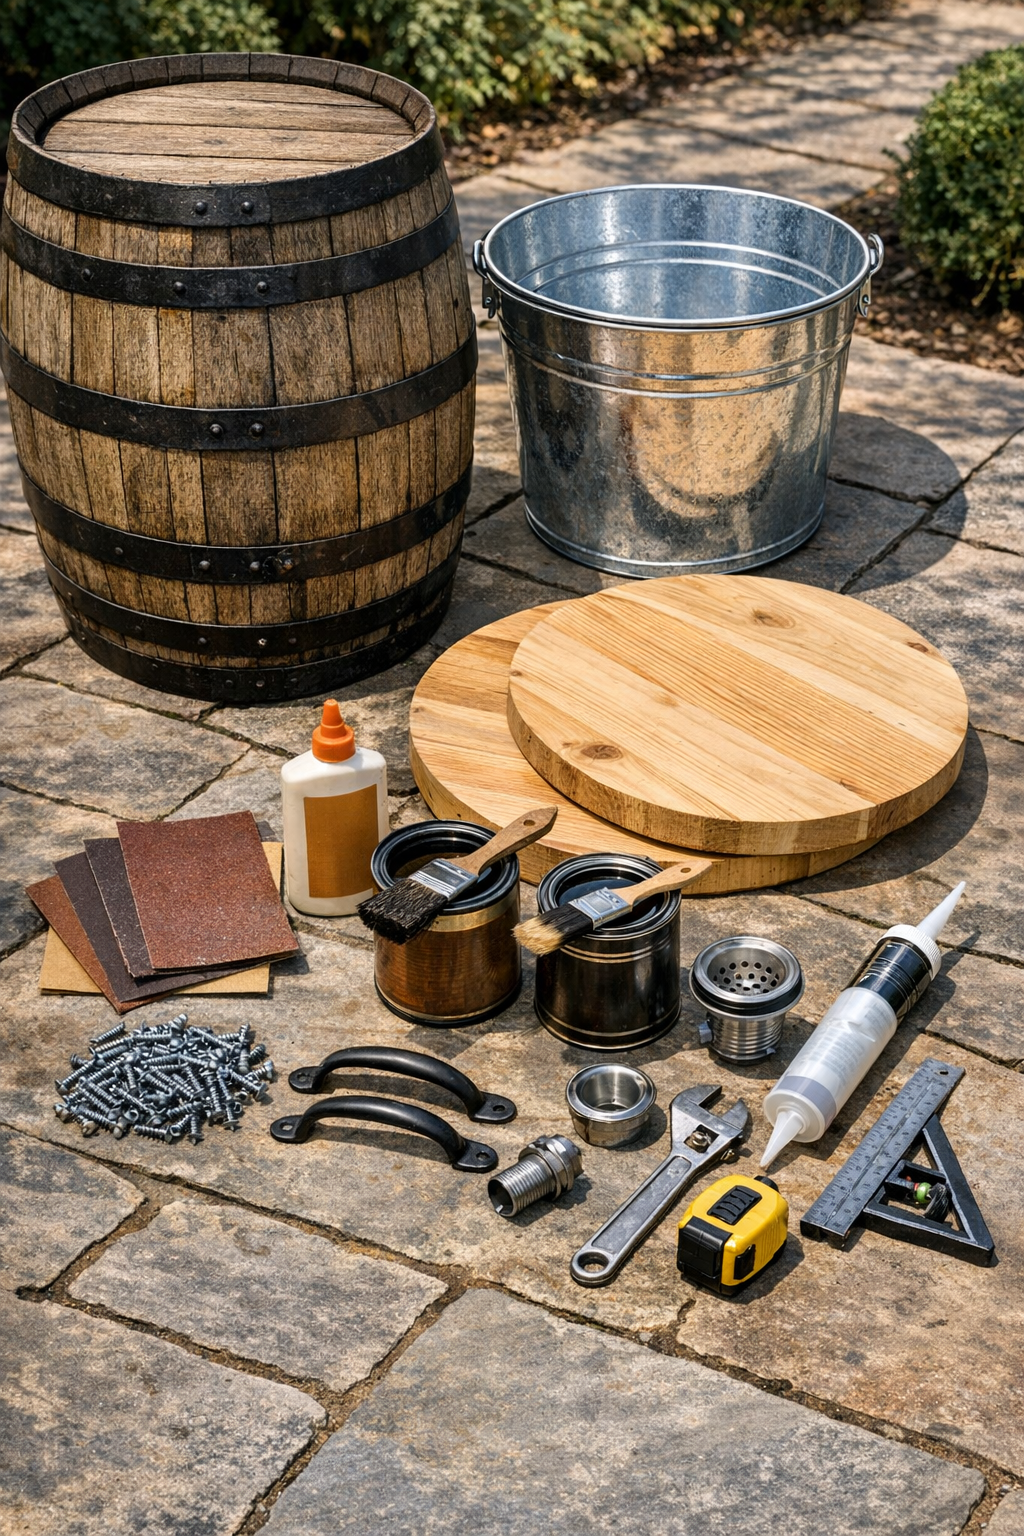
Materials
Instructions
1. Check that your galvanized bucket fits the barrel top with enough rim to rest securely above the opening. I like to leave at least 1 inch of bucket rim sitting on the wood so it feels sturdy when filled with ice and drinks.
2. Clean the barrel thoroughly and tighten any loose metal bands or fasteners before you start cutting. If the wood is dusty or rough, give it a quick sanding so your layout marks are easy to see.
3. If your barrel already has a solid wood top, measure and mark the center point for the bucket opening. If it does not, build a top by joining the 24-inch boards edge to edge with wood glue and 1 1/4-inch exterior screws from underneath using the two cleats as supports.
4. Use the bucket to trace a circle, or make a simple compass with string and pencil to draw a clean opening. Make the cut line about 1/2 inch smaller than the bucket’s top rim so the bucket can drop in and stop at the lip.
5. Drill a starter hole just inside the circle, then cut along the line with a jigsaw. Go slowly to keep the circle neat, especially if you are cutting through older barrel wood that may be a bit dry.
6. Test-fit the galvanized bucket in the opening and trim the hole if needed. The bucket should slide in easily but rest firmly on the rim without wobbling.
7. Sand the cut edge and the entire top surface with 80 grit, then 120 grit, and finish with 220 grit. I always take an extra minute on the rim because that’s where hands will rest when people gather around the table.
8. If you want drainage, drill a hole near the bottom side of the bucket and install the drain fitting according to its hardware. Seal around the fitting with outdoor silicone so melted ice won’t leak where you do not want it.
9. Wipe away dust, then apply your exterior stain or sealer evenly across the barrel and top. Let it dry fully before adding two coats of clear outdoor polyurethane or spar urethane for weather protection.
10. Add optional handles to the barrel sides or near the bucket opening if you want an easier way to move or lift pieces. Make sure all hardware is tight and rated for outdoor use.
11. Set the bucket into the finished opening and check that it sits level. If the fit feels loose, add small wood support blocks underneath the top so the bucket rim has more surface to rest on.
12. Fill the insert with ice and your favorite bottled or canned drinks, then place the finished barrel table on the deck or patio. It’s ready to serve as both a side table and a handy cooler for your next get-together.
Variations & Tips
For picky drinkers: I like to fill the bucket with a mix of bottled water, juice boxes for the kids, and a few sparkling drinks so everyone has something they enjoy without having to dig through the fridge.
Rustic finish: Leave the barrel more natural and use a clear sealer only if you love weathered wood. This works especially well on casual decks and backyard fire pit spaces.
Dressed-up finish: Use a darker stain and black hardware for a more polished look. It gives the project a farmhouse style that feels right at home during summer dinners.
Easy drainage: If you do not want to lift a heavy bucket of melted ice, definitely add the drain fitting. That little step makes cleanup so much easier at the end of the evening.
Top size tip: If you want more surface space for plates and cups, make the tabletop 26 to 30 inches wide instead of 24 inches. Just be sure the barrel still supports the top evenly all the way around.
Outdoor durability: Reapply a protective clear coat once a year if the table sits in full sun or rain. In my Midwestern weather, that one habit helps outdoor projects last so much longer.
Bucket fit: Measure the bucket first and build the opening around it, not the other way around. Buckets can vary more than you’d think, and a careful fit is what makes this project look custom.