
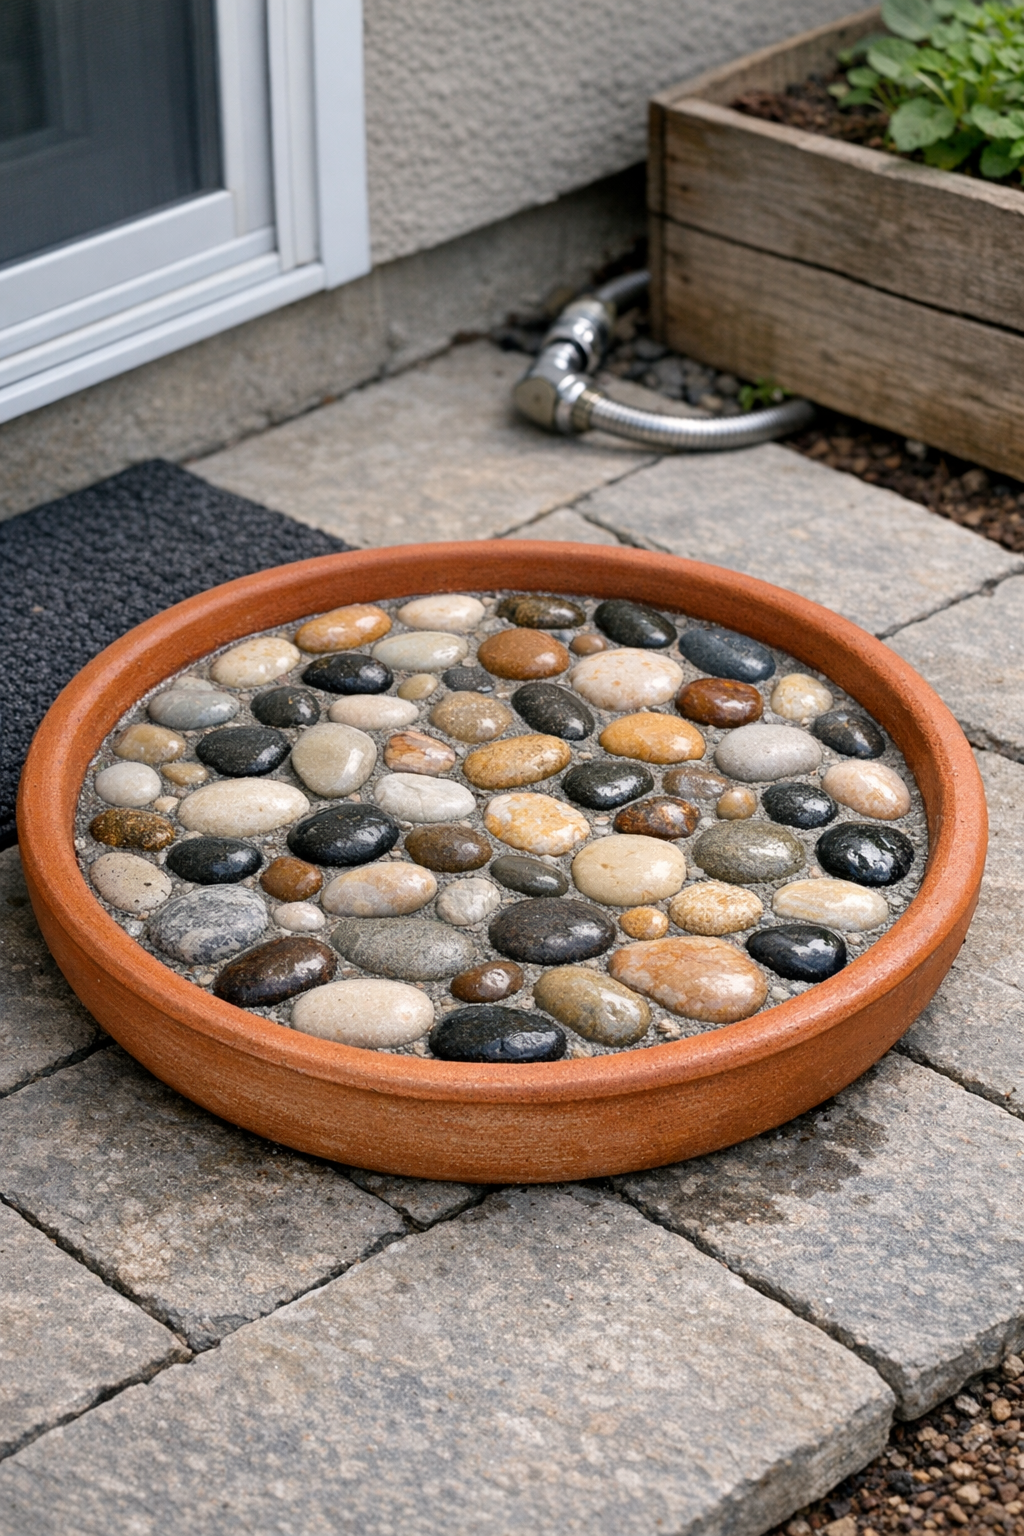
There are a few projects I love because they solve a real everyday problem, and this little backyard foot wash station is one of them. If you have kids running in from the garden, people padding in from the pool, or a back door that somehow collects half the yard by dinnertime, this is such a simple, smart fix. You make it by pressing smooth pebbles into quick-dry concrete inside a large terracotta saucer, and the finished tray gives muddy or dusty feet a sturdy place to rinse off before coming inside.
I especially like this kind of project because it’s practical, inexpensive, and easy to personalize. You don’t need fancy building skills, and the pebble surface feels nice under bare feet while still looking pretty by the back step or hose area. If you enjoy useful outdoor DIYs that help keep family life a little tidier, this one is well worth an afternoon.
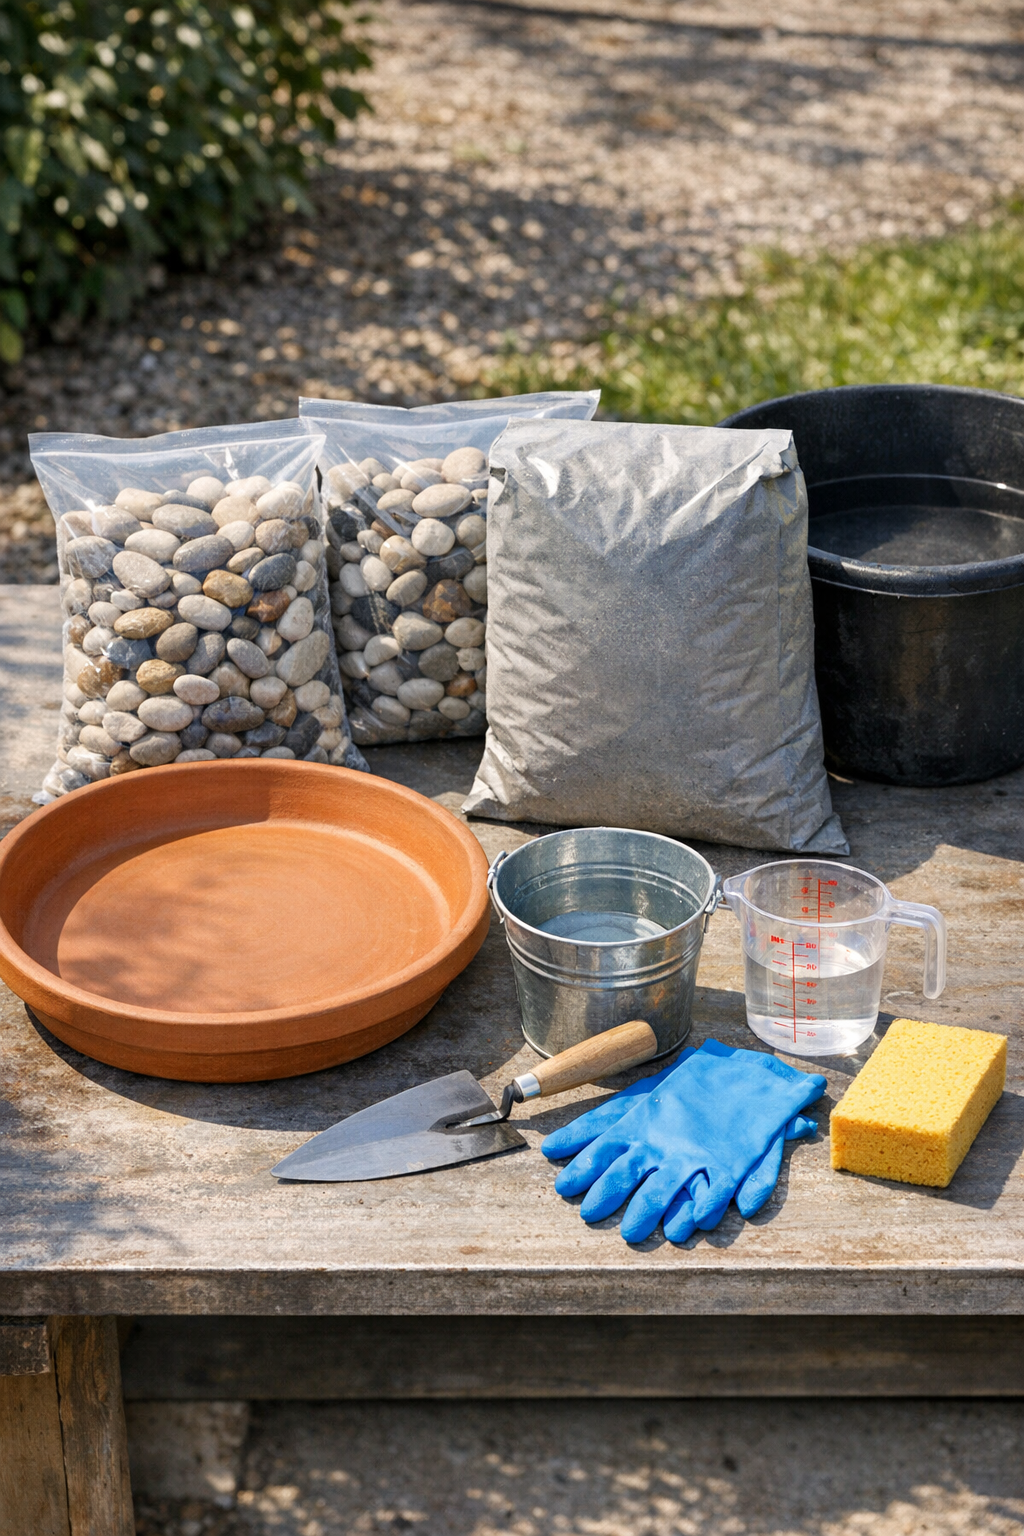
Materials
Instructions
1. Set your drop cloth or cardboard on a flat outdoor surface and place the terracotta saucer on top so it sits level while you work.
2. Wash the pebbles if they are dusty, then let them dry fully so they press cleanly into the concrete.
3. Put on gloves and mix the quick-dry concrete in your tub, adding water a little at a time until it reaches a thick, scoopable consistency similar to stiff oatmeal.
4. Scoop the wet concrete into the saucer and spread it evenly to a thickness of about 1 1/2 inches, smoothing the top lightly with the trowel.
5. Tap the saucer gently on the work surface a few times to settle the concrete and release any large air pockets.
6. Begin pressing the smooth pebbles into the wet concrete, placing them close together across the entire surface with the flattest sides facing up.
7. Press each pebble down firmly so it is embedded about halfway, leaving the top rounded surface exposed for a comfortable foot-friendly texture.
8. Adjust the spacing as you go and fill gaps with smaller pebbles so the finished surface looks balanced and supports feet evenly.
9. Wipe stray concrete off the tops of the pebbles with a damp sponge before the mix begins to set.
10. Let the tray sit undisturbed according to the concrete package directions, usually at least 24 hours, until fully hardened.
11. Once cured, rinse the finished foot wash station with clean water and scrub lightly with the sponge to remove any remaining dust or haze.
12. Place the tray near your back door, garden gate, or hose spigot, and add a small splash of water when needed so feet can rinse off on the pebble surface before coming inside.
Variations & Tips
For picky feet: If anyone in your family is sensitive to texture, choose extra-smooth river stones and keep the pebble tops as even as possible so the surface feels gentler underfoot.
Size option: Use a 14-inch saucer for a compact station by a side door, or go up to an 18-inch saucer if you want more standing room for bigger feet.
Drainage tip: If your saucer has no drain hole and you want water to escape, choose one with a center hole or carefully keep water use light so it acts more like a rinse tray than a basin.
Pebble pattern idea: I like mixing a few smaller stones around the edges for a finished look, but you can also arrange pebbles by color for a simple ring or spiral design.
Placement tip: Set the finished tray on level ground near a hose, watering can, or outdoor faucet so it’s easy for kids and guests to use without tracking dirt across the patio.
Cold-weather care: In areas with freezing winters, bring the tray into a shed or garage during the coldest months to help protect the terracotta and concrete from cracking.
Cleanup shortcut: Rinse your tools right after mixing and shaping; quick-dry concrete is much easier to remove before it hardens.