
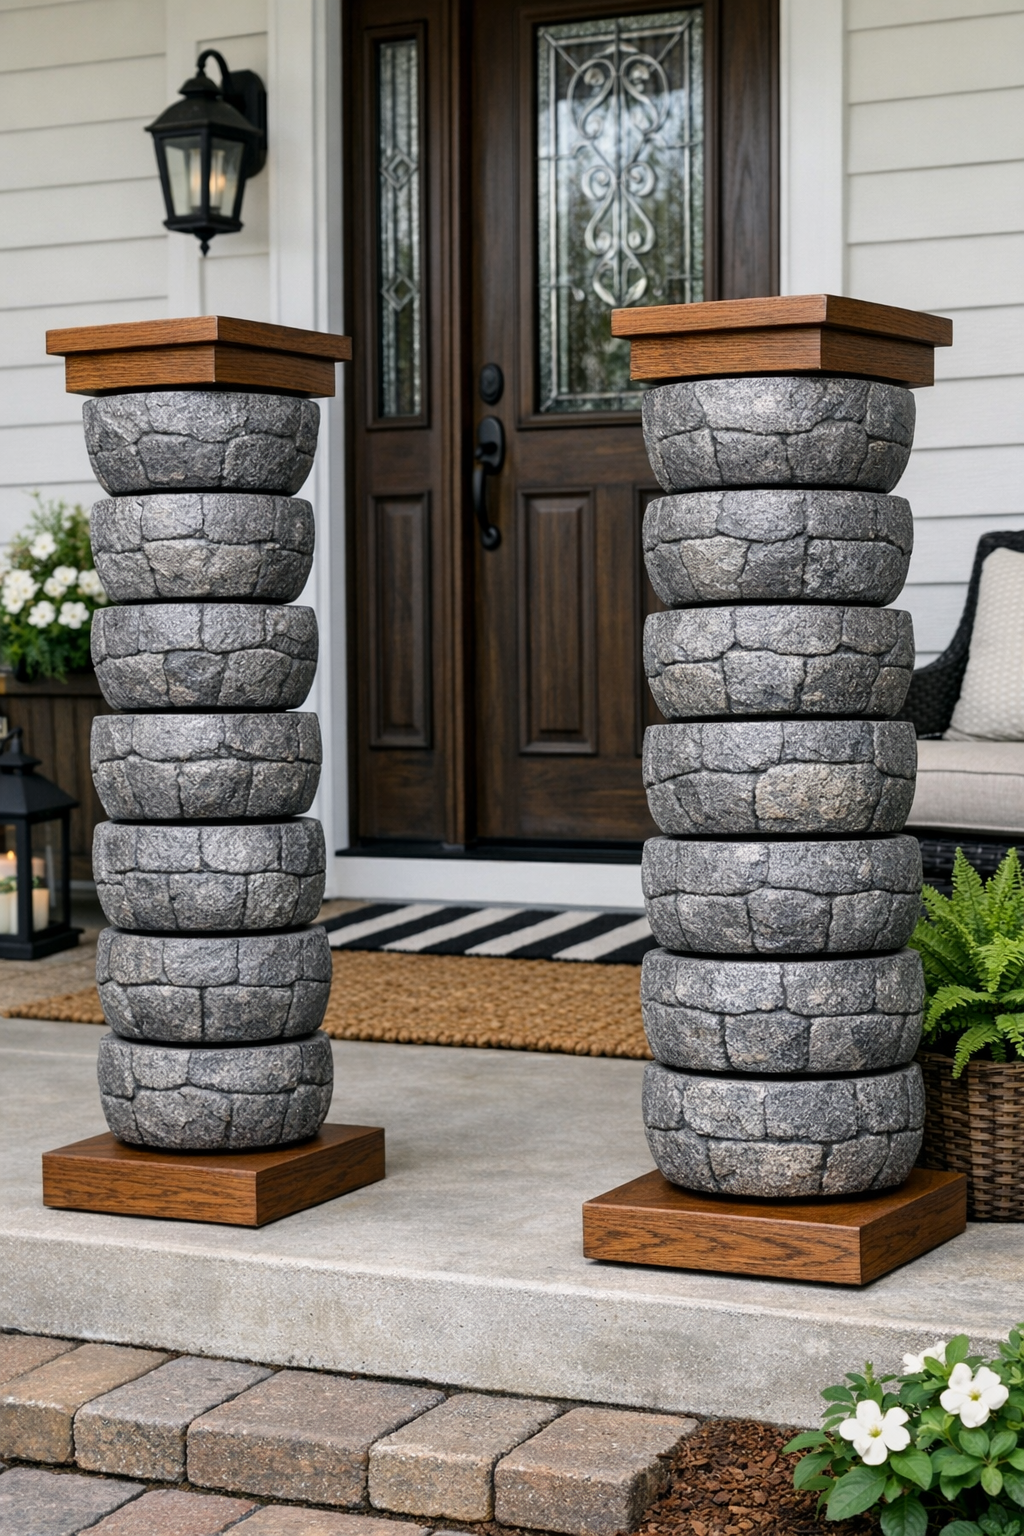
I love a porch project that looks expensive but is secretly built from budget-store supplies, and this faux stone pillar idea absolutely fits that category. The basic trick is simple: I turn plain plastic cereal bowls into “stacked stone” pieces with textured gray spray paint, then thread them onto a sturdy wooden dowel to create tall decorative porch columns that have a surprisingly convincing look from the curb.
This is a great weekend DIY if you want to dress up a front entry, frame a doorway, or add height next to planters without hauling real masonry. As someone who is always squeezing projects in between work and making dinner, I appreciate anything that gives a big visual payoff without requiring a full renovation, and this one is especially friendly for beginners.
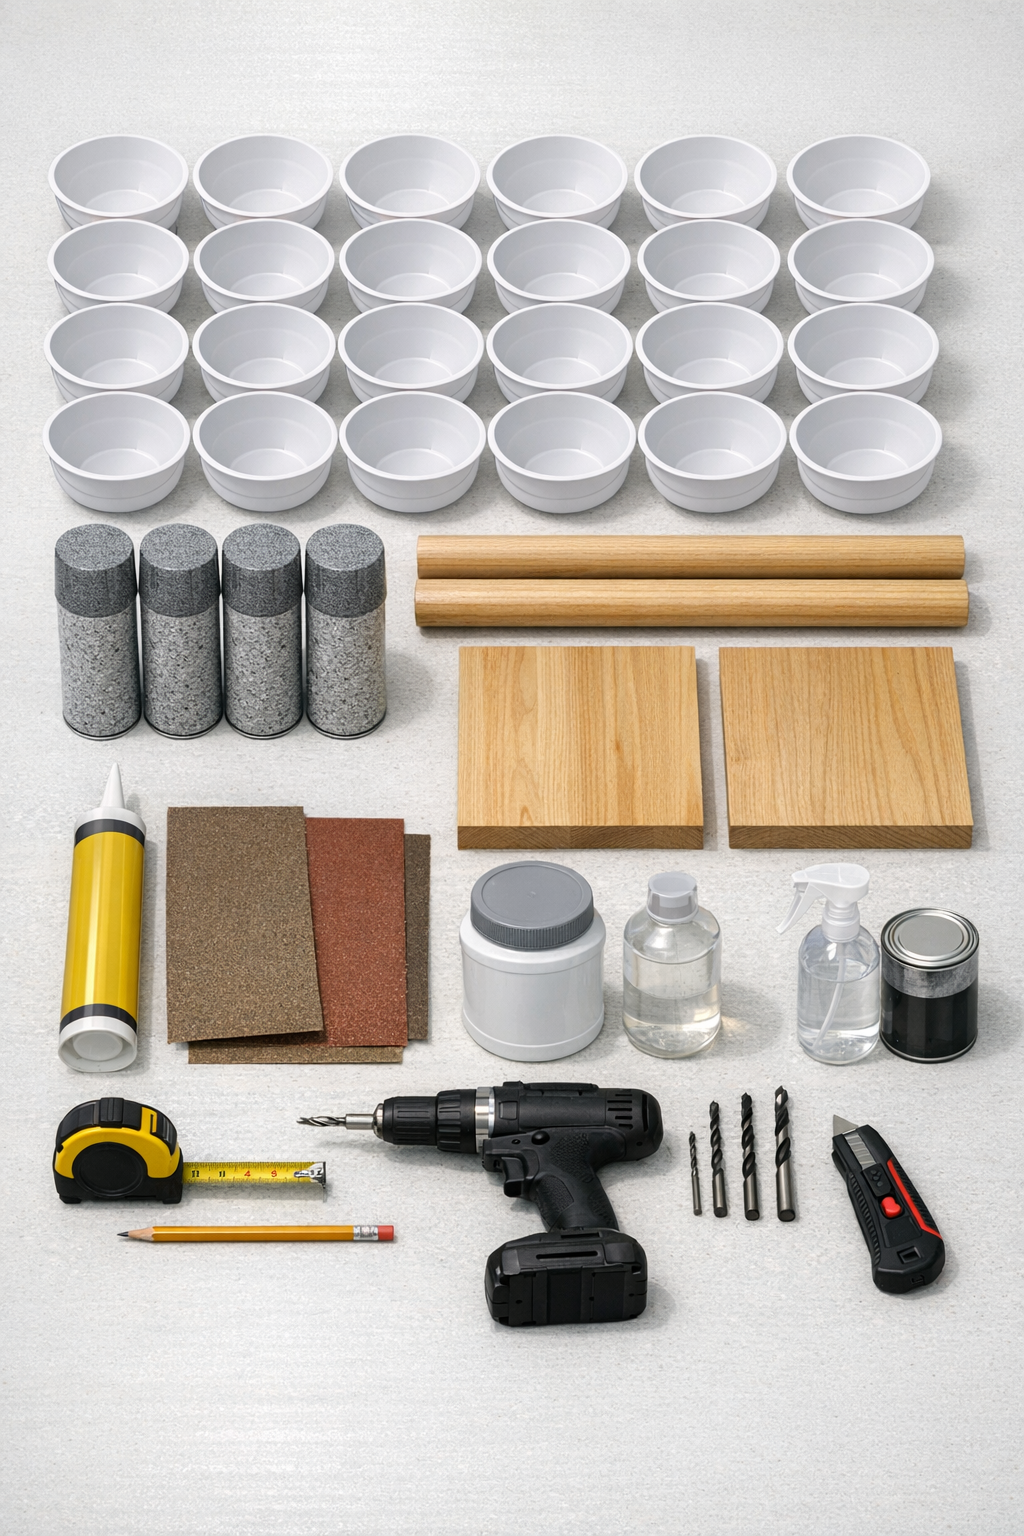
Materials
Instructions
1. Wash all 24 bowls with warm soapy water, rinse them well, and let them dry completely so the paint will stick. Lightly scuff the outside of each bowl with 120-grit sandpaper.
2. Set the bowls upside down on a drop cloth or cardboard in a well-ventilated area. Spray on a light, even coat of plastic-bonding primer and let it dry according to the can directions.
3. Spray the outside of each bowl with textured gray stone paint using 2 to 3 light coats, letting each coat dry before adding the next. Cover the bowls fully so the plastic shine disappears and the finish looks like rough stone.
4. Seal the painted bowls with a light coat of clear matte outdoor sealer once the stone paint is fully dry. Let them cure completely before assembly so the finish does not scratch while stacking.
5. Mark the center of each wood base board and drill a pilot hole for the dowel screw. Attach one dowel upright to each base board with a 2 1/2-inch screw from the underside, then check that the dowel stands straight.
6. If your bowls do not already have a center opening wide enough for the dowel, carefully cut or drill a centered hole in the bottom of each bowl just slightly larger than the dowel diameter. Test one bowl first so it slides on without wobbling too much.
7. Add a bead of construction adhesive around the center contact point of the first bowl and slide it upside down onto the dowel until it rests on the base. Repeat with the remaining bowls, stacking 12 bowls per pillar and keeping the rims aligned for an even column shape.
8. Press each bowl down snugly as you stack so there are no large gaps, and rotate them slightly as needed to keep the sides visually balanced. Wipe away any excess adhesive right away with a damp cloth.
9. Glue a wood top cap onto the top bowl of each pillar to give the column a finished look. Center it carefully and let the entire pillar dry undisturbed for the full adhesive cure time.
10. Place the finished faux stone pillars on your porch beside the entry, next to planters, or flanking steps on a flat surface. If your area gets strong wind, secure the bases to the porch floor or add weight inside the base for extra stability.
Variations & Tips
Taller pillars: Use longer dowels and more bowls if you want more height, but keep the base wider as the pillar gets taller so it stays stable.
Darker stone look: Mist a little charcoal or black spray paint very lightly over the textured gray once it dries to give the surface more depth and an aged stone effect.
Planter-style top: Instead of a flat wood cap, attach a small planter saucer or lightweight pot on top for faux greenery. I think this looks especially nice near a front door if you want a little seasonal decorating moment.
Weather protection: If the pillars will sit fully exposed, add an extra coat of outdoor sealer and avoid placing them where standing water collects.
Cleaner assembly: Dry-fit all 12 bowls on one dowel before gluing anything so you can confirm the spacing, height, and hole size before the adhesive clock starts.
Budget tip: Dollar-store bowls are perfect here, but try to buy all 24 from the same style and batch so the shape stays consistent from bottom to top.