
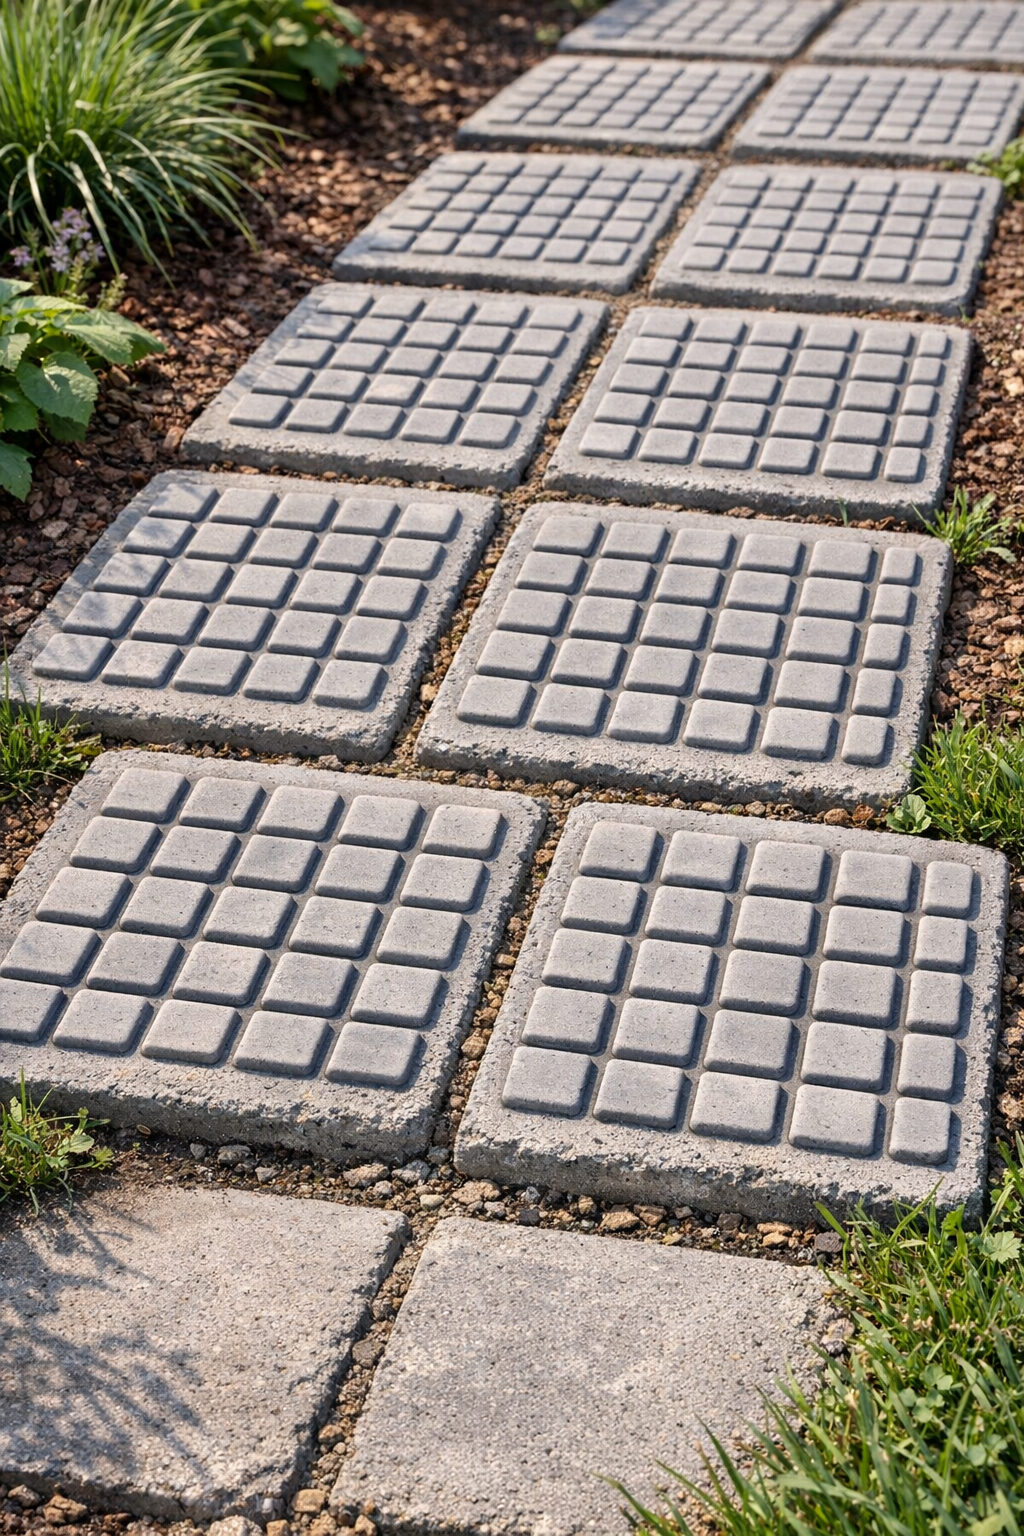
I’ve always had a soft spot for practical projects that take humble household things and turn them into something sturdy enough to live outdoors. This little yard-tile project does exactly that. By pressing cement into flexible silicone keyboard covers and using two simple support items, you can make heavy grid-pattern tiles that look surprisingly neat tucked into a garden path, set between raised beds, or used as stepping stones near the back porch.
Out here, we learn to appreciate anything that is useful, durable, and easy on the budget, and this is one of those projects that feels a bit like old-fashioned resourcefulness with a modern twist. If you’re a beginner, this is very approachable, and if you’ve made concrete crafts before, you’ll enjoy how the silicone cover gives the surface such a crisp pattern.
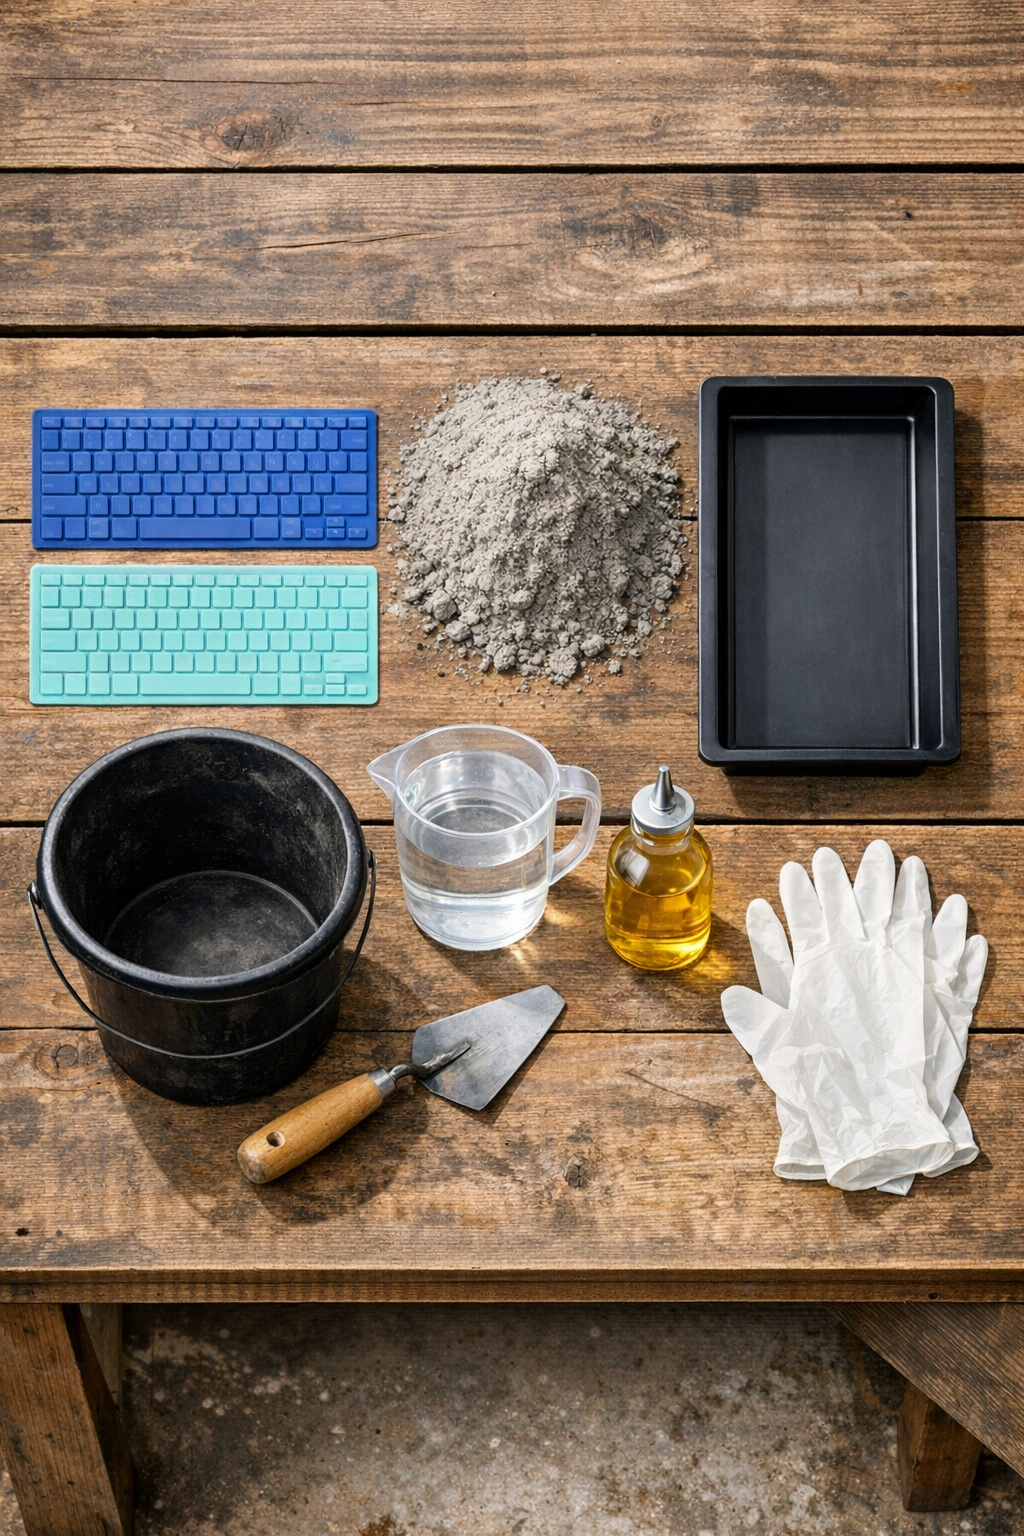
Materials
Instructions
1. Set your plastic drop cloth on a flat, level work surface outdoors or in a well-ventilated shed, and place the tray mold on top so it won’t rock while you work.
2. Lightly coat the inside of the tray and the textured side of the silicone keyboard covers with a thin film of cooking oil so the cement will release more easily later.
3. Arrange the silicone keyboard covers flat in the tray with the textured side facing up, overlapping or trimming the layout only if needed so the grid pattern fills the base evenly.
4. Pour the cement mix into the bucket, add 1 cup of water, and stir until it reaches a thick peanut-butter-like consistency that holds its shape without becoming dry and crumbly.
5. Spoon the cement into the tray over the keyboard covers, pressing firmly into all the grid recesses so the pattern transfers cleanly.
6. Build the cement layer to about 1 1/2 inches thick across the whole tray, then use the scrap wood strip to level the surface and smooth the back of the tile.
7. Tap the tray gently on the work surface several times to release trapped air bubbles, then leave it undisturbed for 24 hours or until the cement is firm to the touch.
8. Turn the tray over onto the drop cloth, flex the tray and peel away the silicone keyboard covers carefully to reveal the heavy grid pattern on the tile face.
9. Let the tile cure for another 3 to 5 days in a shaded spot, lightly misting it once or twice a day if the weather is hot and dry.
10. Set the finished tile into your yard, garden path, or between planting beds on a compacted, level patch of soil or sand so it sits flat and steady.
Variations & Tips
Make smaller pavers: If you’d rather have individual stepping tiles, pour the cement into smaller food-storage containers lined with sections of silicone cover instead of one larger tray.
Add reinforcement: For a larger tile, press a piece of galvanized hardware cloth or cement mesh into the middle of the wet cement to help prevent cracking.
Change the shape: Round plant saucers, square bins, or old baking pans can all serve as molds, as long as you oil them well and don’t plan to cook in them again.
Use a sand base: I like setting homemade pavers on an inch or two of packed sand because it helps them sit more evenly and makes seasonal shifting easier to correct.
Keep the edges tidy: If the cement spreads unevenly, smooth the edges with a gloved finger or trowel while it is still wet for a cleaner finished look.
Let curing do the hard work: Around here, patience is half of any good project. Don’t rush the cure time, because cement gains strength over several days, and a fully cured tile will hold up much better in the yard.