
If you’ve got an old cracked leather belt sitting in a drawer, this is one of those wonderfully practical little projects that turns “why am I keeping this?” into something genuinely useful. In this tutorial, I’m using worn leather belts plus two inexpensive household items to make heavy-duty DIY plumbing gaskets. Once the leather is boiled and compressed, it firms up beautifully and works well for certain non-pressurized or low-demand sealing jobs where a sturdy fiber-style gasket is helpful.
I love projects like this because they fit real life: using what you already have, spending almost nothing, and ending up with a repair part that can save a trip to the hardware store. If you’re comfortable with basic measuring and cutting, this is a very doable weekend fix. I’d still reserve homemade gaskets for appropriate applications and not anything safety-critical, but for older fittings, garden-related plumbing, or workshop odds and ends, they can be surprisingly effective.
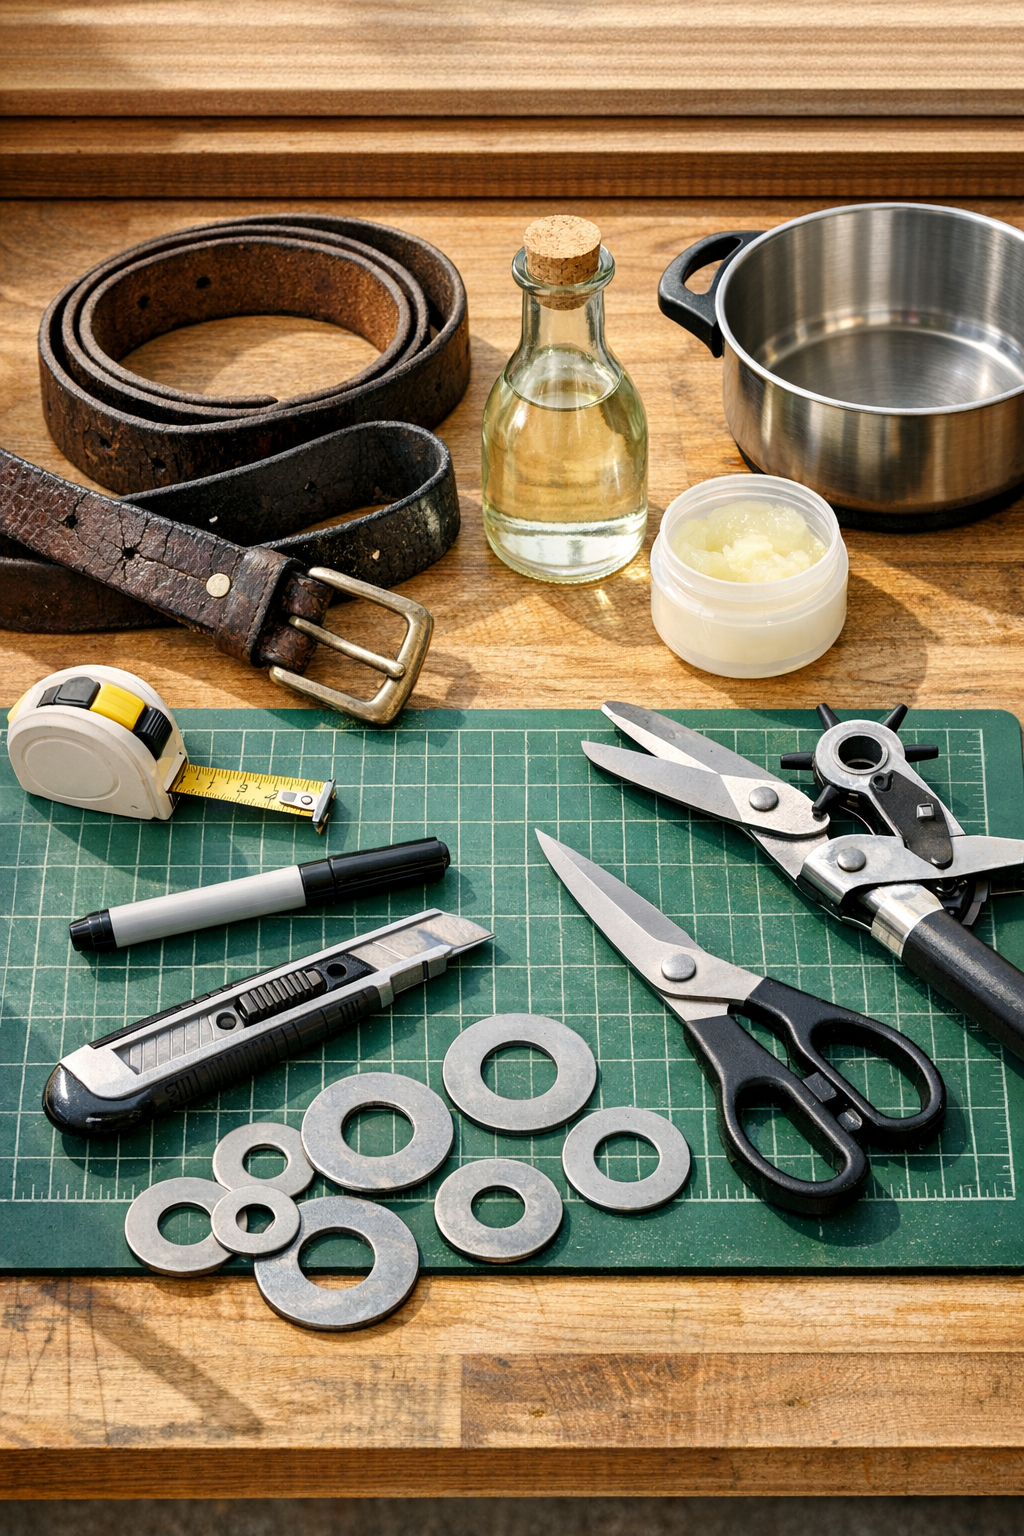
Materials
Instructions
1. Choose a section of belt that is cracked on the surface but still solid through the full thickness, and avoid areas with deep splits, stitching, rivets, or buckle holes.
2. Wash the belt section with warm water and a rag to remove dirt, body oils, and finish residue, then pat it dry so you can mark clean lines accurately.
3. Cut away the buckle end and any damaged edges, then trim a flat usable section slightly larger than the gasket size you need.
4. Pour 6 cups of water and 1 cup of white vinegar into the pot, bring it to a gentle boil, and lower the leather piece into the liquid with tongs.
5. Boil the leather for 8 to 12 minutes, turning it once or twice, until it darkens slightly and becomes more flexible before beginning to stiffen.
6. Remove the leather carefully, blot off excess liquid with paper towels, and while it is still warm, rub a very thin coat of petroleum jelly over both sides.
7. Place the warm leather on your work surface and press it flat under a baking sheet, board, or heavy book for 30 to 60 minutes so it dries in a compressed, even shape.
8. Set the fitting, old gasket, or matching washers on the flattened leather and trace the outer circle first, then mark the inner opening and any bolt holes with the marker.
9. Cut the outer shape with scissors or a utility knife, keeping the edge smooth and even so the gasket seats properly against the fitting.
10. Punch the center hole and any bolt holes with the leather punch, making sure each opening matches the hardware without stretching the material.
11. Test-fit the gasket dry between the two plumbing surfaces and trim only where needed; it should sit flat without bunching or covering the water passage unevenly.
12. Install the gasket and tighten the connection gradually in an alternating pattern if bolts are involved, just until snug, because over-tightening can distort homemade leather gaskets.
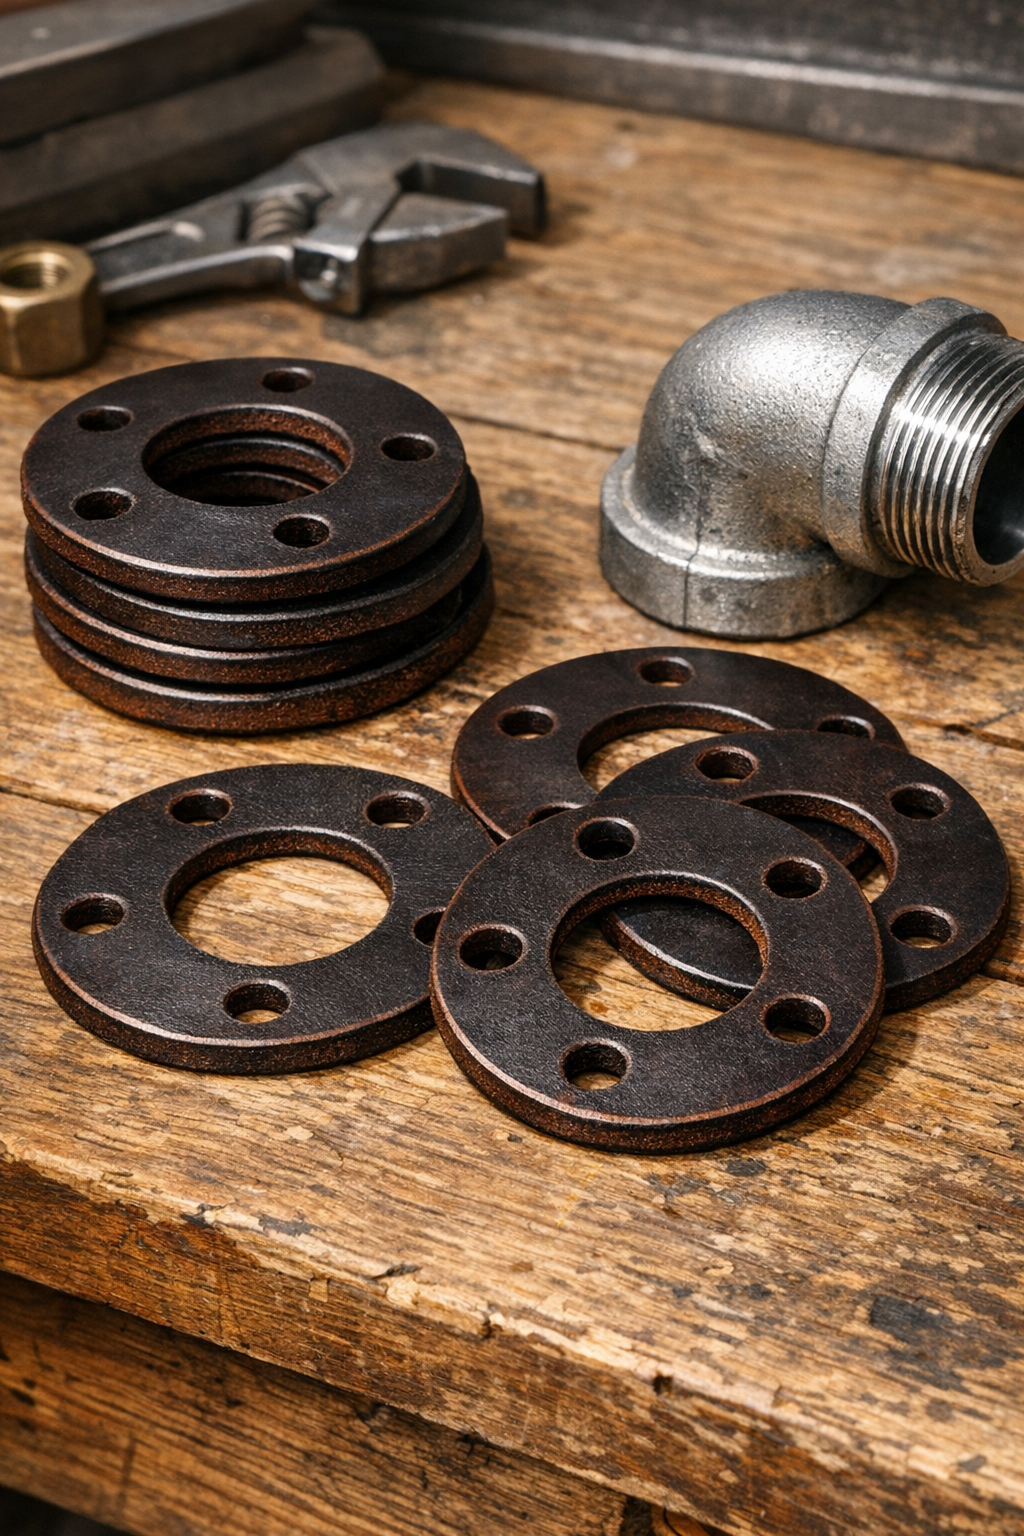
Variations & Tips
Best belt choice: Full-grain or thick genuine leather belts work better than bonded leather. If the belt has a fabric backing or is peeling in layers, skip it and find a more solid piece.
Where to use them: I like these for older utility connections, hose-adjacent fittings, and light-duty workshop repairs. I would not use homemade gaskets for gas lines, potable water systems where code applies, or high-pressure applications.
Thickness adjustment: If you need a slightly thicker gasket, cut two matching pieces and laminate them with a very thin smear of petroleum jelly between layers during pressing, then punch the holes after they dry together.
Sizing trick: When I’m in a hurry, I use washers as tracing guides because they give me cleaner circles than freehand drawing. It’s one of those small shortcuts that makes the final result look much more polished.
Leak prevention tip: Let the finished gasket cool and dry completely before installation. If the leather is still damp or warm, it can change shape after you tighten the fitting.
Storage: Keep extra finished gaskets flat in a small box or envelope in your garage or utility drawer. Once you’ve gone to the trouble of making a few, it’s nice to have backups ready for the next repair.