
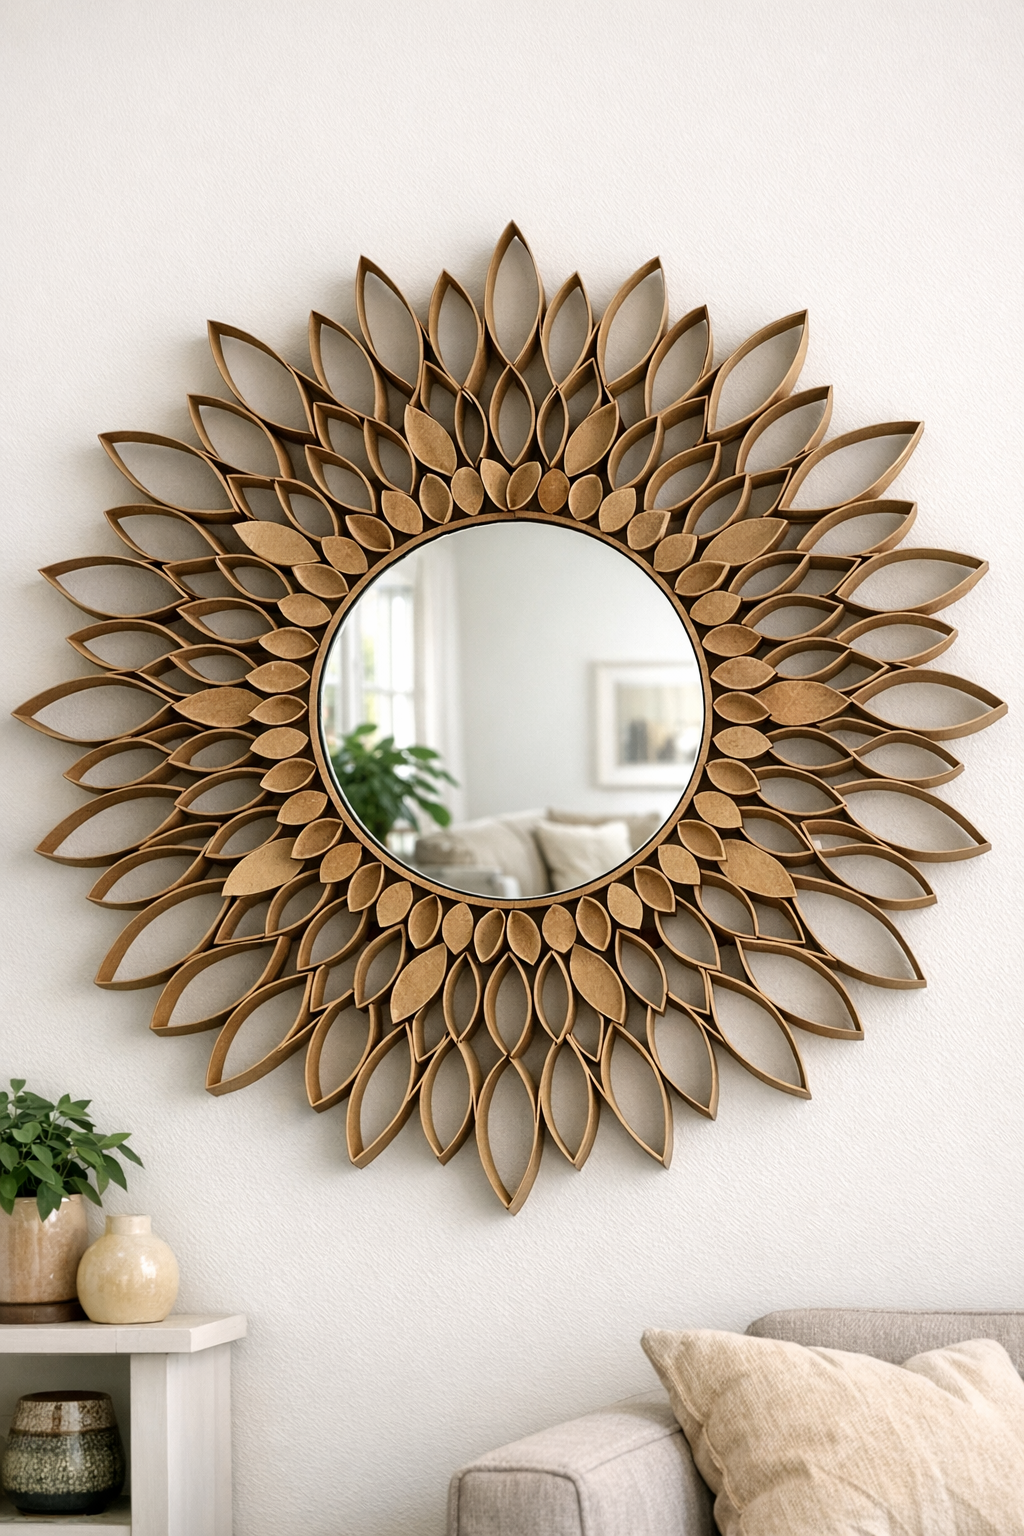
I’m always partial to a decorating project that turns the most ordinary household castoffs into something that looks surprisingly polished, and this sunburst mirror does exactly that. By slicing empty cardboard toilet paper rolls into rings and arranging them around a large round mirror, you can create a sculptural wall piece that feels modern, graphic, and a little bit mid-century without spending gallery-shop money.
This is a good project for anyone who likes upcycling, apartment-friendly décor, or low-cost statement pieces for a living room, entryway, or bedroom. The cutting is repetitive, so I like to treat it the way I do chopping onions for a big stockpot: set up comfortably, work in batches, and let the pattern build gradually.
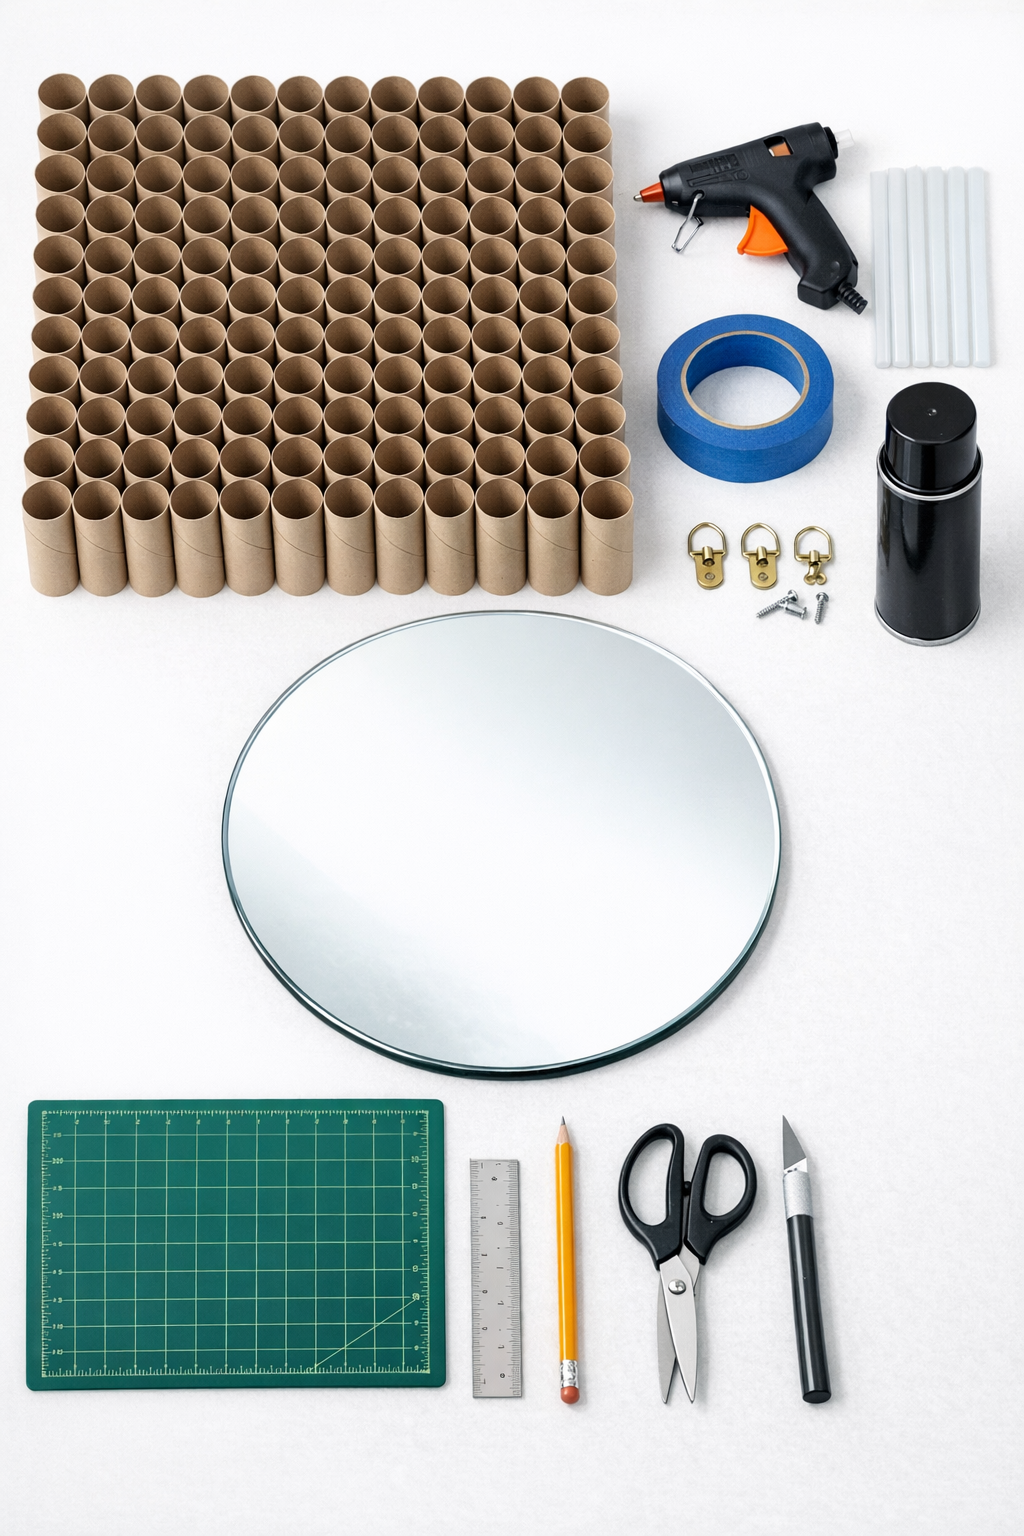
Materials
Instructions
1. Flatten each toilet paper roll lightly with your fingers so it’s easier to mark and cut evenly.
2. Use a ruler and pencil to mark each roll into 1/2-inch sections from end to end; each 4-inch roll should give you about 8 rings.
3. Cut all 100 rolls along the marked lines with sharp scissors or a craft knife to create approximately 800 cardboard rings.
4. Press each ring gently into an almond or petal shape by pinching opposite sides; keep some rings round if you want a little variation in the final pattern.
5. Sort the rings into piles of similar shapes and sizes so the design looks balanced as you build outward from the mirror.
6. If you want a painted finish, place the rings on protective paper and spray them in light coats of black paint; let them dry fully, then flip and paint the other side.
7. Lay the round mirror face up on a protected flat surface and dry-arrange one full layer of rings around the outer edge to establish the first sunburst row.
8. Glue the first row in place by applying a small bead of hot glue to each ring where it touches the mirror edge or neighboring ring, working in small sections so the spacing stays even.
9. Build a second outer layer by gluing more rings between the seams of the first row, overlapping slightly to create a fuller, radiating pattern.
10. Continue filling gaps with additional rings until the sunburst looks full and symmetrical, checking the shape from above every few minutes and adjusting before the glue fully cools.
11. Attach the hanger hardware to the back according to the package directions, adding a little strong adhesive if needed for extra security, and let everything cure completely.
12. Hang the mirror on a sturdy wall anchor or picture hook rated for the weight, then step back and make any final spacing tweaks by gently pressing the outer rings into alignment.
Variations & Tips
Natural cardboard look: Leave the rolls unpainted if you like a warmer, organic finish. The brown cardboard can look surprisingly sophisticated against white or charcoal walls.
Metallic version: Spray paint the rings matte gold, bronze, or satin silver for a more glamorous living room piece. I’d still use light coats so the ring edges stay crisp rather than gummy.
Pattern control: Before gluing, arrange the rings in quarters around the mirror so each side matches. This is much like balancing seasoning in a dish; small adjustments early make the whole result feel more intentional.
Cleaner cuts: If your scissors start crushing the tubes, switch to a craft knife and cutting mat. Sharp tools make a real difference here, especially when you’re cutting a hundred rolls.
Stronger build: For a very large mirror, glue the rings first onto a hidden round backing board cut 1 to 2 inches larger than the mirror, then mount the mirror on top. That adds rigidity and makes hanging easier.
Dusting tip: Use a soft paintbrush or a vacuum brush attachment to clean the finished piece. The layered rings collect dust the way decorative molding does, so a gentle once-over keeps it looking fresh.