
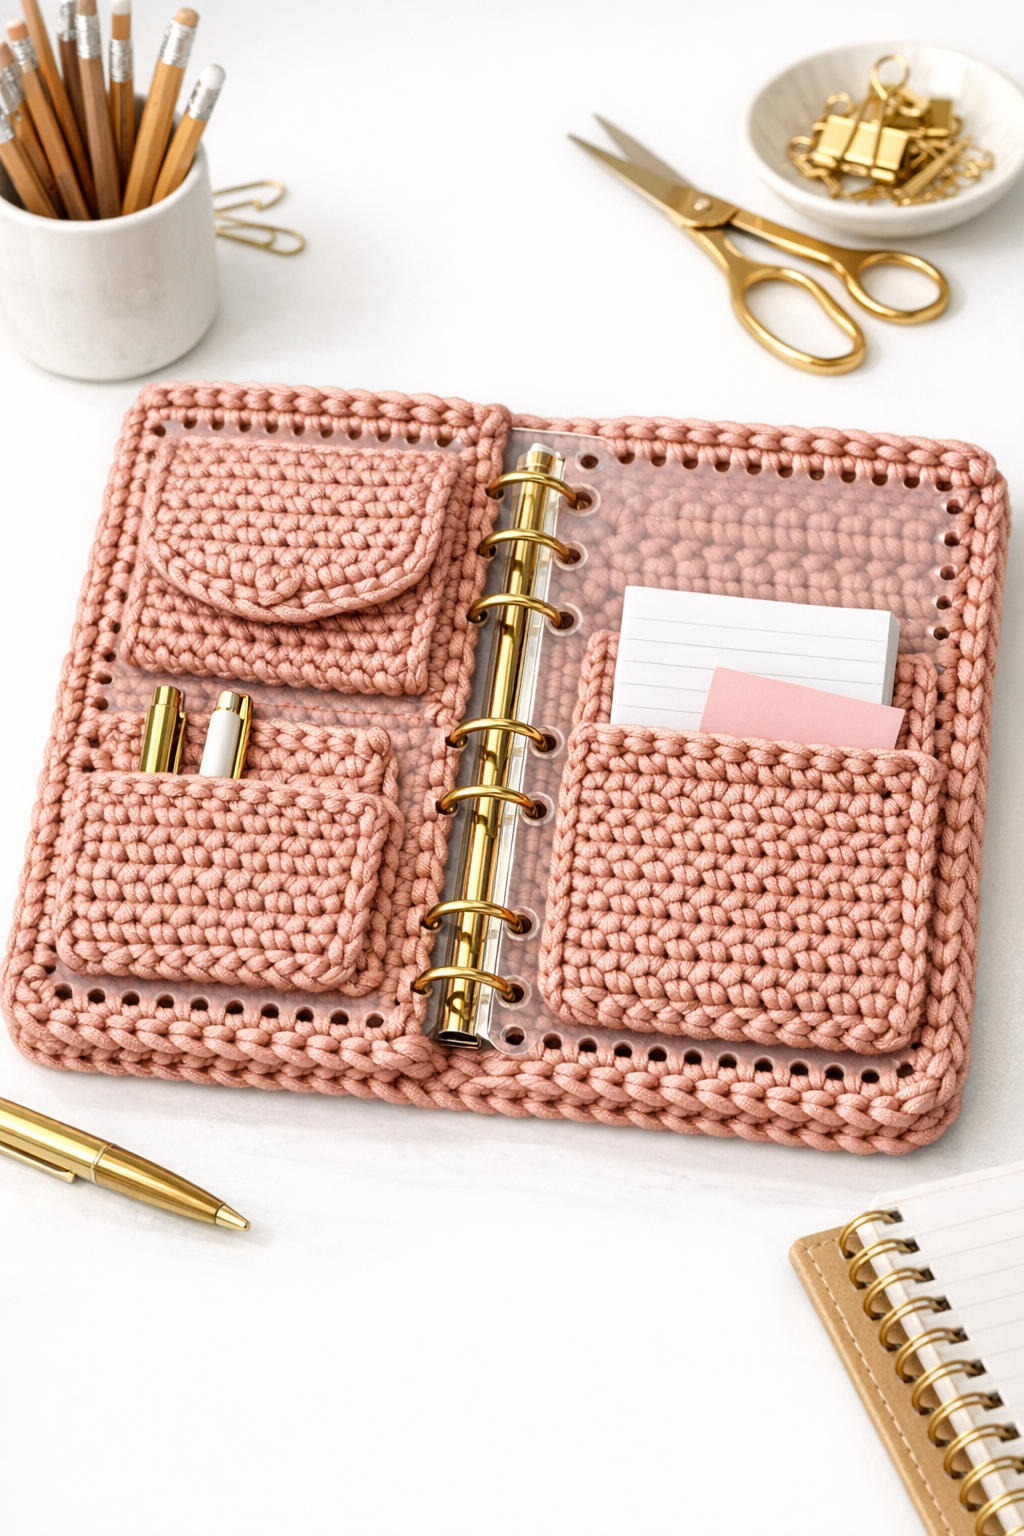
I’ve always had a soft spot for practical things that still feel a little bit pretty, and this planner cover is exactly that kind of project. We’re taking an ordinary dollar store plastic cutting board, drilling holes around the edge, and then crocheting thick rose gold yarn right through it to make a sturdy, designer-looking back-to-school planner cover. It’s clever, budget-friendly, and satisfying in the way only a good upcycle can be.
What I love most is that this is a beginner-friendly crochet project with a polished finish. If you can make simple stitches and don’t mind a little measuring and drilling, you can turn humble materials into something that looks like it came from a boutique stationery shop. It reminds me of the way we used to dress up everyday household items on the farm—make it useful first, then make it lovely.
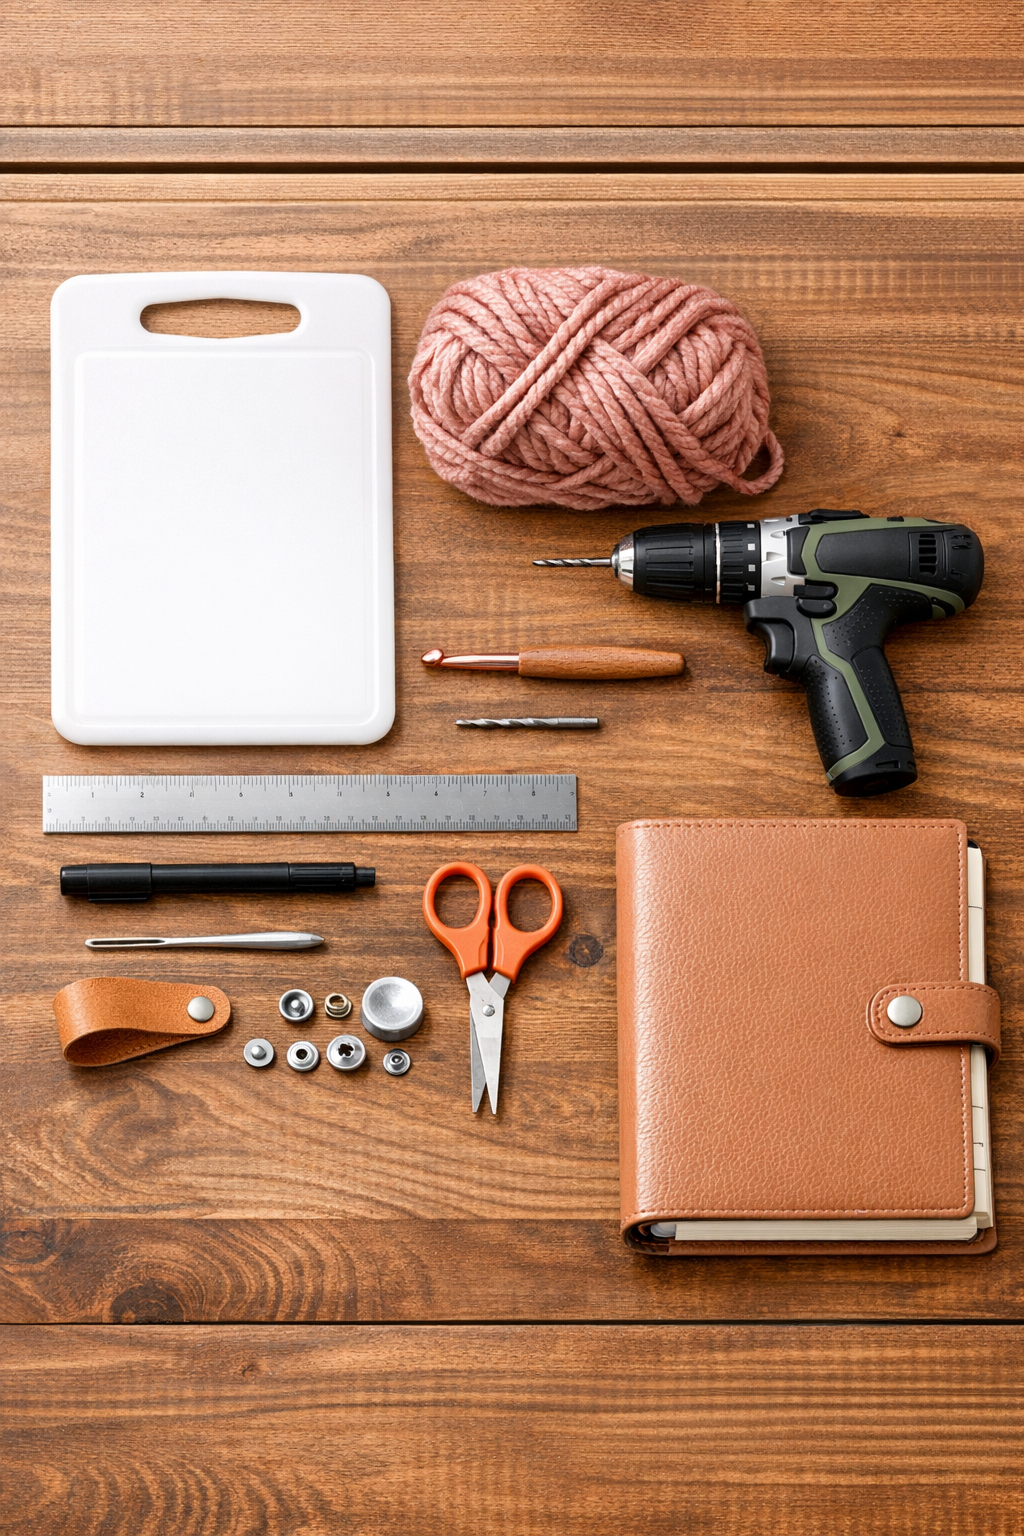
Materials
Instructions
1. Place your planner on the cutting board and mark out a rectangle large enough to wrap around the front, spine, and back, leaving about 1/2 inch extra on all outer edges.
2. Cut the plastic cutting board to size if needed, or trim it down with sturdy scissors or a craft knife suited for thick plastic.
3. Use the ruler and marker to mark evenly spaced dots around the full outer edge of the plastic, about 3/8 inch from the edge and about 1/2 inch apart.
4. Drill a hole at each marked dot, working slowly so the plastic stays neat and doesn’t crack.
5. Lightly sand any rough edges around the holes, then wipe the board clean so the yarn won’t snag while you crochet.
6. Fold the board around the planner to check the fit, and gently score or bend the spine area if your plastic is stiff so it wraps smoothly.
7. Tie the yarn onto one corner hole and work one single crochet through each drilled hole all the way around the outer edge, adding 3 single crochets in each corner hole area as needed to help the cover turn nicely.
8. Join the round and work a second round of single crochet into the first round all the way around, keeping your tension even so the edging looks full and luxurious.
9. If you want more texture, work a third round in half double crochet or a simple shell pattern, making sure the stitches still lie flat against the plastic.
10. Fold the left and right sides inward to create inside flaps that will hold the planner covers, then mark where those flaps should sit.
11. Crochet two flat rectangular flap panels in rose gold yarn, each about 2 1/2 inches wide by 7 1/2 inches tall, using single crochet rows until they fit your planner height.
12. Sew each flap panel onto the inside of the cover with the yarn needle, stitching through the edge crochet and around the side and bottom of each flap, leaving the top open.
13. Slide the front and back planner covers into the crocheted flaps and test the fit, adjusting the stitching if the planner feels too loose or too snug.
14. Add an optional closure by attaching a snap, magnetic snap, or hook-and-loop dot at the front edge so the planner stays closed in a backpack or tote.
15. Weave in all yarn ends securely, trim them neatly, and give the cover one last wipe so the plastic and stitches look clean and finished.
Variations & Tips
Add a softer interior: Glue a piece of felt or lining fabric inside the center panel before attaching the flaps if you want the inside to feel more polished and protect delicate planner covers.
Try a metallic neutral: Rose gold is beautiful for this project, but champagne, taupe, soft gray, or cream super bulky yarn will also give you that expensive-looking finish.
Mind the hole spacing: Even spacing matters more than anything here. If the holes wander too much, the crochet edge can look uneven, so take your time marking before you drill.
Use the right plastic: A slightly flexible cutting board is easiest to work with because it wraps around the planner without fighting you. If your board is very stiff, warm indoor room temperature helps it bend more gently.
Keep stitches simple: I find that plain single crochet often looks the most refined on a project like this. It lets that lovely rose gold color shine and gives the whole piece a tidy, tailored look.
Make it school-ready: You can sew in a small elastic loop for a pen, add a pocket for sticky notes, or tuck a slim zip pouch inside if the planner is meant for everyday classes and errands.