
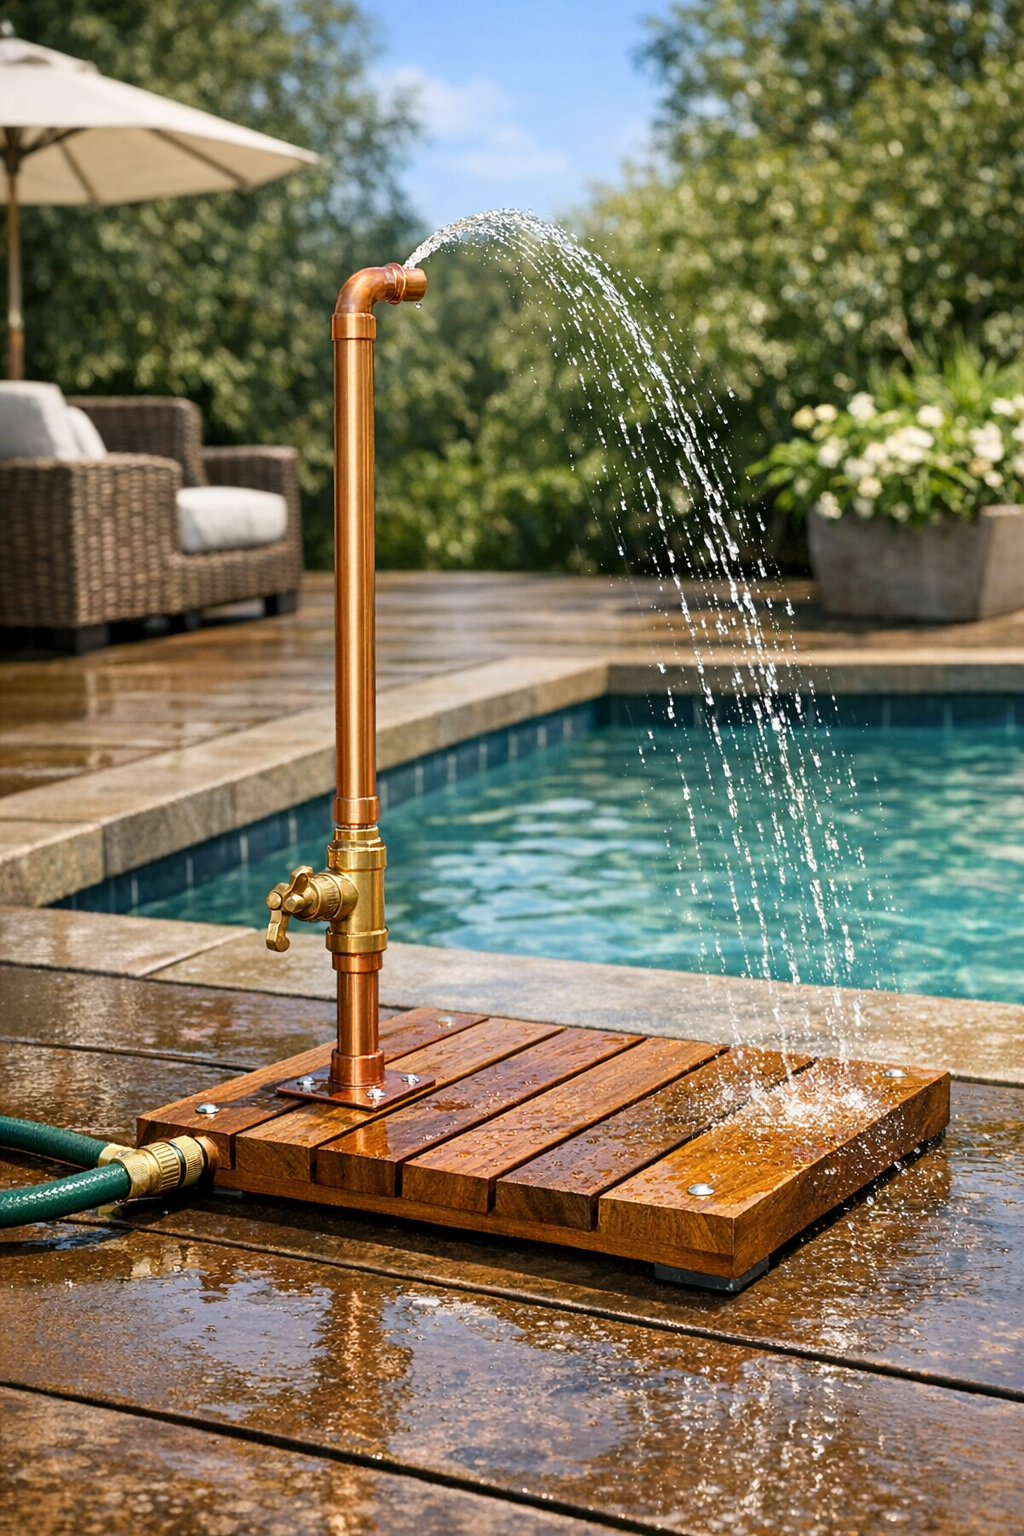
When the weather turns hot and the pool deck starts collecting grass clippings, mulch, and little bits of grit, I love having a simple way to rinse my feet before stepping into the water. This outdoor foot shower is a wonderfully practical yard project made from copper pipe, a garden hose connection, and a line of tiny drilled holes that create a gentle spray. It is compact, handsome, and surprisingly easy to build in an afternoon.
I’m especially fond of projects like this because they solve a real everyday problem without requiring a full plumbing overhaul. If you’re comfortable measuring, drilling, and tightening basic fittings, this is a very approachable build. The copper gives it a clean, classic look, and once it develops a natural patina outdoors, it fits beautifully beside a pool, patio, or garden path.
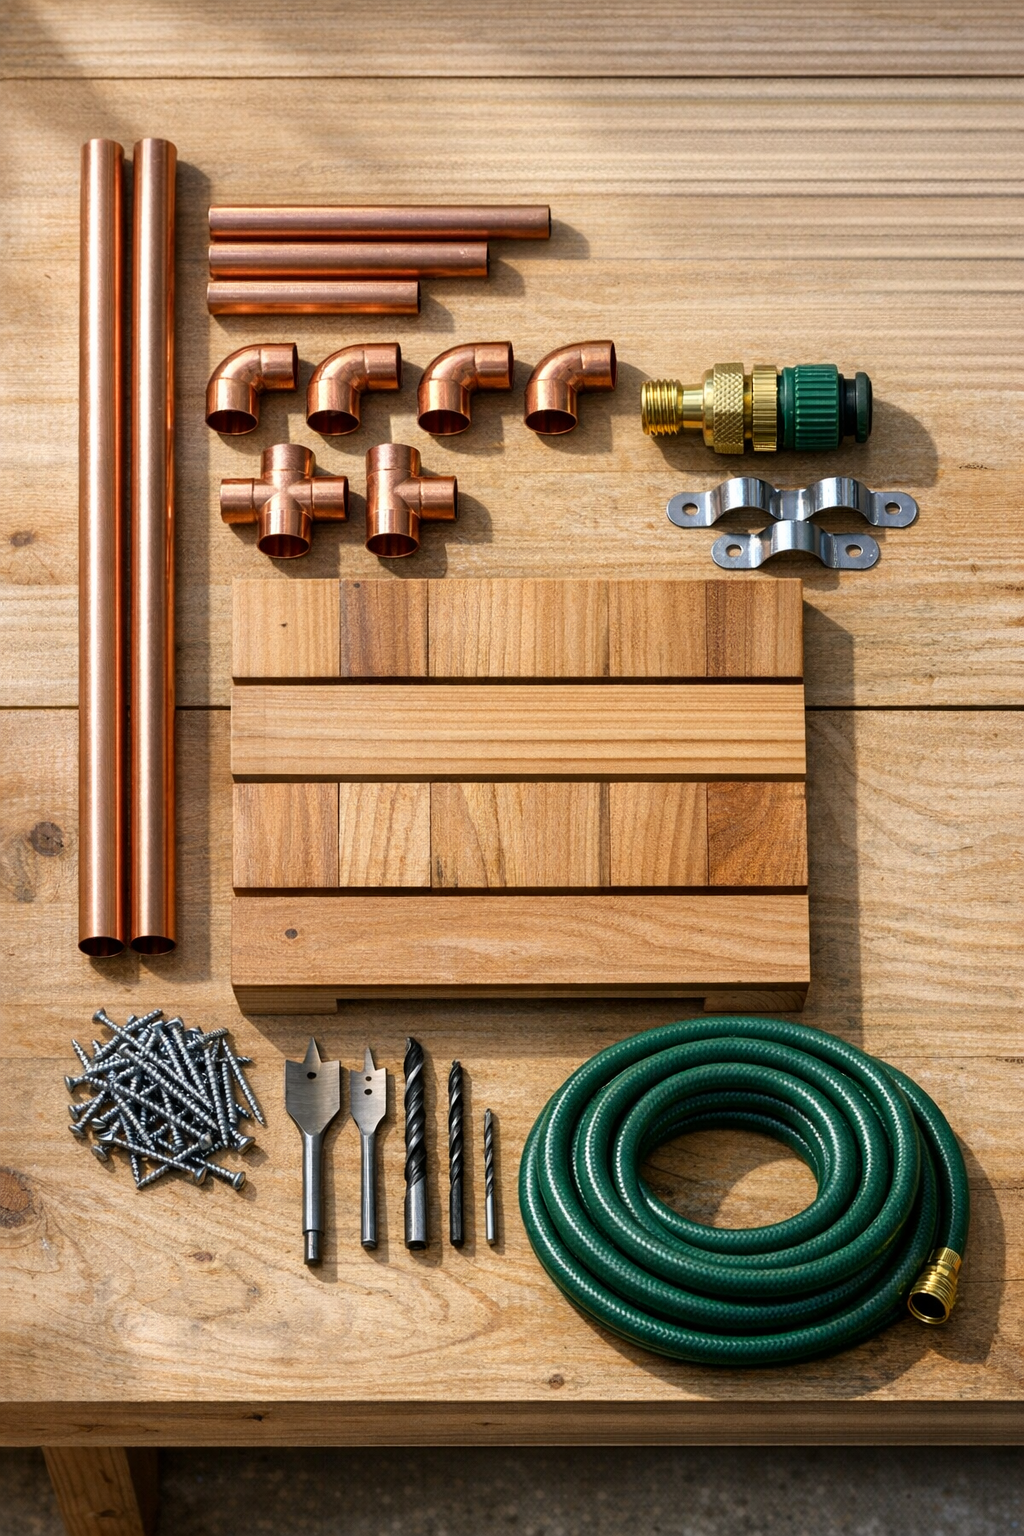
Materials
1 piece 1/2-inch copper pipe, 36 inches long for the vertical spray post
Instructions
1. Sand the wood base first with 120-grit sandpaper and then with 220-grit until the edges and faces feel smooth. Wipe away the dust and apply a coat of exterior wood sealer, then let it dry fully.
2. Dry-fit the copper pieces before drilling anything: insert the 36-inch pipe into the top of the tee, the 12-inch pipe into the bottom of the tee, and the 8-inch pipe into the side opening of the tee. Add the elbow to the end of the 8-inch pipe so the hose connection will face outward.
3. Mark a straight line down one side of the 36-inch vertical pipe, stopping about 4 inches from the top and 6 inches from the bottom tee. Along that line, mark spray-hole points every 3/4 inch.
4. Drill tiny holes at each mark using a 1/16-inch drill bit, keeping the holes on the same side of the pipe so the spray aims outward in one direction. Deburr the holes lightly with sandpaper so the water flow stays even.
5. Wrap PTFE thread seal tape around the threaded adapter and screw the hose-thread fitting onto the threaded copper adapter. Tighten it snugly, then attach that assembly to the elbow end of the horizontal arm.
6. Position the assembled copper frame on the sealed wood base with the 12-inch leg resting along the board and the drilled spray holes facing up and slightly outward. Fasten the pipe to the base with the two pipe straps and six screws so it sits firmly without wobbling.
7. Connect the garden hose to the hose-thread adapter and place the base on a flat surface near the pool or patio. Turn the water on slowly at first to check for leaks and to see how the spray pattern forms.
8. Adjust the water pressure until the holes create a gentle fan of water that rinses feet comfortably without spraying too far. If one hole shoots unevenly, clear it with the drill bit by hand and test again.
9. Set the finished foot shower where people naturally pause before entering the pool, and angle the spray side toward the standing area. Let the copper age naturally outdoors, or wipe it down occasionally if you prefer a brighter finish.
Variations & Tips
Wider spray: Drill a second vertical row of holes on the pipe, spacing it about 1/2 inch around the pipe from the first row. This gives a broader rinse if several kids are constantly running through from the yard.
More stable base: Use a longer or heavier base, such as a 24-inch board or a pressure-treated deck offcut, if your shower will live in a breezy open area. A little extra footprint helps it stay put on busy pool days.
Permanent installation: If you want a more fixed setup, mount the copper assembly to a short post or directly to a deck edge instead of a portable wood base. Just make sure the spray direction stays clear of walking paths.
Hole size control: Start with the smallest bit recommended here and test before enlarging anything. In my experience, it is much easier to increase the spray than to tame a pipe that shoots too hard.
Copper finish: Fresh copper has a warm shine, but outdoor exposure will gradually turn it deeper brown and then blue-green in spots. I happen to like that old-world look, especially around stone, brick, and landscaping.
Cold-water comfort: Place the foot shower in partial sun rather than full shade if your hose water tends to run chilly. Even a slightly warmed hose makes this little rinse station much more inviting.