
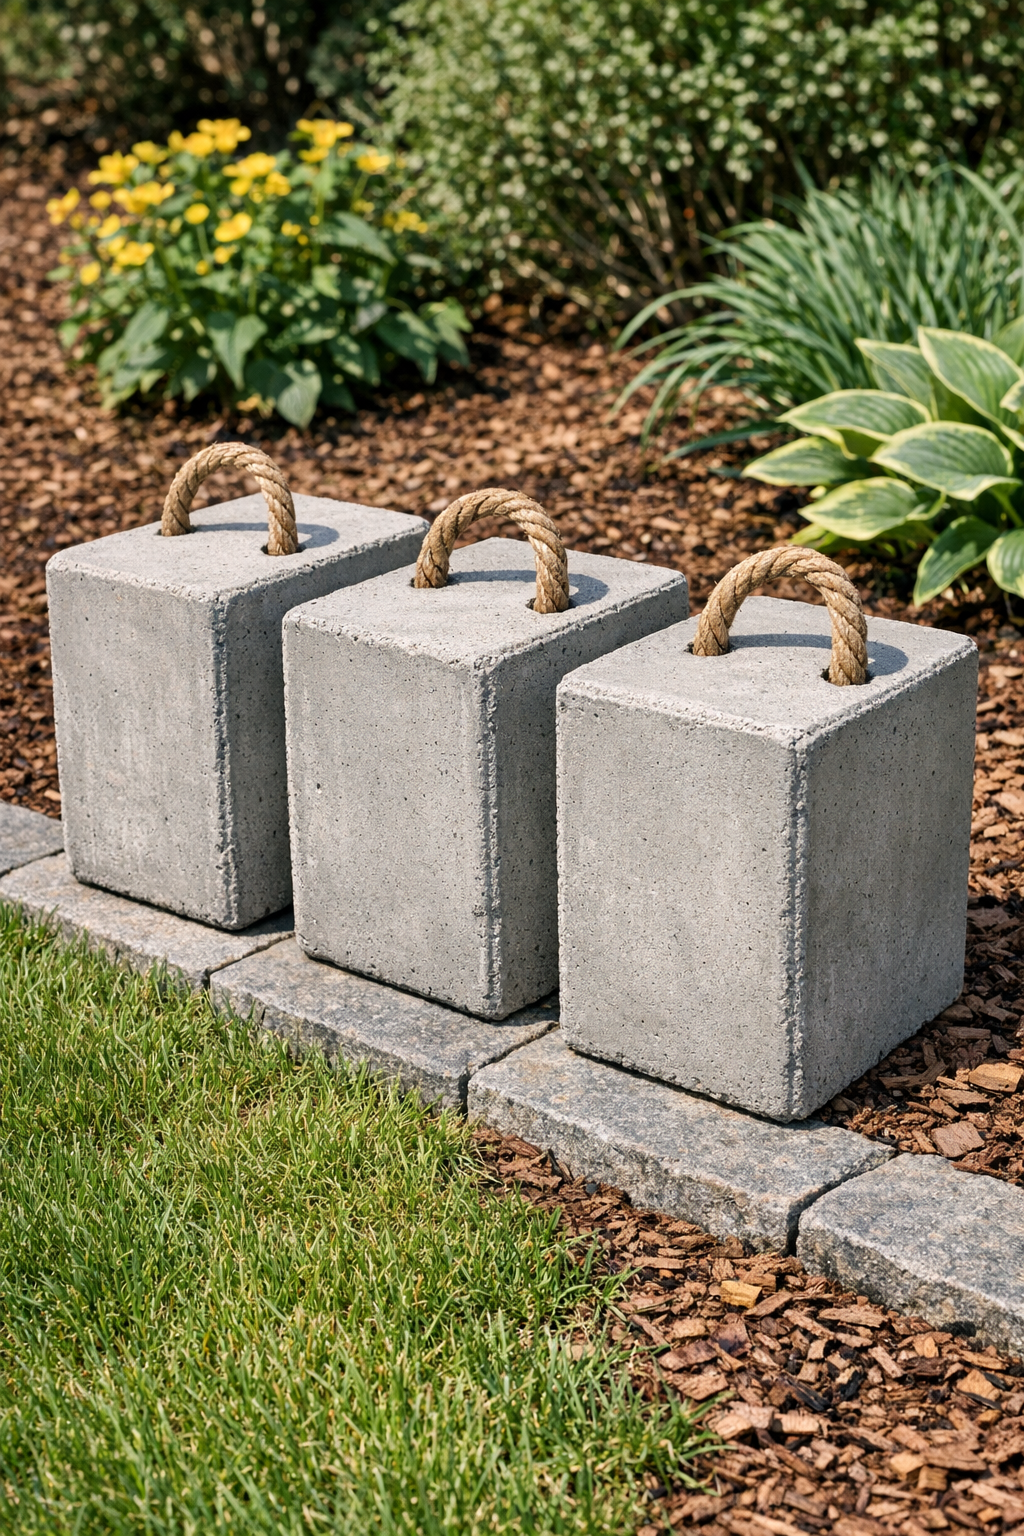
There’s something deeply satisfying about turning plain household castoffs into something sturdy enough to live out in the yard for years. These heavy modular yard blocks are made by packing plastic cereal containers with cement and a couple of simple everyday add-ins, and the result is a set of stackable, movable blocks you can use for edging, holding down tarps, defining garden corners, or building little no-dig borders around beds and paths.
I’ve always had a soft spot for practical projects like this—nothing fancy, just solid and useful. Out here, we learn to make do with what’s on hand, and I appreciate any project that keeps good plastic out of the trash while giving me something strong enough to stand up to weather, wind, and muddy boots. If you want an easy weekend project that doesn’t require woodworking tools or much fuss, this one is a fine place to start.
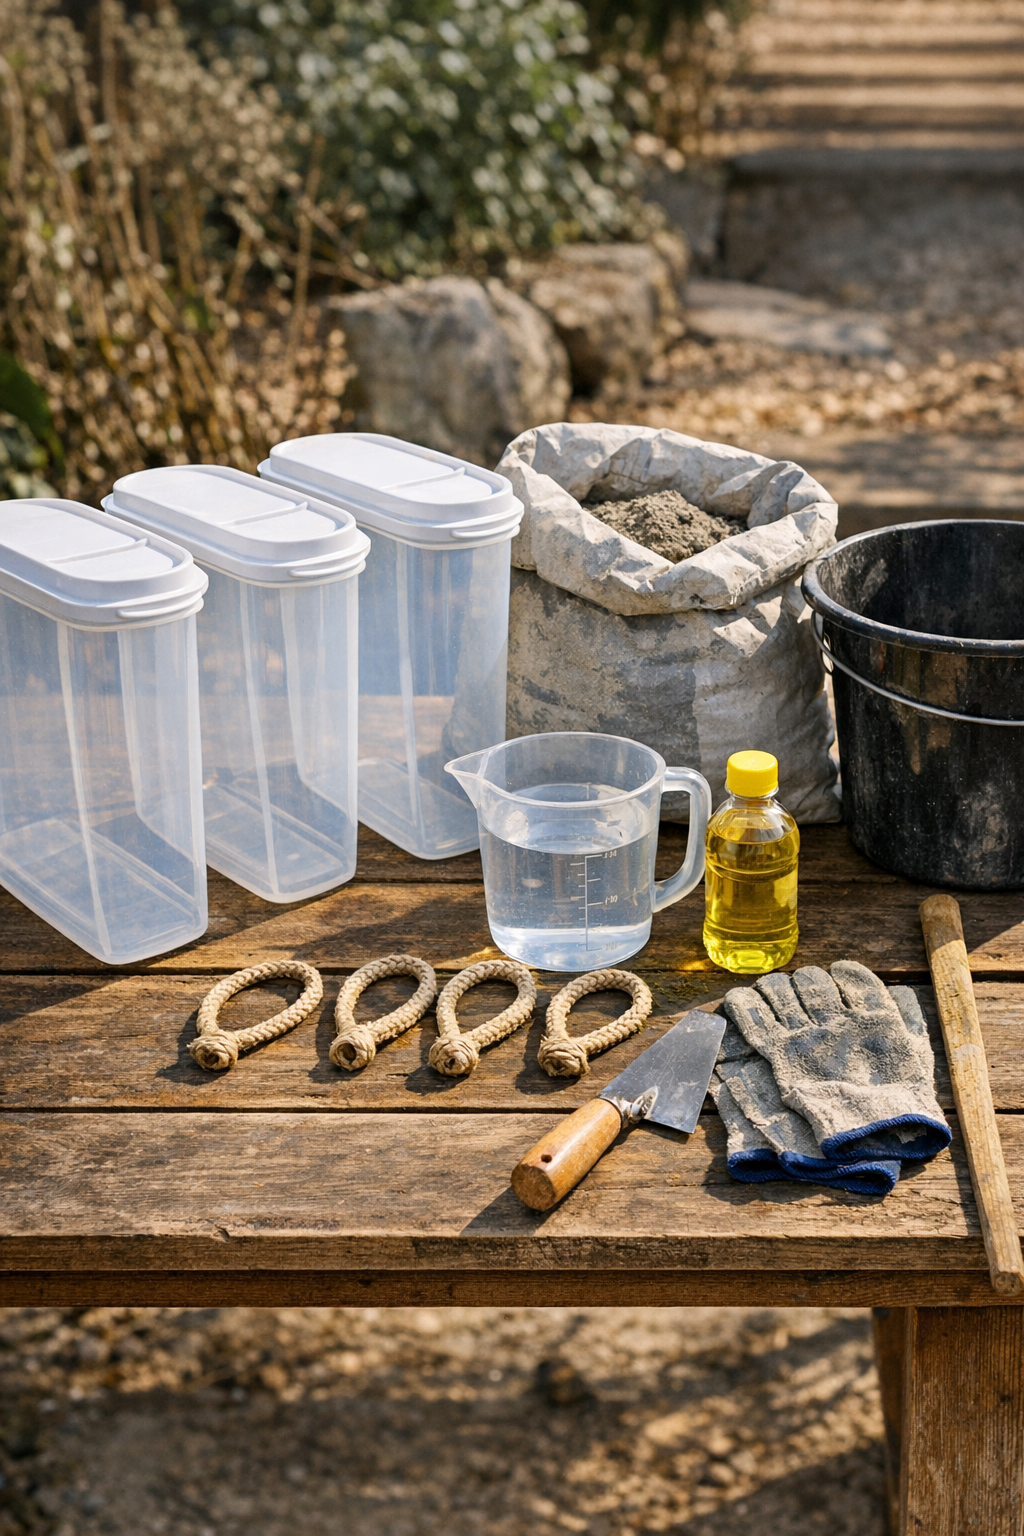
Materials
Instructions
1. Wash the cereal containers well, remove any crumbs or dust, and let them dry completely so the cement sets cleanly inside the molds.
2. Lightly coat the inside walls of each container with cooking oil or a thin smear of petroleum jelly to help the finished blocks release more easily later.
3. Cut or tie three rope loops so each one measures about 8 inches end to end, making a sturdy handle that will sit partly inside the cement and partly above the top.
4. If your containers have loose lids or flexible openings, tape them securely so the mold keeps its shape once filled.
5. Add a small handful of gravel to the bottom of each container if you want extra weight and a little more bulk without using quite as much cement.
6. In a bucket, mix the cement with water a little at a time until it reaches a thick, scoopable consistency like stiff oatmeal; it should hold shape but still settle when tapped.
7. Fill each cereal container halfway with cement, then tap the sides several times to release trapped air and help the mix settle into the corners.
8. Set one rope loop into each container, pressing the lower part down into the wet cement while keeping the top of the loop centered and sticking up above the finished block.
9. Add more cement until each container is filled to about 1/2 inch below the top edge, then tap the containers again and smooth the surface with a trowel or stick.
10. Let the containers sit undisturbed on a flat surface for at least 24 hours, or longer if the weather is cool, until the blocks feel firm and fully set.
11. Peel or cut the plastic containers away carefully, releasing the hardened blocks without tugging on the rope handles too hard.
12. Cure the blocks for another 2 to 5 days in a shaded spot, lightly misting them once or twice a day if the weather is hot and dry, before putting them to full use in the yard.
13. Arrange the finished blocks as modular weights, border markers, step-in path edges, or small stackable supports wherever you need a tough, movable outdoor element.
Variations & Tips
Add color: If you’d like these blocks to look a little more decorative, stir a small amount of concrete pigment into the dry mix before adding water. Earthy red, charcoal, and tan all suit a garden nicely.
Use different mold sizes: Larger cereal containers make bigger anchors, while smaller pantry containers make easier-to-lift border blocks. Just keep the shapes similar if you want them to stack neatly.
Try a hidden handle: Instead of leaving the rope loop exposed, you can press a short length of dowel across the top to form a handhold groove, then remove it before the cement fully hardens.
Make them more uniform: Set the containers on a level board before filling, and measure the cement height in each one. That small bit of care gives you a tidier set that fits together better.
Protect your work surface: Cement splashes have a way of getting where they don’t belong. I like to work over a scrap of plywood or an old feed sack so cleanup is quick.
Let them cure fully: The blocks may feel hard after a day, but they grow much stronger with a few extra days of curing. Patience here pays off, especially if you plan to move or stack them often.