
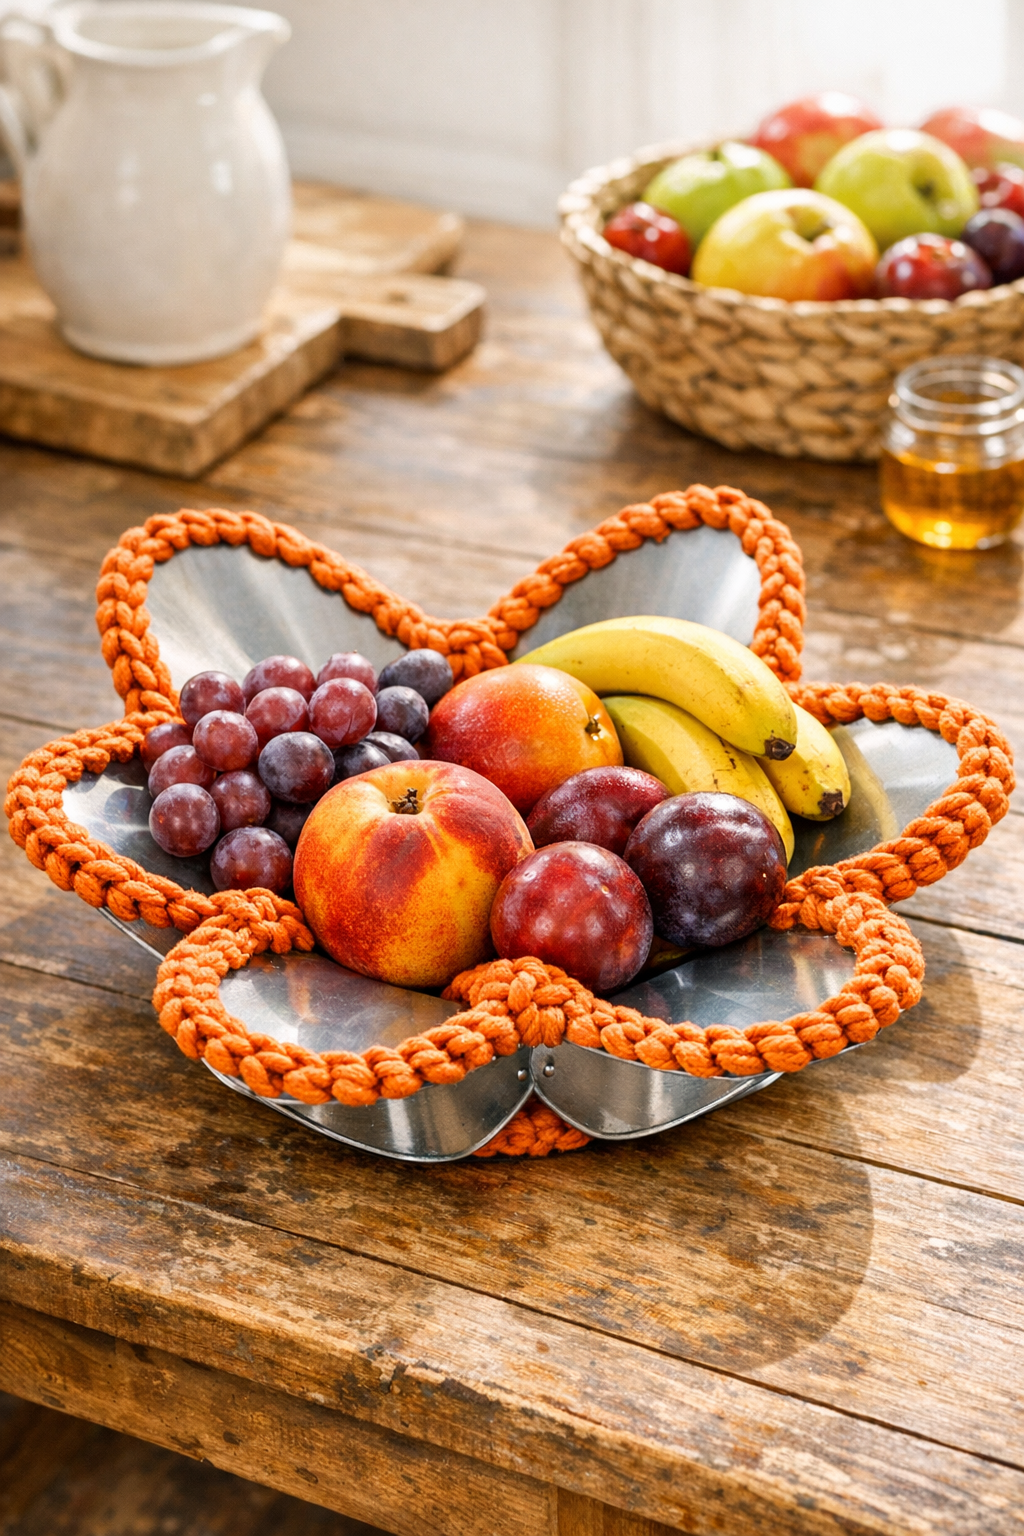
I’ve always had a soft spot for giving old household pieces a second life, especially when they can be turned into something both useful and pretty. This crochet fruit bowl starts with a set of old metal ceiling fan blades arranged in an overlapping flower shape, then gets softened and tied together with chunky sunset orange yarn. The finished piece has that late-summer look I love so much out here in the Midwest—warm, practical, and cheerful sitting on a kitchen table full of apples, peaches, or garden tomatoes.
If you’re comfortable with basic crochet stitches and don’t mind a little creative upcycling, this is a satisfying afternoon project. It’s especially nice for folks who enjoy home décor with a bit of farmhouse character, and it makes a lovely centerpiece without costing much more than time and a skein or two of yarn.
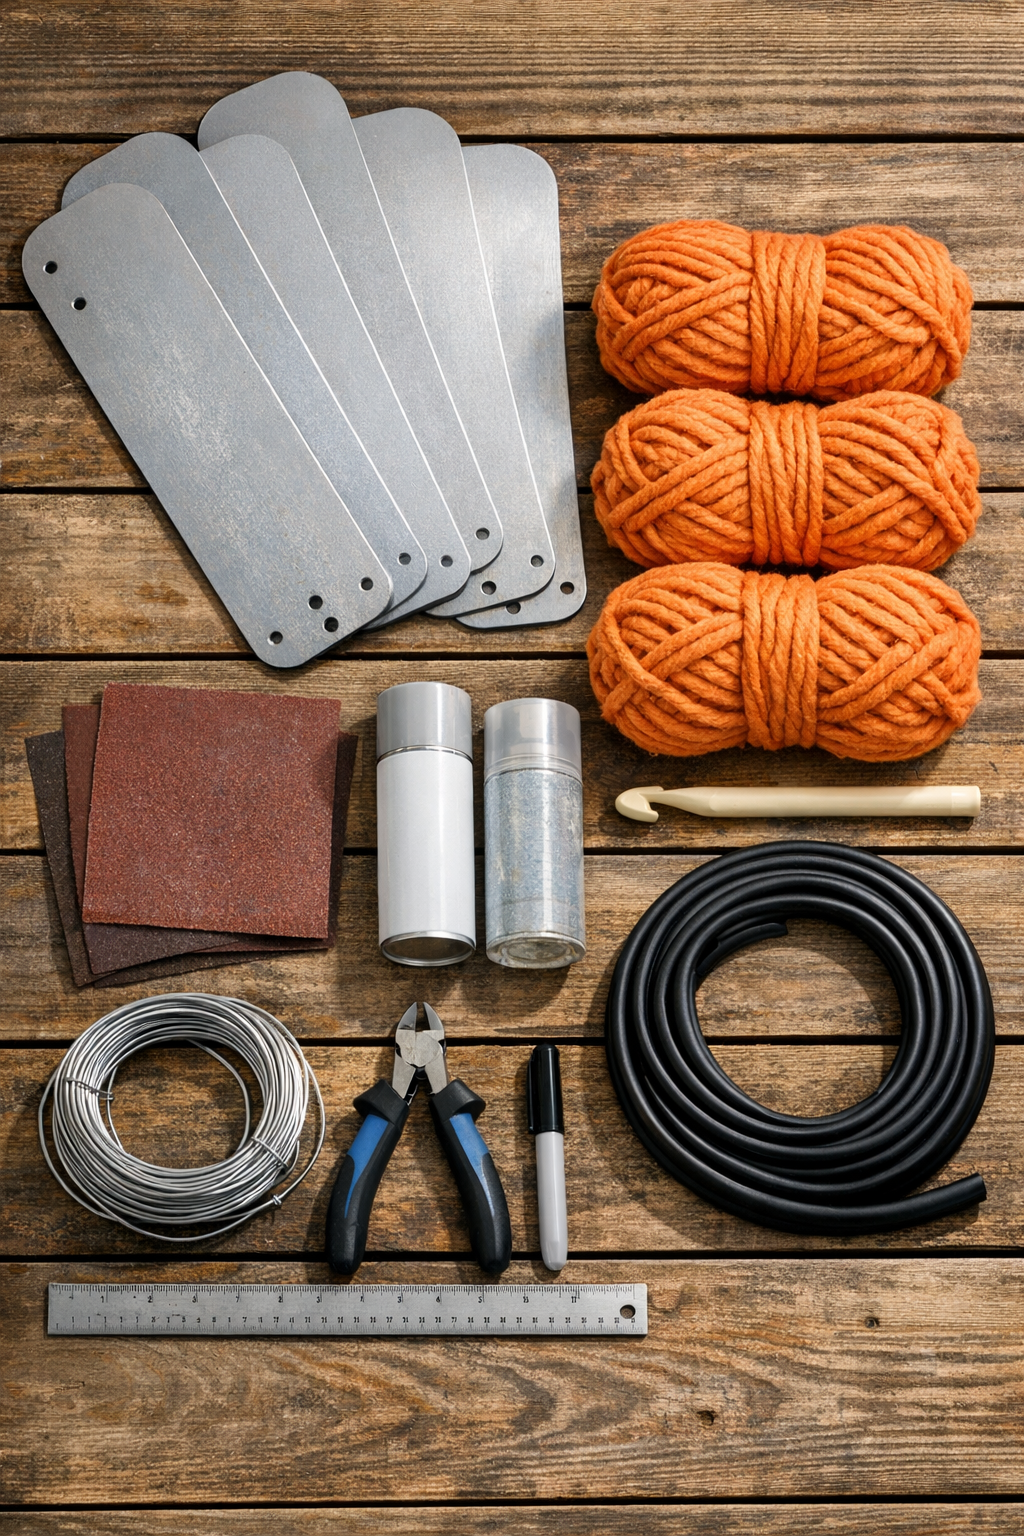
Materials
Instructions
1. Clean the ceiling fan blades thoroughly and remove any remaining screws, brackets, or loose hardware. Put on work gloves and inspect every edge to make sure there are no sharp burrs.
2. Sand the blade surfaces and edges first with 120-grit, then lightly with 220-grit, so the yarn won’t snag. Wipe away all dust with a damp cloth and let the blades dry fully.
3. If the metal is scratched or rusty, apply a light coat of metal primer and let it dry according to the can. Finish with a coat of clear sealer so the bowl holds up well in everyday use.
4. Arrange the 5 blades in a circle with the wider ends overlapping by 2 to 3 inches each, forming a flower pattern. Adjust them until the spacing looks even and the center opening is roughly 4 to 5 inches across.
5. Use small lengths of craft wire to temporarily fasten each overlapping point together. Twist the wire snugly with pliers so the shape holds while you crochet, but don’t over-tighten and bend the blades.
6. If any blade edges still feel sharp, press rubber edge trim along those sections before adding yarn. Trim the edge guard so it sits neatly and does not bunch at the overlaps.
7. Start at one overlap point and tie the yarn securely around both blades with a double knot, leaving a 4-inch tail. Work single crochet stitches tightly around the overlapped section, passing the hook through the gap where the blades meet and wrapping over the metal to bind the pieces together.
8. Continue crocheting around each overlap point, making 8 to 12 single crochet stitches per section, depending on blade width. Keep the tension firm and consistent so the yarn covers the wire and creates a padded connection.
9. Move from one overlap to the next without cutting the yarn whenever possible, using chain stitches across the inside curve to travel neatly. Crochet over those chain sections with single crochet to build a more finished rim around the center opening.
10. Once all overlaps are covered, work one more round of single crochet and chain stitches around the center opening to pull the blades into a shallow bowl shape. Add or skip a stitch here and there as needed so the center lies smooth and balanced.
11. To shape the outer bowl, crochet along the outer edge of each blade section where openings or handles naturally occur, anchoring yarn around the metal in evenly spaced wraps. This softens the industrial look and helps the flower form read as one finished piece.
12. Cut the yarn, pull the tail through the last loop, and weave in all loose ends securely around the stitched sections. Remove any temporary wire that still shows, or tuck it fully beneath the crochet so only the orange stitching remains visible.
Variations & Tips
Use a different yarn texture: Chunky cotton yarn gives a firmer finish than acrylic and is especially nice if you plan to hold heavier fruit like apples or pears.
Try a harvest color palette: Mustard, rust, deep red, or even variegated orange yarn can give this bowl a more autumn look. I think sunset orange is especially lovely because it reminds me of canning season and the last peaches of August.
Keep the bowl shallow: This design works best as a low fruit bowl or centerpiece rather than a deep basket. If you pull the center too tightly, the blades can sit unevenly, so shape it gently as you stitch.
Mind the edges: Old fan blades can vary quite a bit, and some are sharper than others. If I were making this with grandchildren nearby, I’d absolutely add edge trim anywhere a hand might brush the metal.
Make it decorative only: If your blades are heavily worn or oddly shaped, use the finished piece for lightweight decorative items like faux fruit, cloth napkins, or dried seed pods instead of everyday produce.
Check balance before finishing: Set the bowl on the table after joining the center but before weaving in ends, and nudge the blades until the shape looks even. A small adjustment at that stage saves a lot of fuss later.