
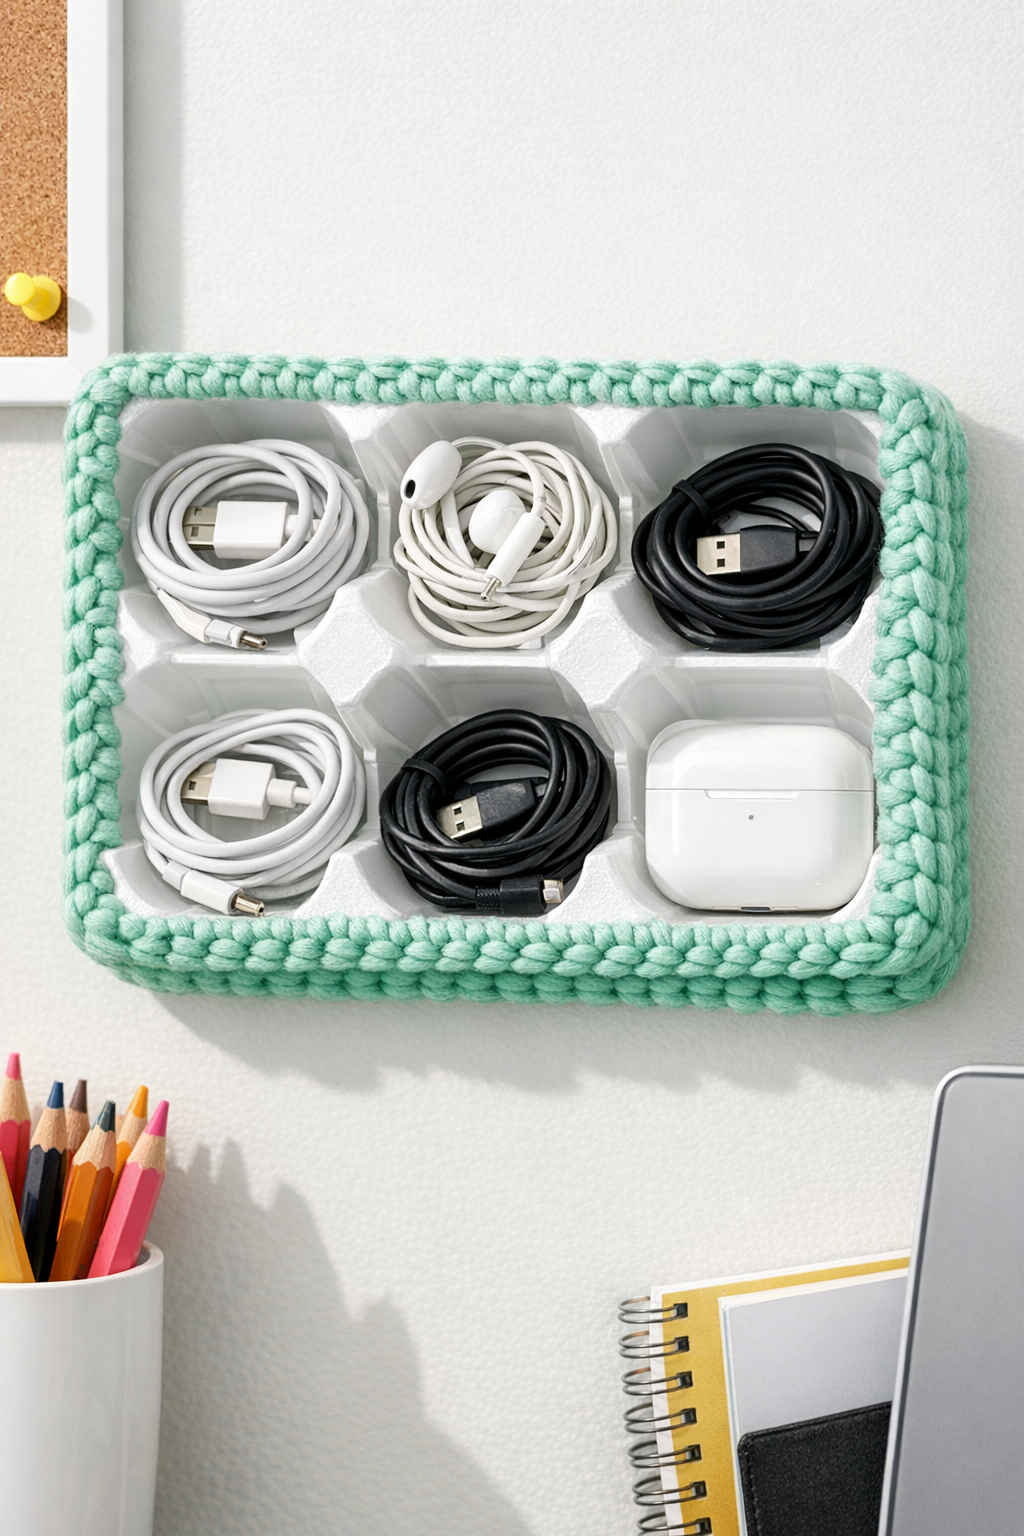
This little wall-mounted cord organizer is one of those projects I love because it turns something ordinary into something genuinely useful. By cutting the lids off a plastic egg carton and crocheting thick mint green yarn right through the carton, you get a neat row of pockets that can hold phone chargers, earbuds, and all those school-year cords that seem to multiply overnight. It is especially handy for dorm rooms, homework stations, and family command centers where clutter builds up fast.
As a parent, I am always looking for simple ways to make everyday routines feel less chaotic, and this is the kind of quick project that really helps. If you know basic crochet stitches and can handle a little careful cutting, you can make this in an afternoon. It is beginner-friendly, budget-friendly, and easy to customize for a student’s favorite color or a room’s style.
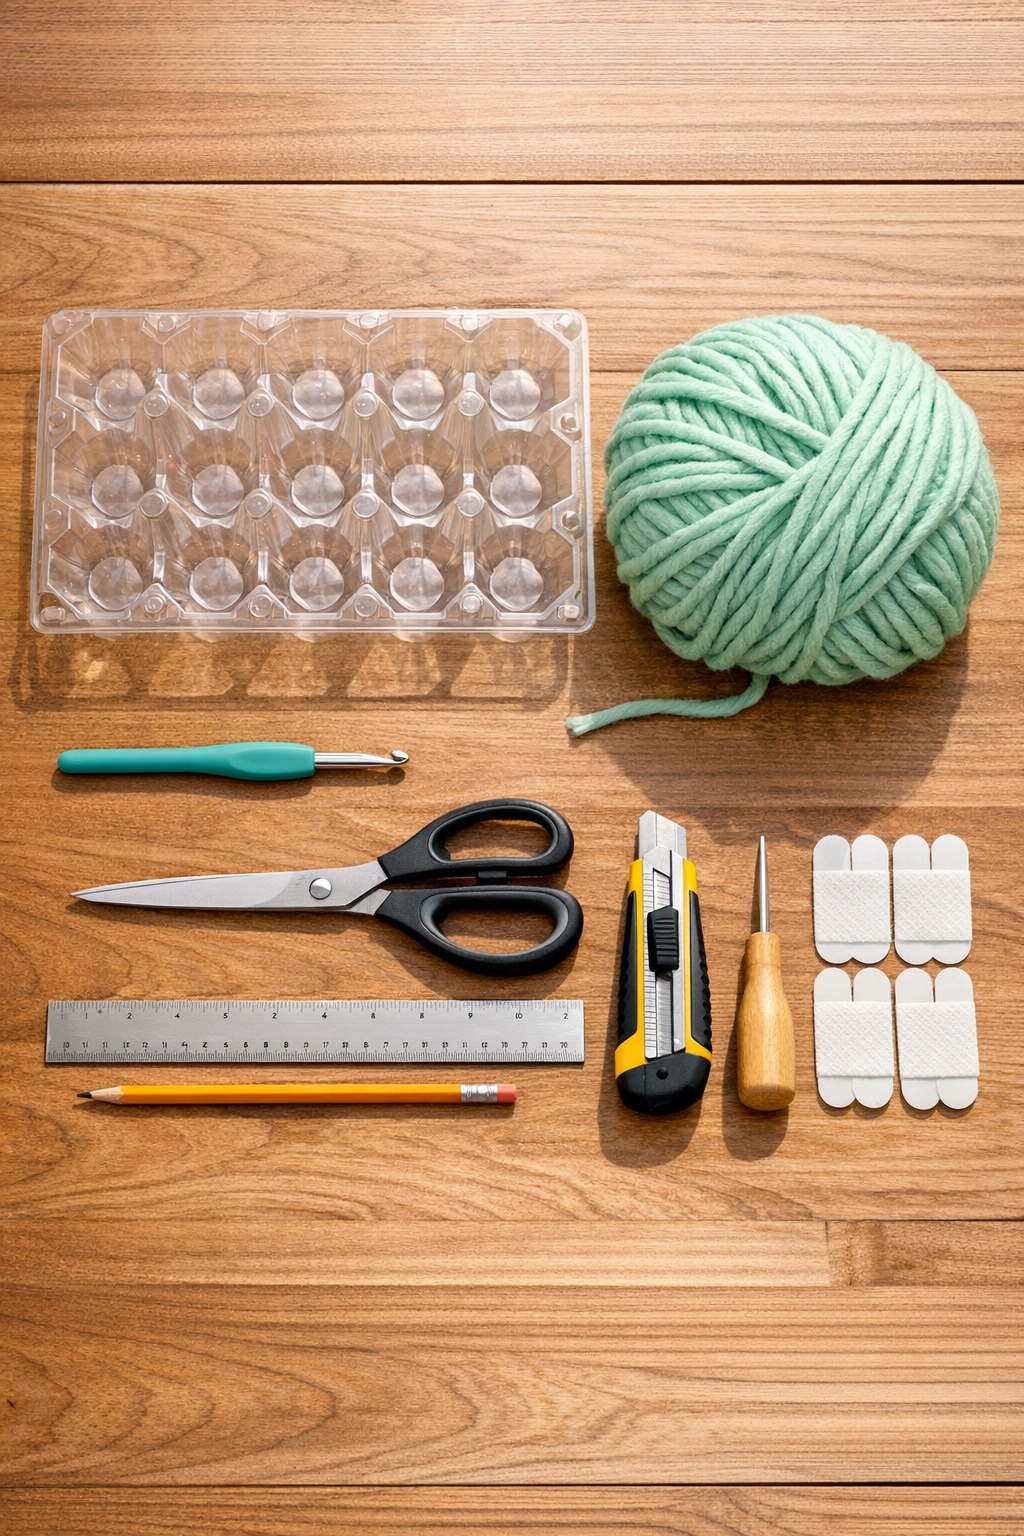
Materials
Instructions
1. Wash and dry the plastic egg carton, then remove any stickers or sticky residue so the yarn and wall strips will adhere neatly later.
2. Use scissors or a craft knife to cut the lid off the egg carton completely, keeping only the bottom section with the 12 cup openings.
3. Trim any jagged plastic edges and lightly sand them if needed so the carton is smooth and safe to handle.
4. Mark evenly spaced crochet holes around the top outer edge of the carton and, if you like, around a few front-facing edges of the cups where you want the yarn to wrap decoratively.
5. Carefully punch or pierce the marked holes, making each one large enough for the crochet hook to pass through without cracking the plastic.
6. Make a slip knot with the mint green yarn and begin by inserting your hook through one hole, pulling up a loop, and working single crochet stitches through each hole all the way around the top edge of the carton.
7. Keep the tension snug but not tight so the plastic does not bend; add one extra single crochet in each corner area to help the edging lie flat.
8. If you want more coverage, work a second round into the first crochet round using single crochet or half double crochet to create a thicker decorative border.
9. Add short rows or stitched wraps across selected front cup edges if you want each compartment to look more finished and colorful, then weave the yarn tail through nearby stitches and trim it.
10. Decide which side will be the top, then attach 4 heavy-duty adhesive strips or position 4 wall-safe hooks so the organizer will sit level and support the weight of chargers and small cords.
11. Mount the organizer on the wall, press firmly, and let the adhesive set according to the package directions before adding anything to the compartments.
12. Coil charging cables, earbuds, or USB cords loosely and tuck one bundle into each egg cup so the organizer stays tidy and easy to grab during busy school mornings.
Variations & Tips
Color swap: If mint green is not your student’s style, use school colors, a neutral cream, or a bright cheerful shade to match the room. I like choosing a color that makes the organizer easy to spot in a busy space.
For picky organizers: If the person using it likes everything sorted a certain way, assign one row for phone cords, one for earbuds, and one for adapters. In my house, anything that makes cleanup obvious tends to stick better.
Stronger mounting: If the organizer will hold heavier charging bricks, use small wall hooks through punched holes near the top edge instead of adhesive strips alone for extra support.
Cleaner crochet finish: If your hook catches on the plastic, widen the holes slightly before stitching. That one small step makes the crocheting go much more smoothly.
Kid-safe version: Skip the craft knife for younger crafters and have an adult do all the cutting and hole-making ahead of time. Then the fun part is simply stitching and decorating.
Add labels without labels: Instead of writing on the organizer, crochet small color accents on different sections so each compartment group has a visual cue. That keeps the project cute and useful without making it look too busy.