
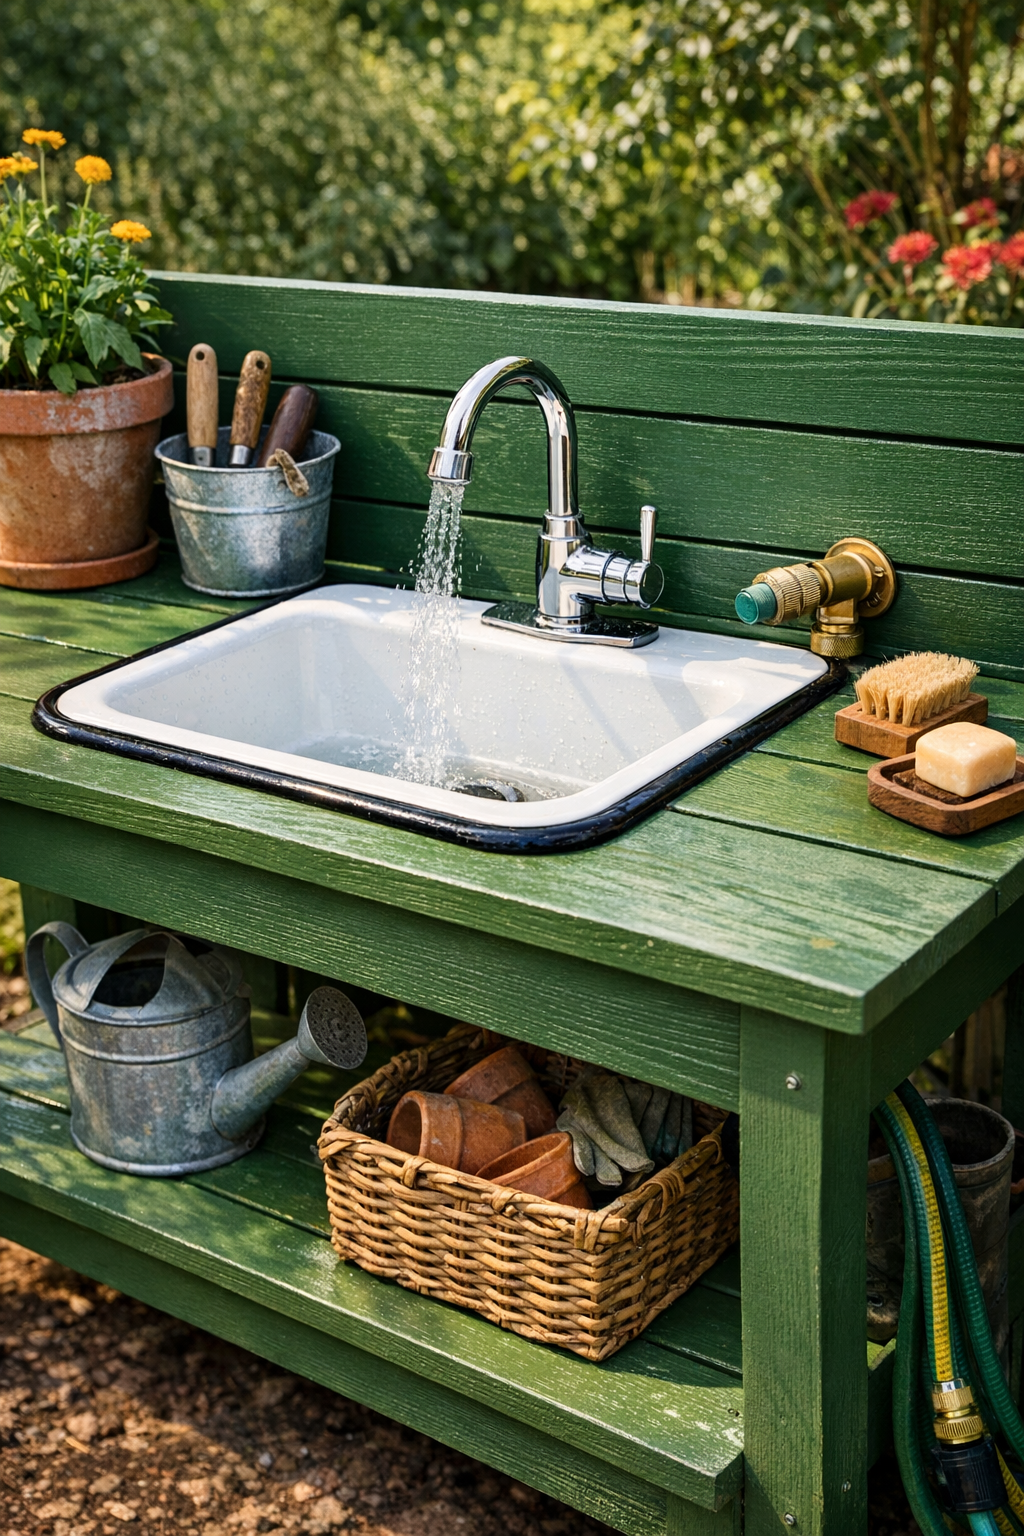
An outdoor garden sink like this turns a basic potting area into one of those hardworking backyard spots you end up using every single day. I love having a place to rinse muddy hands, wash harvest baskets, and clean up little garden tools without trekking dirt through the house. This project uses a vintage enamel basin mounted into a painted wooden potting bench, then connects it to a simple garden hose so the whole setup feels charming and practical at the same time.
If you enjoy gardening, potting up flowers, or just want a pretty outdoor workstation with real function, this is a wonderful weekend build. I’m always looking for ways to make outdoor chores easier for my family, and this one adds so much convenience without needing complicated plumbing.
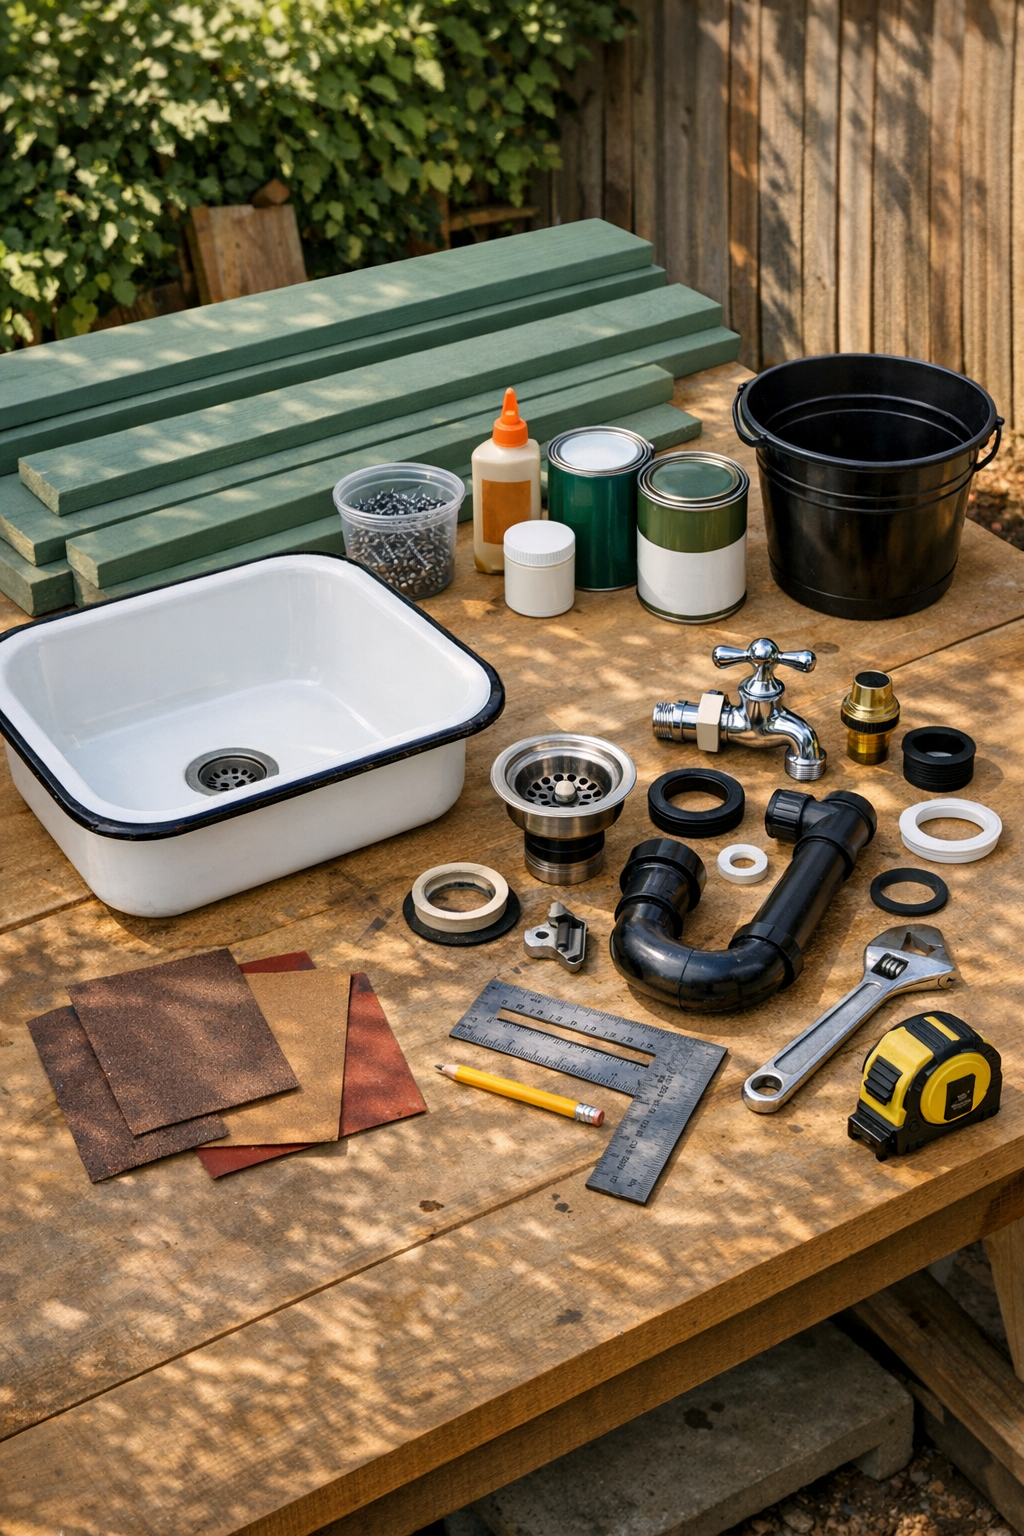
Materials
Instructions
1. Measure your enamel basin across the rim and at the deepest point so you can size the bench opening correctly before cutting anything. I like to sketch the bench with all the measurements first so nothing gets overlooked.
2. Build two rectangular side frames using the 36-inch and 34-inch legs with two 20-inch side rails on each frame, keeping the taller legs at the back for a slight work-surface rise. Fasten each joint with wood glue and 2 1/2-inch exterior screws.
3. Connect the side frames with the 45-inch frame rails at the top and lower shelf level to form the bench base. Check for square before tightening all the screws so the sink will sit evenly later.
4. Install the lower shelf supports and then attach the four 45-inch shelf boards across the bottom frame with small gaps for drainage. This shelf is handy for pots, soil tubs, or a watering can, which is how I always end up using mine.
5. Attach the 48-inch back brace across the rear top legs and secure the 24-inch faucet mounting board in the center where the faucet will sit above the basin. Add the diagonal corner braces to reduce wobble.
6. Dry-fit the five tabletop slats across the top and decide where the basin will sit, leaving enough counter space on at least one side for potting plants. Trace the basin rim onto the center slats, then mark a cut line about 1/2 inch inside the rim so the lip can rest on the wood.
7. Cut the sink opening carefully with a jigsaw, then test-fit the basin and trim as needed until the rim rests securely on the top. Sand the cut edges smooth so they do not splinter or catch moisture.
8. Remove the basin and sand the entire bench with 120-grit sandpaper, then smooth it with 220-grit. Fill any visible screw holes or rough spots with wood filler and sand again once dry.
9. Prime all wood surfaces, including the cut opening and underside edges, and let the primer dry fully. Apply two coats of exterior paint, then finish with a clear exterior sealer for extra weather protection.
10. Install the drain kit in the enamel basin using plumber’s tape and silicone sealant where recommended by the drain manufacturer. Set the basin into the opening and secure it underneath with metal mounting straps or clips and washers so it cannot shift.
11. Drill the faucet hole in the mounting board to match your faucet shank, then install the faucet tightly according to its hardware. Connect the garden hose adapter and flexible line so the hose can supply water directly to the faucet.
12. Place a 5-gallon bucket or gravel-filled catch container under the drain, then connect the drain outlet so runoff flows neatly below the bench. If you want, you can direct the water into a garden bed that likes extra moisture.
13. Turn on the garden hose slowly and test the faucet and drain for leaks, tightening fittings if needed. Once everything runs cleanly, load up the shelf and countertop with your favorite garden essentials and start using your new sink.
Variations & Tips
Paint color idea: Soft sage green, creamy white, and barn blue all look beautiful outdoors and pair nicely with the vintage enamel basin.
For picky gardeners: If family members are less excited about gardening, keep a small basket of hand soap, nail brush, and fresh towels nearby so the sink feels useful for everyone, not just plant chores.
Drain option: A simple bucket works well, but a gravel pit or flexible drain hose routed to thirsty shrubs can make the setup even more convenient.
Basin fit tip: If your basin has an uneven rim, make a paper template first and trace from that before cutting the top boards. It saves a lot of back-and-forth.
Weatherproofing: Reapply exterior sealer once a year, especially on the countertop and around the sink opening where water sits the longest.
Storage upgrade: Add hooks along the back brace for gloves, pruners, and little brushes. In my yard, those small touches are what keep a project truly useful day after day.