
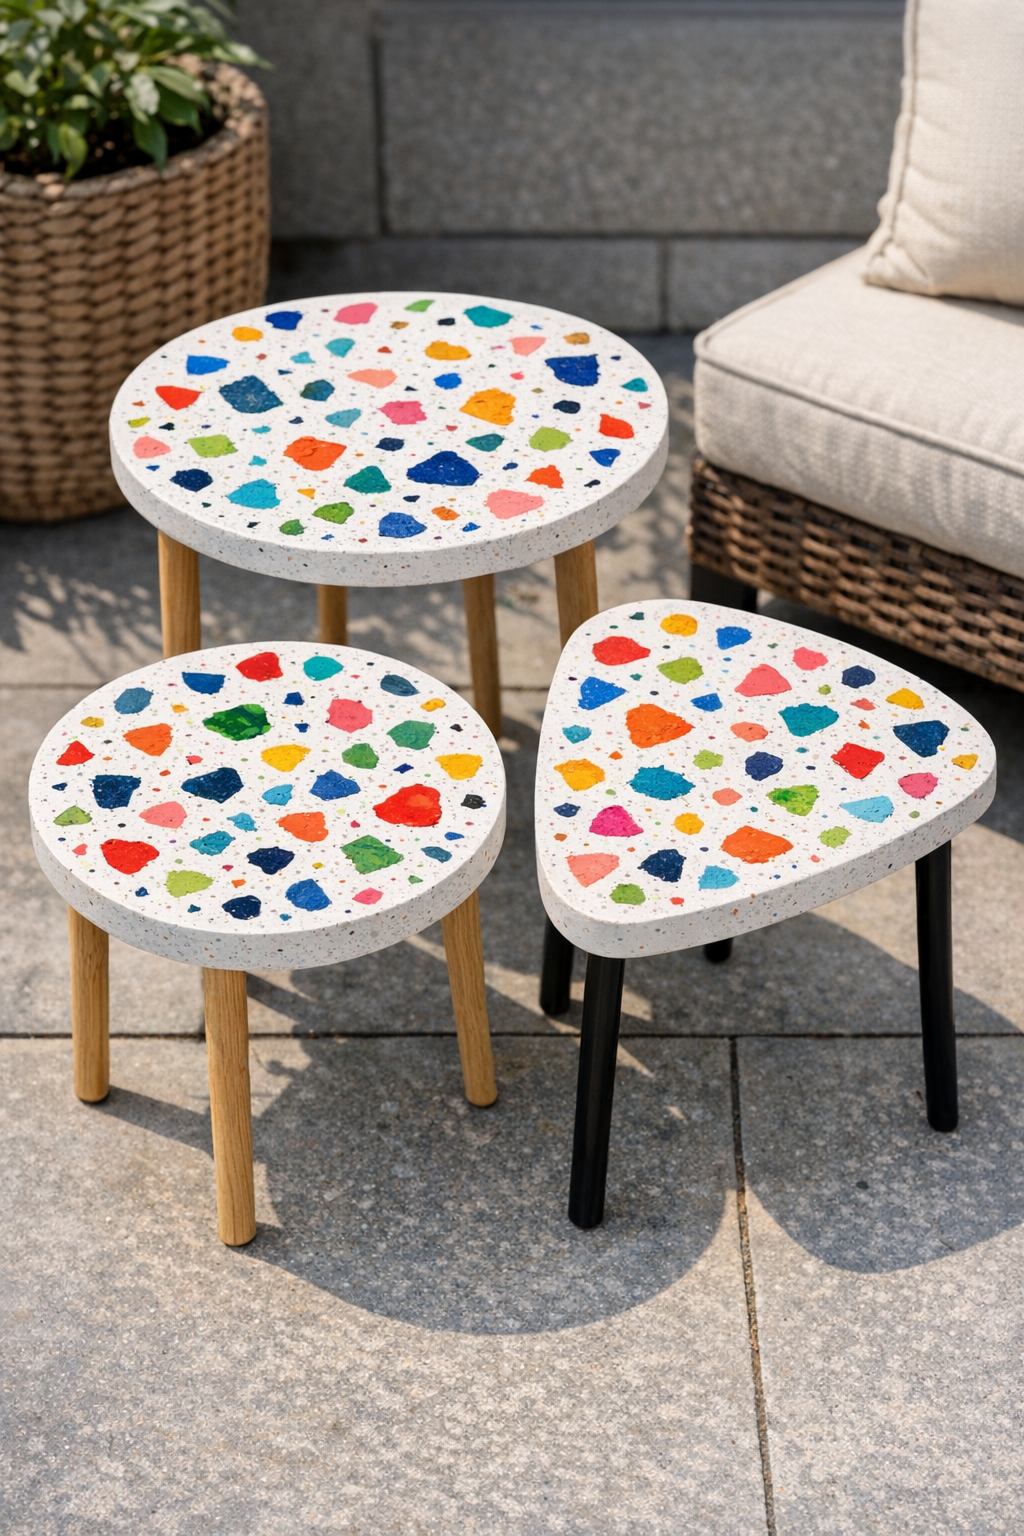
I love a project that looks designer-made but starts with the kind of odds and ends most of us already have tucked in a junk drawer or craft bin. These faux terrazzo patio tables use broken wax school crayons to create colorful, stone-like speckles on simple table surfaces, and the end result honestly looks far more expensive than it is. If you’ve ever wanted to refresh a plain outdoor side table set without buying new furniture, this is such a satisfying weekend upgrade.
This project is especially good for busy people who want a big visual payoff without a long supply list. I’m always trying to squeeze creative projects in between work, meal prep, and regular life, so I appreciate anything that can be broken into short sessions. With just a few basic materials and two simple tools to help melt and spread the wax, you can make a coordinated 3-piece patio table set with a playful terrazzo look.
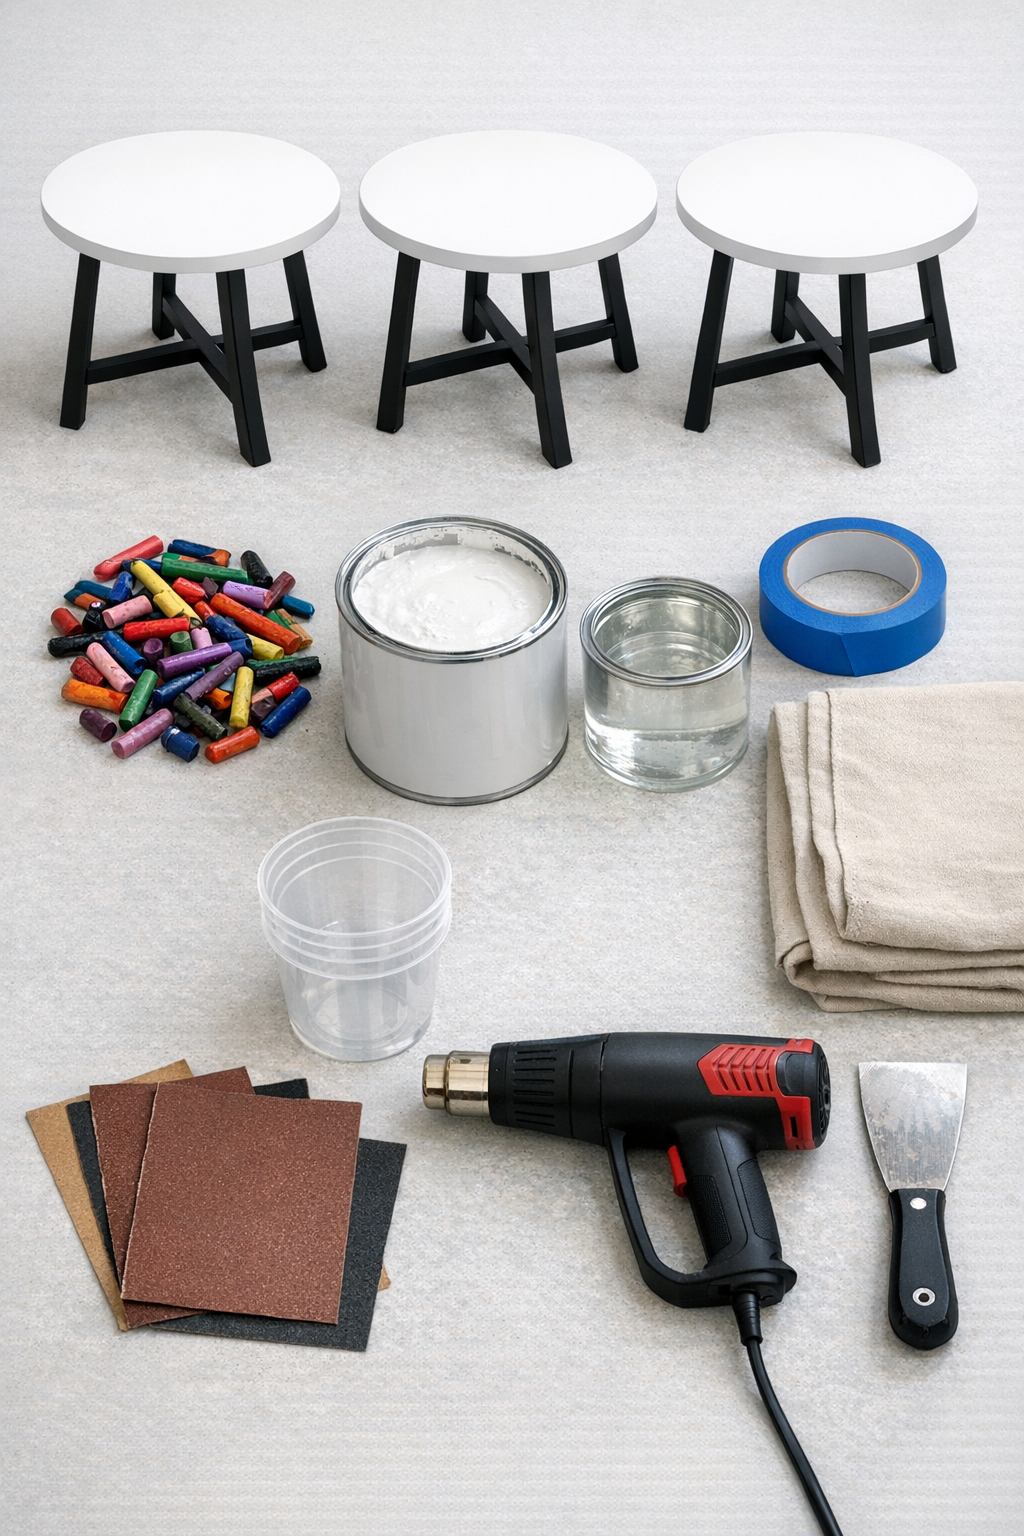
Materials
Instructions
1. Set up your work area on a drop cloth in a well-ventilated space, and clean all three table tops with warm water and a little dish soap to remove dust and residue.
2. Lightly sand each table top with 120-grit sandpaper, then wipe away the sanding dust with a damp paper towel so the paint will grip better.
3. Tape off any table legs or edges you want to keep clean, especially if you only want the terrazzo finish on the top surfaces.
4. Apply a thin, even coat of white outdoor paint to each table top and let it dry fully; this becomes the bright base that makes the crayon flecks stand out.
5. Sort the broken crayons by color and break them into small 1/4-inch to 1/2-inch chips so the melted pattern looks more like terrazzo than large puddles.
6. Scatter a light, random mix of crayon chips over the first painted table top, leaving some white space visible between the pieces.
7. Warm the crayon chips with the heat gun from several inches away until they just begin to soften, then gently press and drag some areas with the metal putty knife to flatten the wax into irregular terrazzo-like flecks.
8. Repeat the melting and flattening process until the surface has a balanced speckled pattern, then let the wax cool completely before touching it.
9. Create different color distributions on the second and third tables so the set coordinates without looking identical; I like one table a little bolder and the others slightly more sparse.
10. Once all three tops are fully cool, very lightly sand only any sharp or raised wax edges with 220-grit sandpaper so the surfaces feel smoother without removing the pattern.
11. Wipe the tops clean, then seal each one with a thin, even coat of clear outdoor sealer and let it dry according to the product directions.
12. Add a second coat of sealer for extra durability, allow the tables to cure fully, and then place them on your patio as a matching 3-piece set.
Variations & Tips
Color palette: Use only 3 to 5 crayon colors for a more polished look. If you toss in every color in the box, the finish can read more kid-craft than faux terrazzo.
Table choice: This works best on inexpensive metal, laminate, or sealed wood side tables with flat tops. I would skip valuable furniture for a first try and practice on budget pieces.
Heat control: Keep the heat gun moving so the crayons soften instead of turning into one big melted patch. The sweet spot is just enough heat to relax the wax so you can press it into flecks.
Outdoor placement: Put these tables in a covered patio or screened porch if possible. Wax can soften again in extreme direct summer heat, so some overhead protection helps the finish last longer.
Base coat options: White gives the crispest terrazzo effect, but pale beige, soft gray, or blush can also look really pretty. I’d keep the base light so the crayon pattern stays visible.
Easy cleanup: If wax gets where you do not want it, let it cool fully and lift it with the edge of the putty knife before sealing. That little pause saves a lot of frustration later.
Make-ahead tip: I like to do the sanding and painting one evening, then the crayon melting the next day. Breaking it up makes the project feel very manageable, especially on a busy week.