
I love a project that gives you a dramatic patio upgrade without asking you to buy specialty molds or expensive planters, and this one absolutely does that. By using inexpensive foam coolers as forms and filling them with cement, you can make heavy-looking yard boxes that feel substantial, weather-friendly, and surprisingly polished once planted. It’s the kind of outdoor transformation that makes a porch, deck, or garden edge look intentionally styled instead of pieced together.
What I especially like about this method is how approachable it is. If you’ve never worked with cement before, this is a forgiving beginner project because the cooler does most of the shaping for you. I’m always drawn to practical projects that look far more expensive than they are, and these boxes fit right in with that mindset.
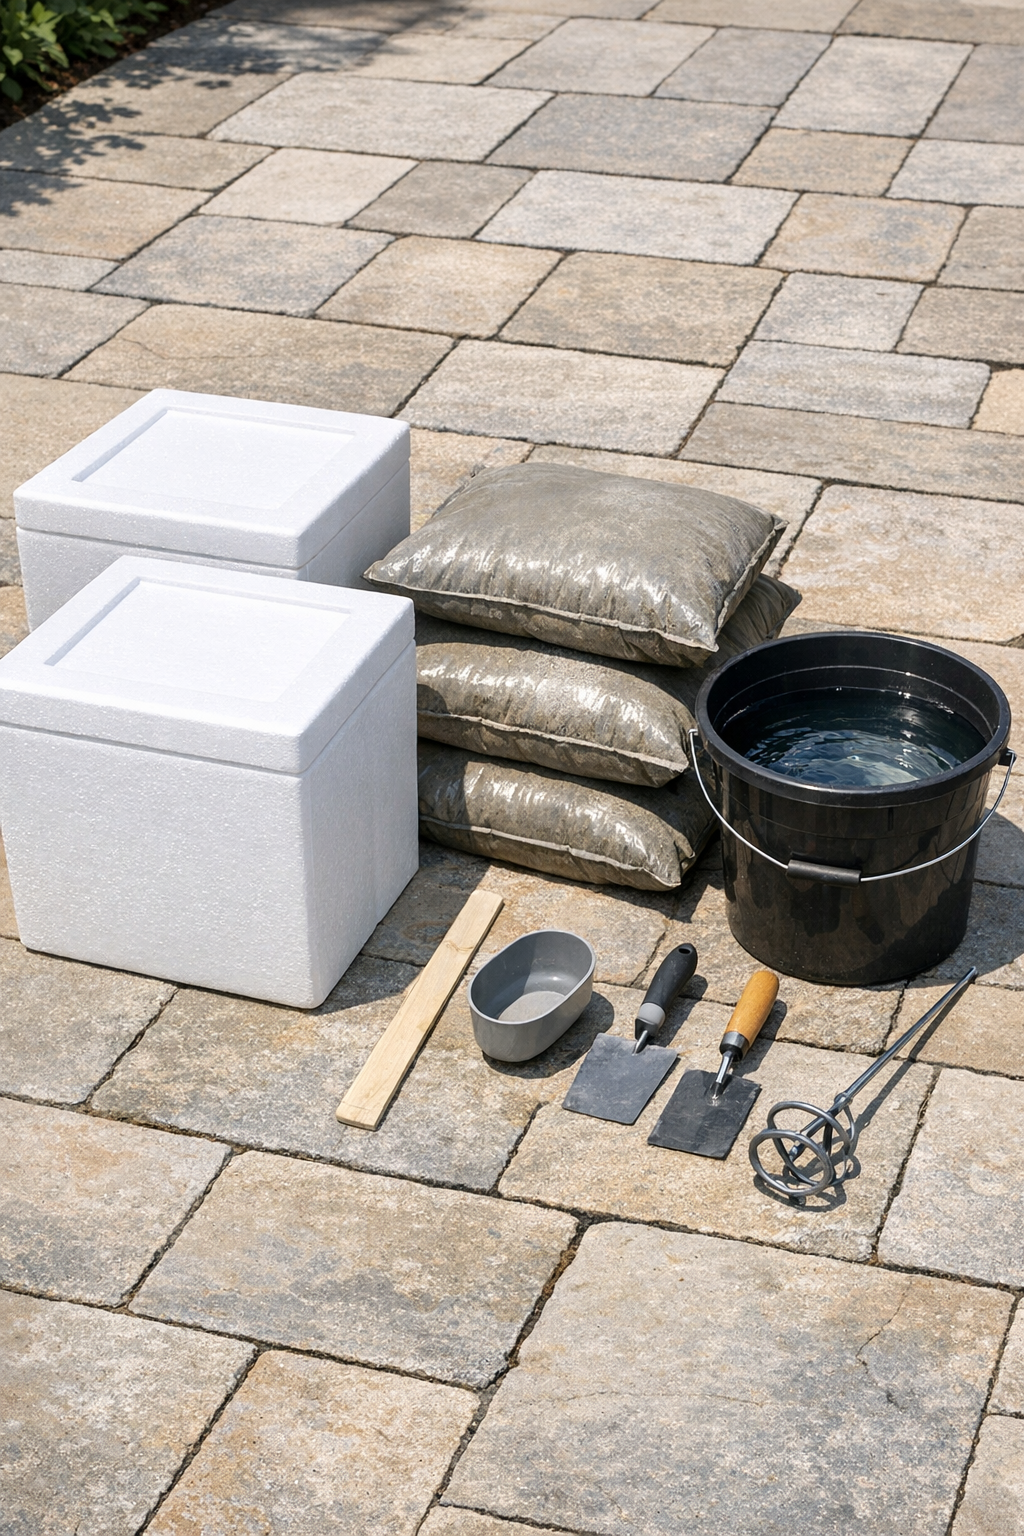
Materials
Instructions
1. Set your drop cloth on a flat outdoor surface and place the foam coolers on top. Check that each cooler is clean, dry, and free of cracks so the cement form holds its shape.
2. Lightly coat the inside of each cooler and the outside of each smaller plastic pot with cooking oil or mold-release spray. This helps the forms release more easily after the cement sets.
3. Mix the concrete or cement in a bucket or wheelbarrow, adding water a little at a time until it reaches a thick brownie-batter consistency. You want it wet enough to settle into corners but not so thin that it turns soupy.
4. Pour 2 to 3 inches of cement into the bottom of each cooler and tap the sides gently to release trapped air. This creates a solid base for the yard box.
5. Center a smaller plastic pot on top of the wet base, then press it down gently to the depth you want for the planting space. Keep at least 2 inches of cement thickness around the bottom and sides.
6. Fill the space between the cooler walls and the smaller pot with more cement, packing it carefully into all four corners. Tap the outside walls several times so the mixture settles and the surface smooths out.
7. Use duct tape across the top of the cooler if the foam walls start bowing outward under the weight. This simple reinforcement keeps the finished box straighter and more even.
8. Let the cement cure undisturbed for at least 24 to 48 hours, or according to the product directions. In hot or windy weather, cover the tops loosely with plastic so they do not dry too fast and crack.
9. Once firm, peel away the foam cooler from the outside and carefully twist out the inner plastic pot. If needed, use a utility knife to cut stubborn foam away in pieces rather than forcing the planter.
10. Smooth any rough edges with a rubbing stone, sanding block, or a scrap of coarse sandpaper once the planter is fully cured. Add a little gravel to the bottom if you like, then fill with potting mix and your choice of flowers, herbs, or compact shrubs.
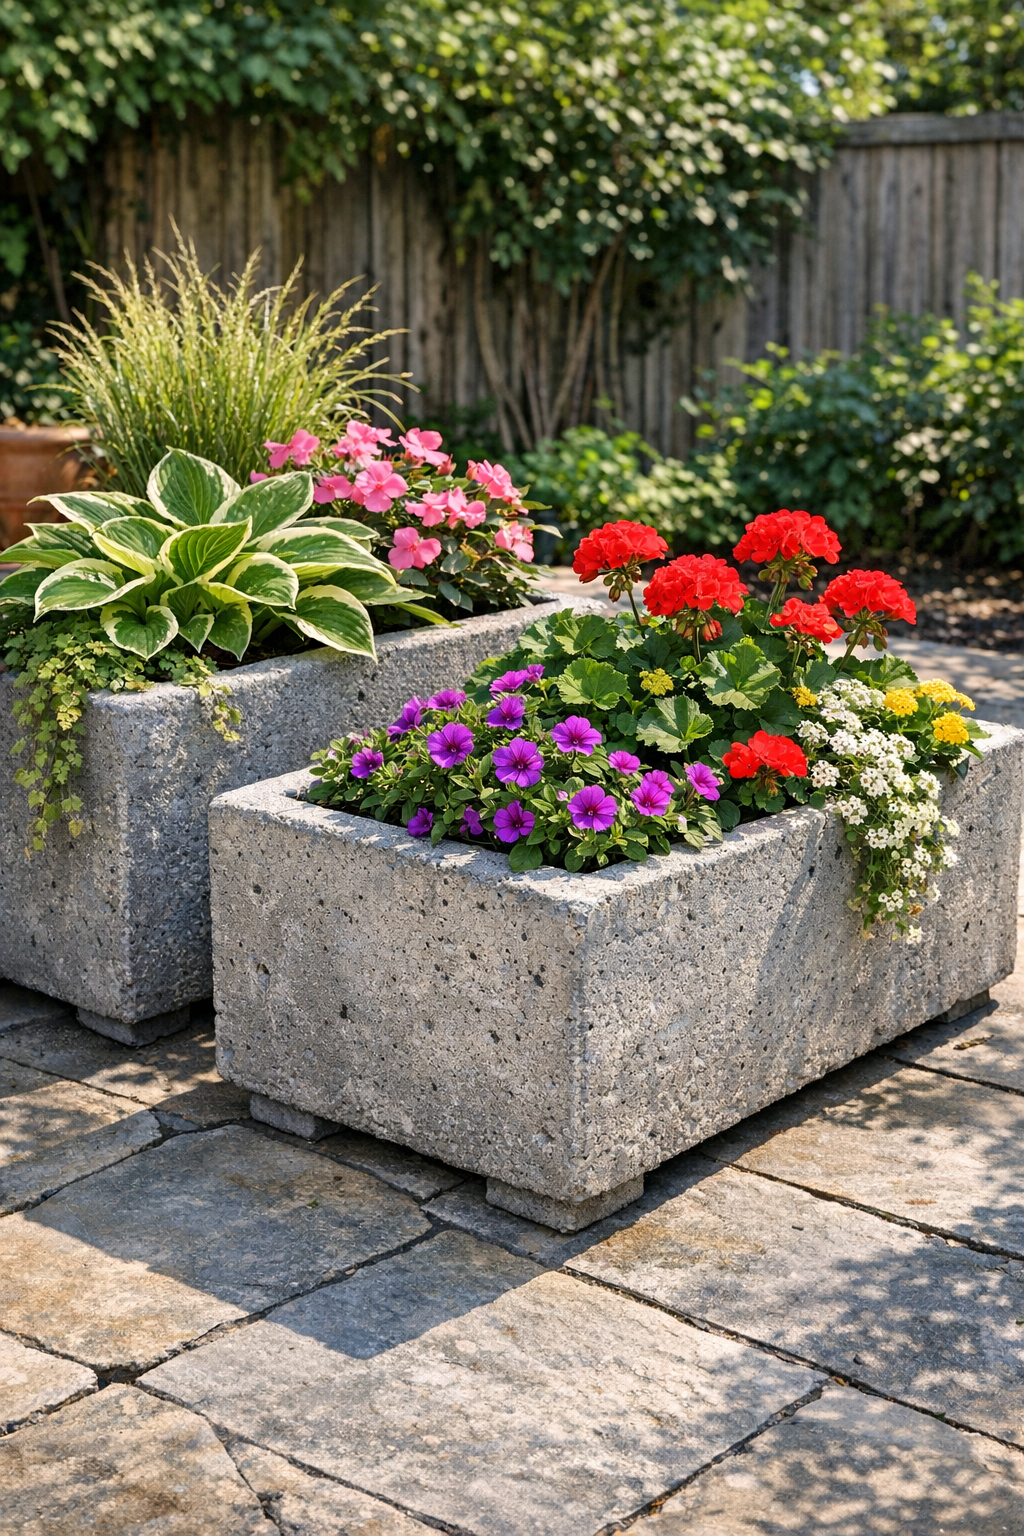
Variations & Tips
For a smoother finish: If you want a cleaner, more refined surface, tap the cooler sides more than you think you need to. That little bit of vibration helps air bubbles rise, which gives the finished cement fewer pits.
For better drainage: You can press a short piece of oiled dowel or a cork through the base area while the cement is still wet to create a drain hole. I recommend this if the boxes will stay fully exposed to rain.
For a more aged look: Leave the surface as-is and let it weather naturally outdoors. Cement develops a handsome patina over time, and I find that slight imperfections make it look more like stone and less like a new store-bought planter.
For easier lifting during setup: Make the boxes in the exact spot where you want them to live, or move them before filling with soil. Once cured and planted, they become very heavy, which is wonderful for wind resistance but not so wonderful for your back.
For planting ideas: These boxes work especially well with trailing ivy, ornamental grasses, compact boxwoods, basil, rosemary, or bright annuals. As someone who spends plenty of time thinking about how containers support both flavor and beauty, I love using one near the kitchen door for herbs and another as a flower anchor by the front walk.