
I’ve spent enough years making do with what’s on hand to know that humble materials can surprise you, and this project is one of those cases. These waterproof decking-style boards are made by fusing layers of plastic grocery bags with simple backing materials, creating sturdy planks that are useful for small garden walkways, potting bench tops, boot tray platforms, and other light-duty outdoor projects where a weather-resistant surface is handy.
It reminds me of the old Midwestern habit of wasting nothing and trying one more practical use before throwing something out. If you’ve got a stack of grocery bags tucked in a cabinet and a little patience, this is a satisfying upcycling project for folks who like experimenting, especially for small outdoor builds rather than structural decking.
Materials
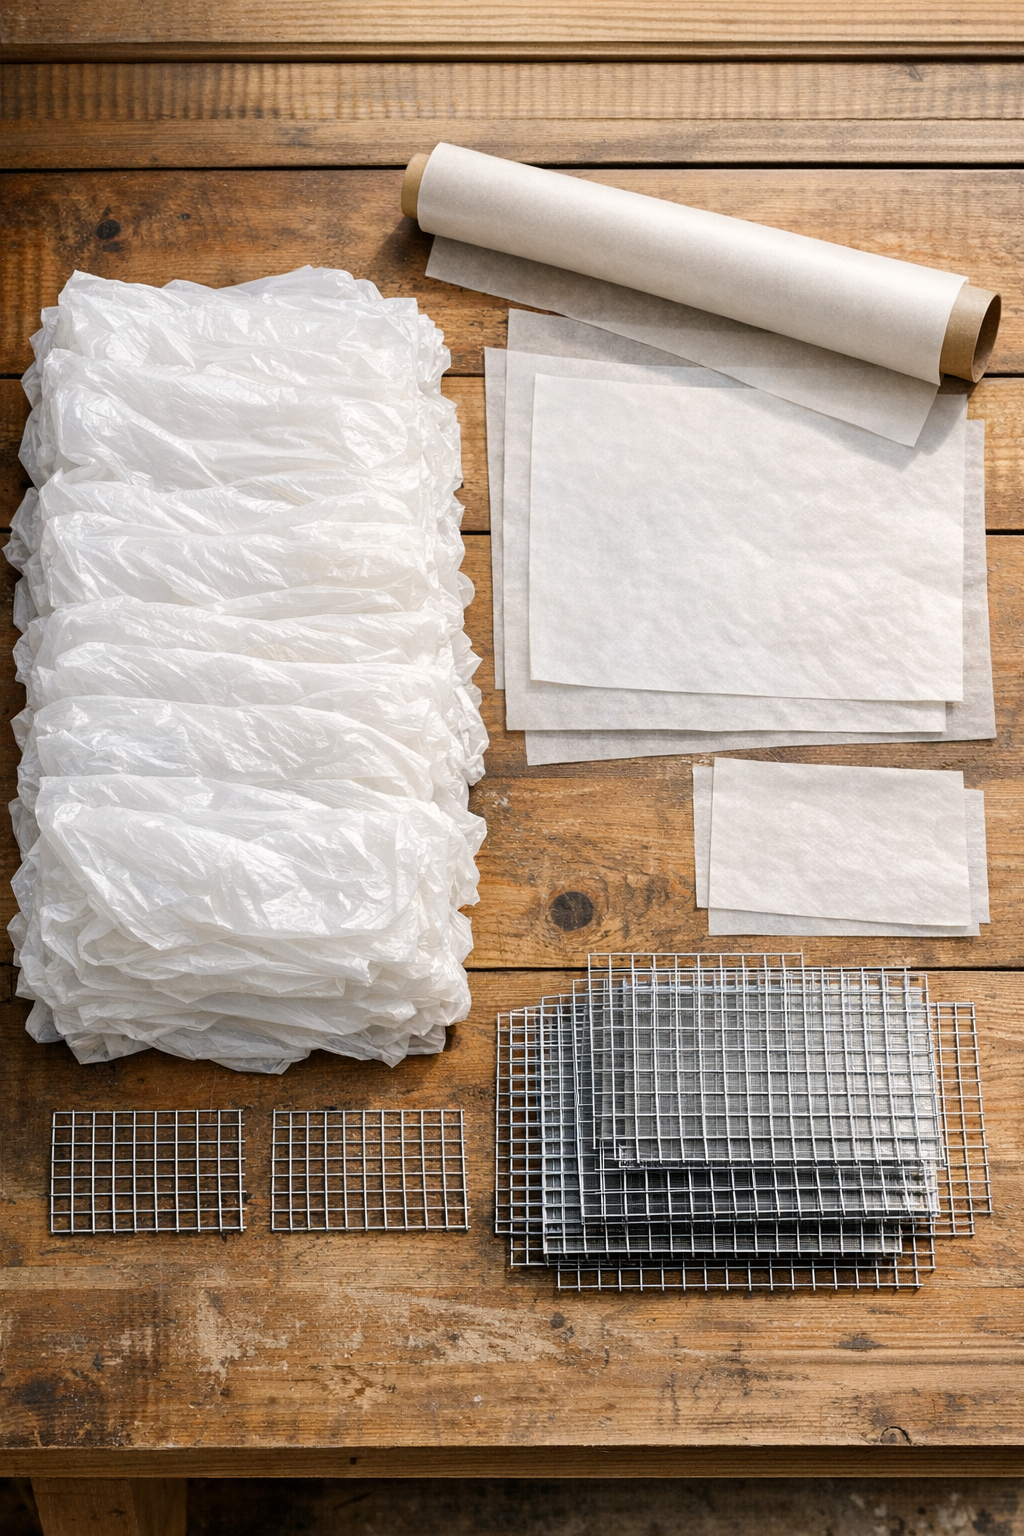
60 clean, dry plastic grocery bags
Instructions
1. Sort through the grocery bags and use only clean, dry bags without food residue, paper labels, or thick glued seams. Flatten them loosely and set aside any bags with holes or stiff printed patches.
2. Cut off the handles and bottom seams from each bag so you’re left with open plastic sheets. Crumple each sheet lightly by hand, then smooth it back out to help the layers interlock when fused.
3. Cut two pieces of galvanized wire mesh to the final board size if needed, keeping the edges as even as possible. For a small decking board, 12 x 36 inches is a manageable size for one person to handle.
4. Lay a large sheet of parchment paper on your work surface and place one wire mesh panel on top. Cover the mesh with 15 to 20 layers of prepared plastic sheets, overlapping them so there are no thin gaps.
5. Place the second wire mesh panel on top, then add another 15 to 20 layers of plastic over the upper side if you want a thicker, more sealed board. Cover the whole stack with another sheet of parchment paper.
6. Heat an iron to a medium synthetic setting with steam turned off, then press slowly over the parchment-covered stack. Keep the iron moving in small sections for 10 to 15 seconds at a time so the plastic softens and bonds without scorching.
7. Lift one corner of the parchment carefully and check that the plastic has melted through the mesh openings and bonded into one sheet. If needed, replace the parchment and iron again until the layers look evenly fused.
8. Flip the board stack over between fresh parchment sheets and iron the other side the same way. Press the edges especially well so the plastic wraps around and locks the mesh inside.
9. Let the board cool flat for 20 to 30 minutes before moving it. Once cool, trim any ragged plastic edges with scissors or sturdy shears for a cleaner plank shape.
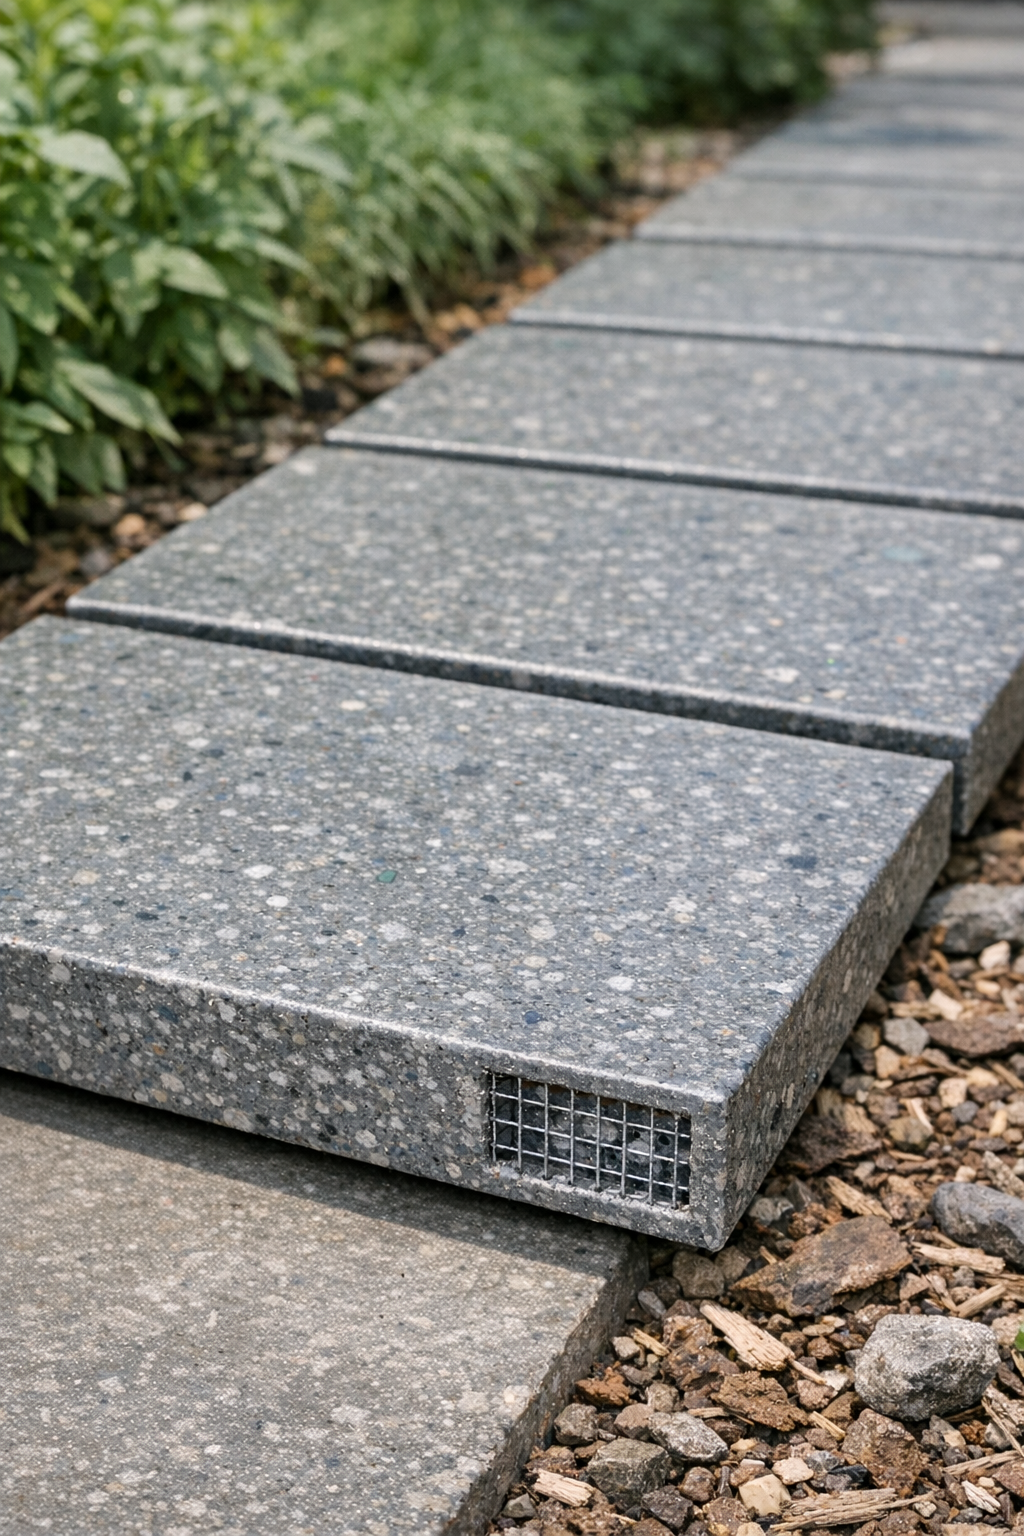
10. Make additional boards the same way and set them side by side for small, non-structural outdoor uses like a garden path over mud or a removable floor panel in a shed entry. Keep them on a solid, level base rather than using them as load-bearing deck framing.
Variations & Tips
For thicker boards: Add 10 to 15 more layers of plastic on each side before ironing. More layers give you a denser, stiffer result, though they take longer to fuse evenly.
For better color control: Use mostly white or matching store bags for a more uniform board. If you mix many colors, you’ll get a marbled, patchwork look that can be charming in a cottage garden.
For smaller projects: Try this same method for boot tray inserts, raised plant stand tops, or a kneeling platform for the garden. Smaller pieces are easier to fuse evenly the first time around.
Ironing tip: Always keep parchment paper above and below the plastic so nothing touches the iron directly. I’ve learned over the years that slow, steady pressing does a prettier job than trying to rush hot materials.
Important safety note: Work in a well-ventilated area and use moderate heat only, since overheating plastic can create unpleasant fumes. This project is best treated as an upcycled surface material for light-duty use, not as a substitute for code-approved structural decking boards.