
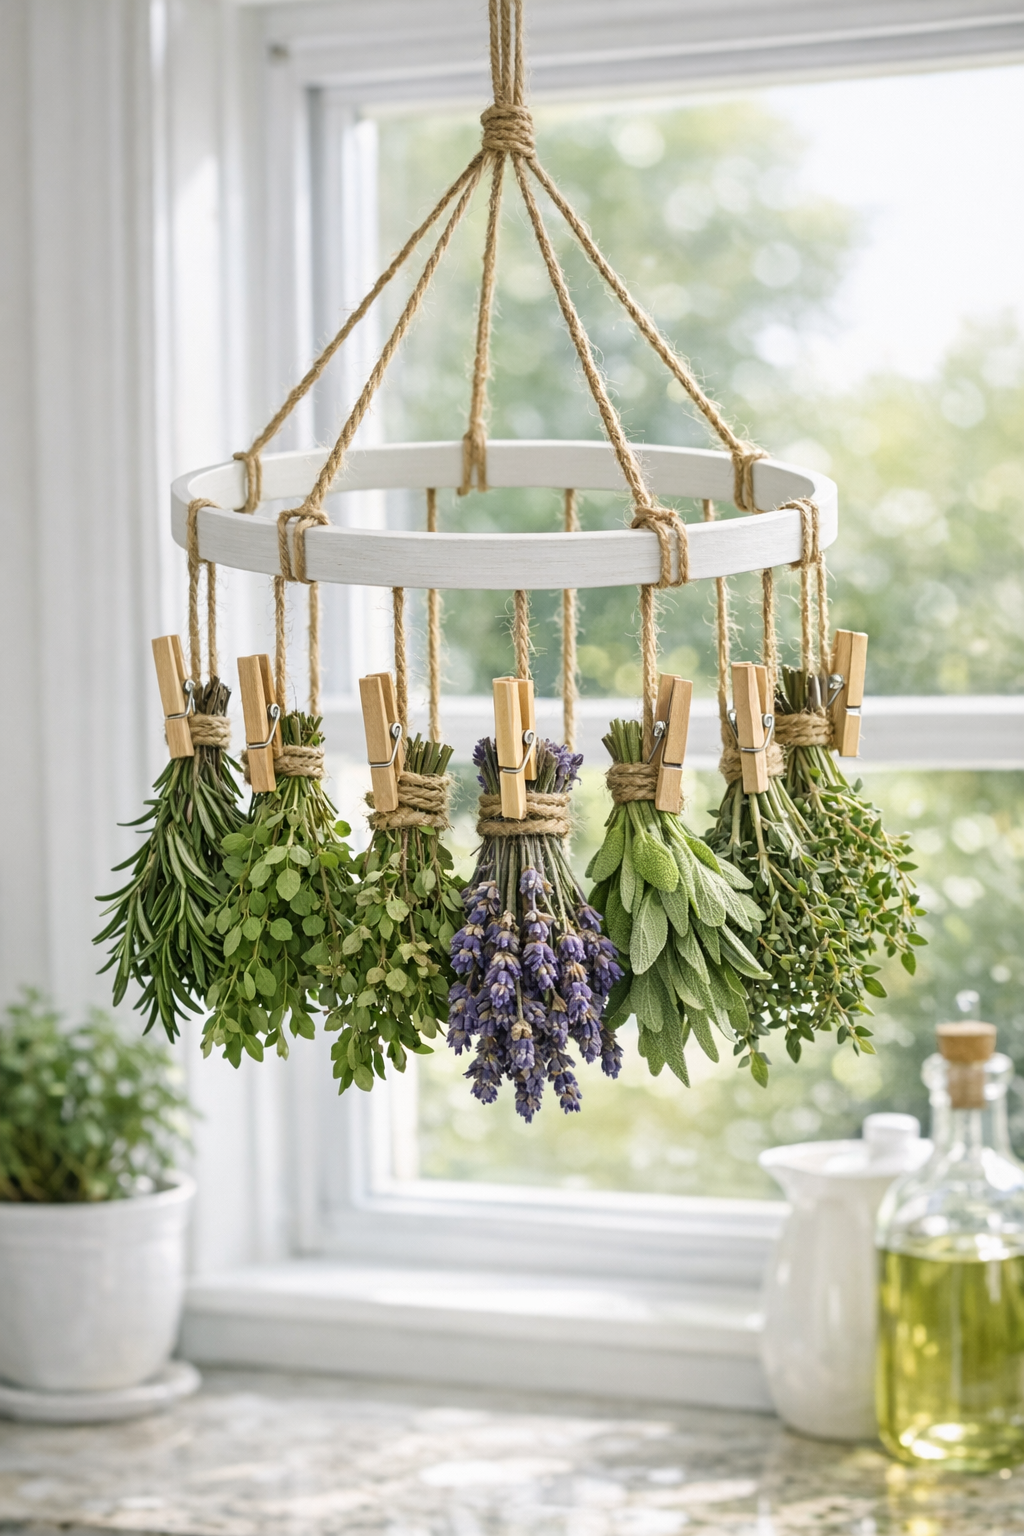
If you like practical kitchen projects that also look a little charming in the window, this herb drying rack is such a satisfying one to make. It’s a simple hanging setup made from painted embroidery hoops, twine, and wooden clothespins, and it gives you an easy spot to dry fresh herbs without taking over your counter.
I love projects like this because they come together in one afternoon and actually earn their keep. When my basil or rosemary starts getting ahead of me in summer, I’m always looking for a tidy way to preserve it, and this rack feels much prettier than draping bundles all over the kitchen. It’s a great beginner DIY if you want something useful, lightweight, and easy to customize to your space.
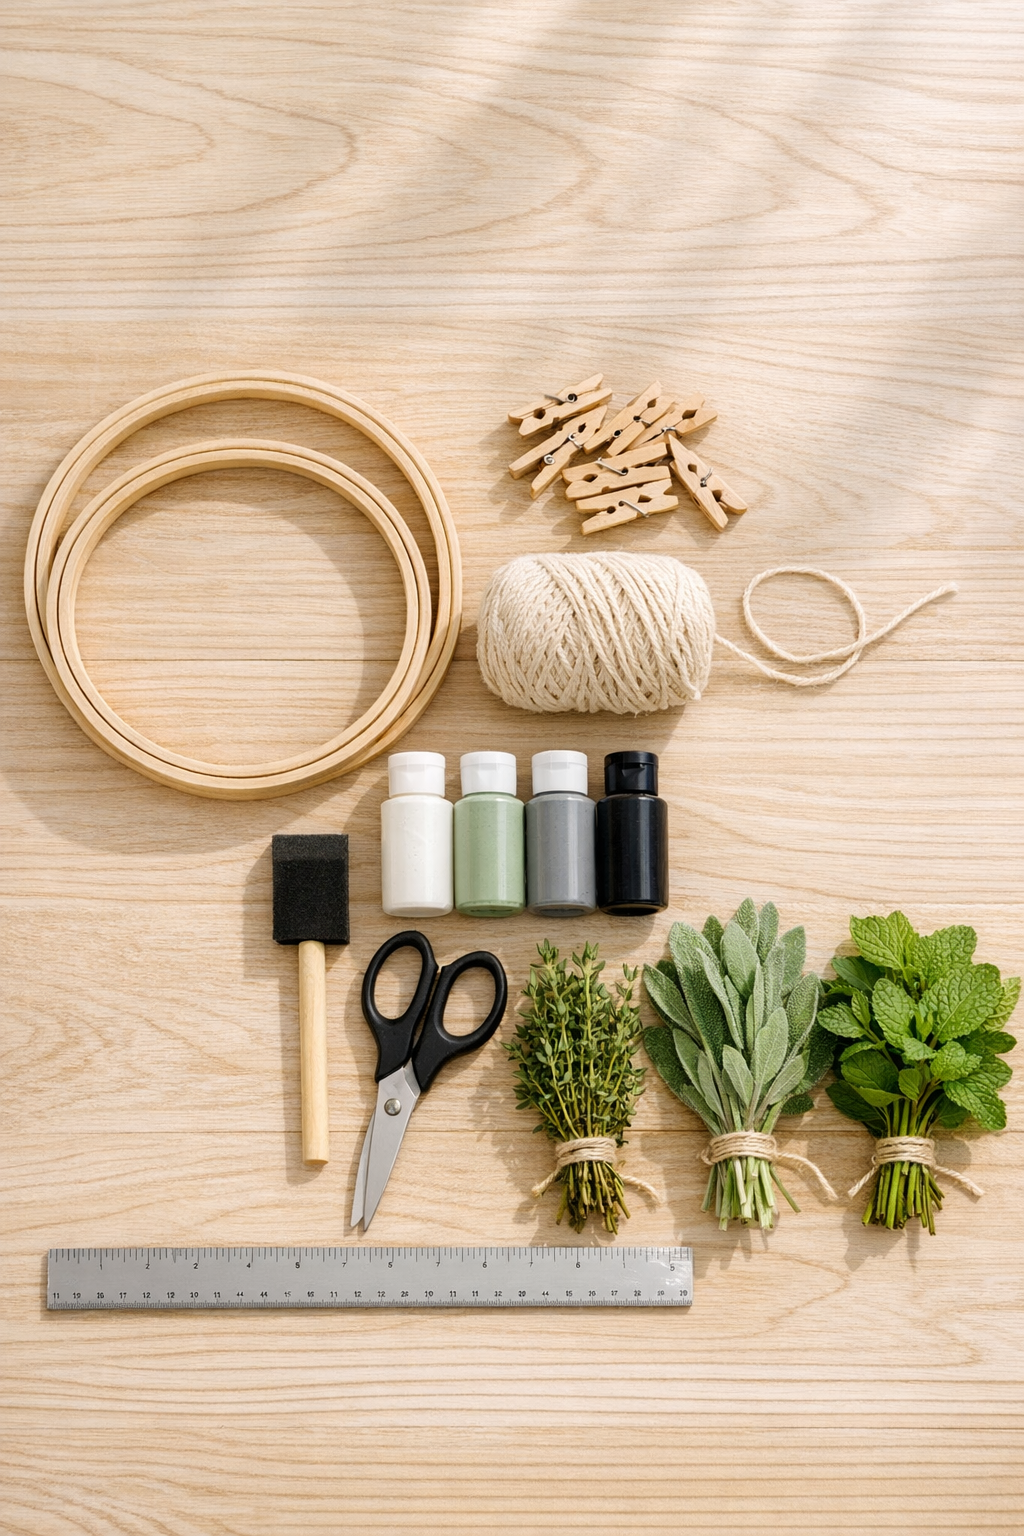
Materials
2 wooden embroidery hoops, 8 inches in diameter
Instructions
1. Separate the embroidery hoops if they have inner and outer rings, then decide which rings you want to use for the rack; I like using the plain inner rings for the cleanest look.
2. Lightly sand the wooden hoops to smooth any rough spots, then wipe away dust with a dry rag so the paint goes on evenly.
3. Paint both hoops with a thin, even coat of acrylic paint and let them dry completely; add a second coat if you want fuller coverage.
4. Cut three pieces of twine at 24 inches each for the hanging lines and one piece at 12 inches for connecting the hoops at the bottom.
5. Lay one hoop above the other and space them about 10 to 12 inches apart so the herbs will have room to hang and air-dry.
6. Tie the two hoops together with the 12-inch twine at the bottom center using double knots, keeping them aligned vertically.
7. Tie the three 24-inch twine pieces to the top hoop at equal intervals, then bring the loose ends together above the hoop and knot them into one hanging loop.
8. Clip the wooden clothespins evenly around both hoops, placing about 8 clothespins on each hoop and spacing them so herbs won’t overlap too much.
9. Hang the rack near a bright kitchen window or in a covered outdoor spot with good airflow, making sure it stays out of direct rain and heavy moisture.
10. Gather herbs into small bundles with stems aligned, keeping each bundle loose enough for air to circulate well.
11. Clip each herb bundle by the stems onto the clothespins, balancing the weight around the hoops so the rack hangs straight.
12. Let the herbs dry for 5 to 10 days, depending on the variety and humidity, then remove them once the leaves feel crisp and the stems snap easily.
Variations & Tips
Use a natural wood look: If you prefer a more rustic style, skip the paint and seal the hoops with a clear matte craft sealer instead.
Choose sturdy herbs first: Rosemary, thyme, oregano, sage, and mint dry especially well on a rack like this because their stems are less delicate than basil or parsley.
Keep bundles small: I’ve learned the hard way that oversized bunches dry unevenly, so smaller bundles are worth the extra minute.
Adjust for your window: If your kitchen window is narrow, use 6-inch hoops instead of 8-inch hoops so the rack doesn’t bump the glass or trim.
Add more drying space: You can make a longer version with three hoops stacked vertically; just keep at least 8 inches between each hoop for airflow.
Protect the finish: If you plan to hang it on a covered porch, use outdoor-safe paint and cotton or jute twine that can handle a little humidity.
Store herbs properly: Once fully dry, strip the leaves from the stems and keep them in airtight jars away from heat and sunlight for the best flavor.