
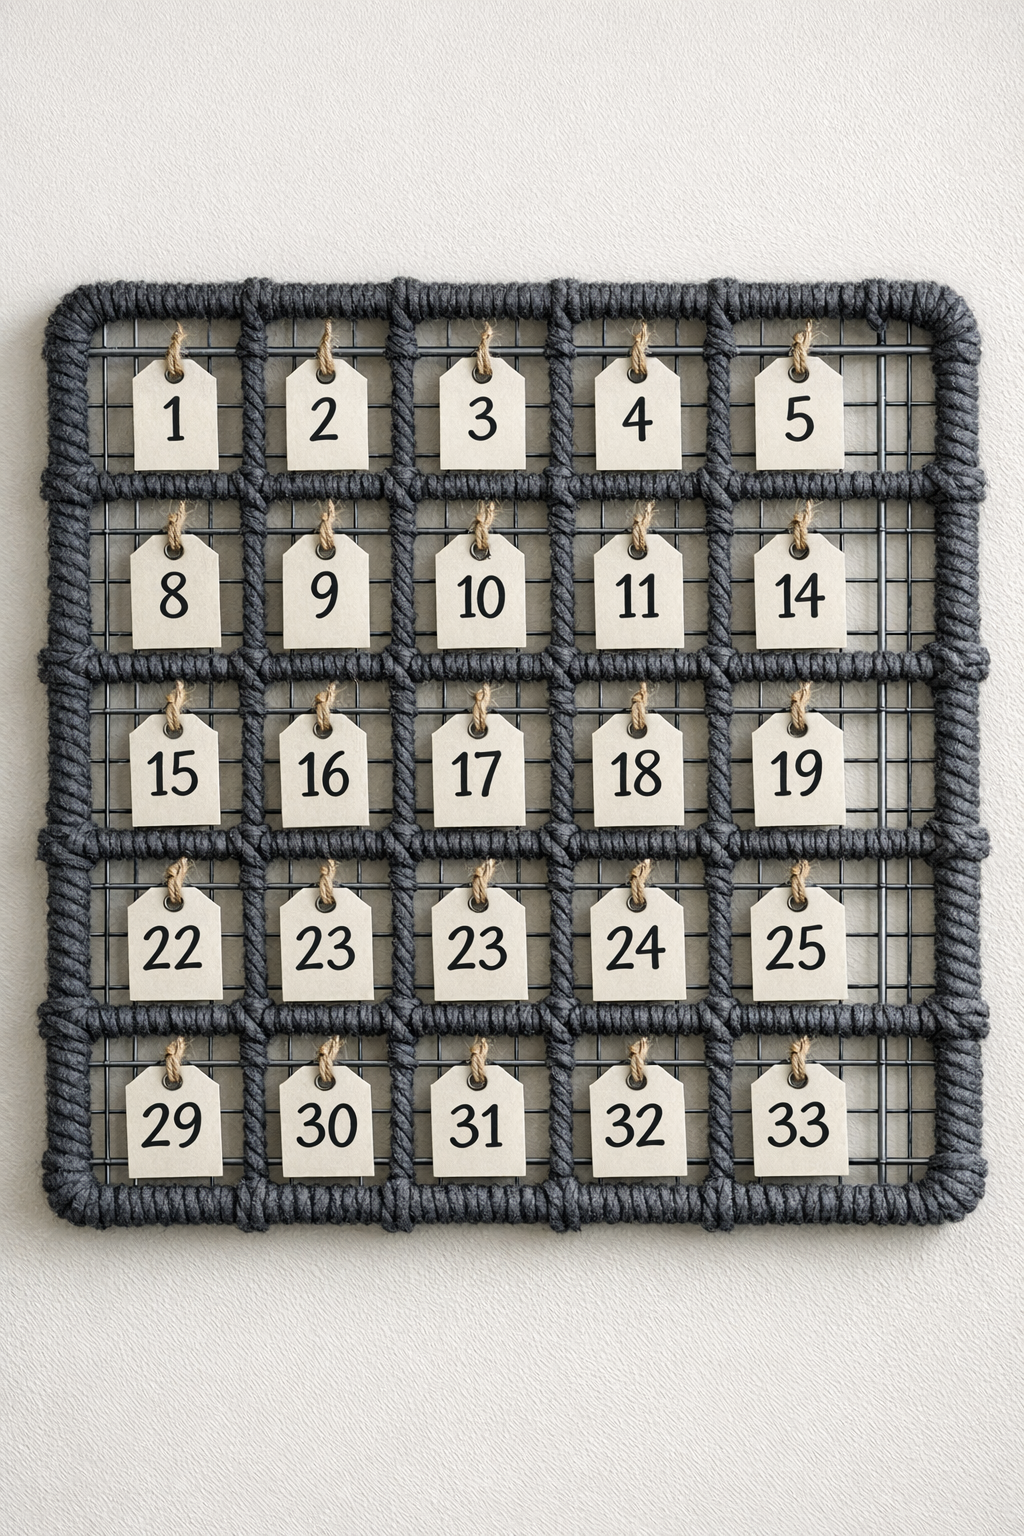
I love a project that lands right between practical and charming, and this crochet-style wall calendar does exactly that. The idea is simple: use a metal cooling rack as the base, weave thick chalkboard-gray yarn through it to soften the grid, and hang tiny numbered tags from each square to create a reusable back-to-school calendar that keeps the month visible at a glance.
Because I spend so much of my time organizing my kitchen and planning meals, I’m always noticing tools that can do double duty. A baking rack already gives you a tidy grid, much like the structure behind many classic calendars, so turning one into a wall organizer feels clever without being complicated. If you know basic crochet motions or even just feel comfortable looping yarn through openings with a hook, this is a very approachable afternoon project.
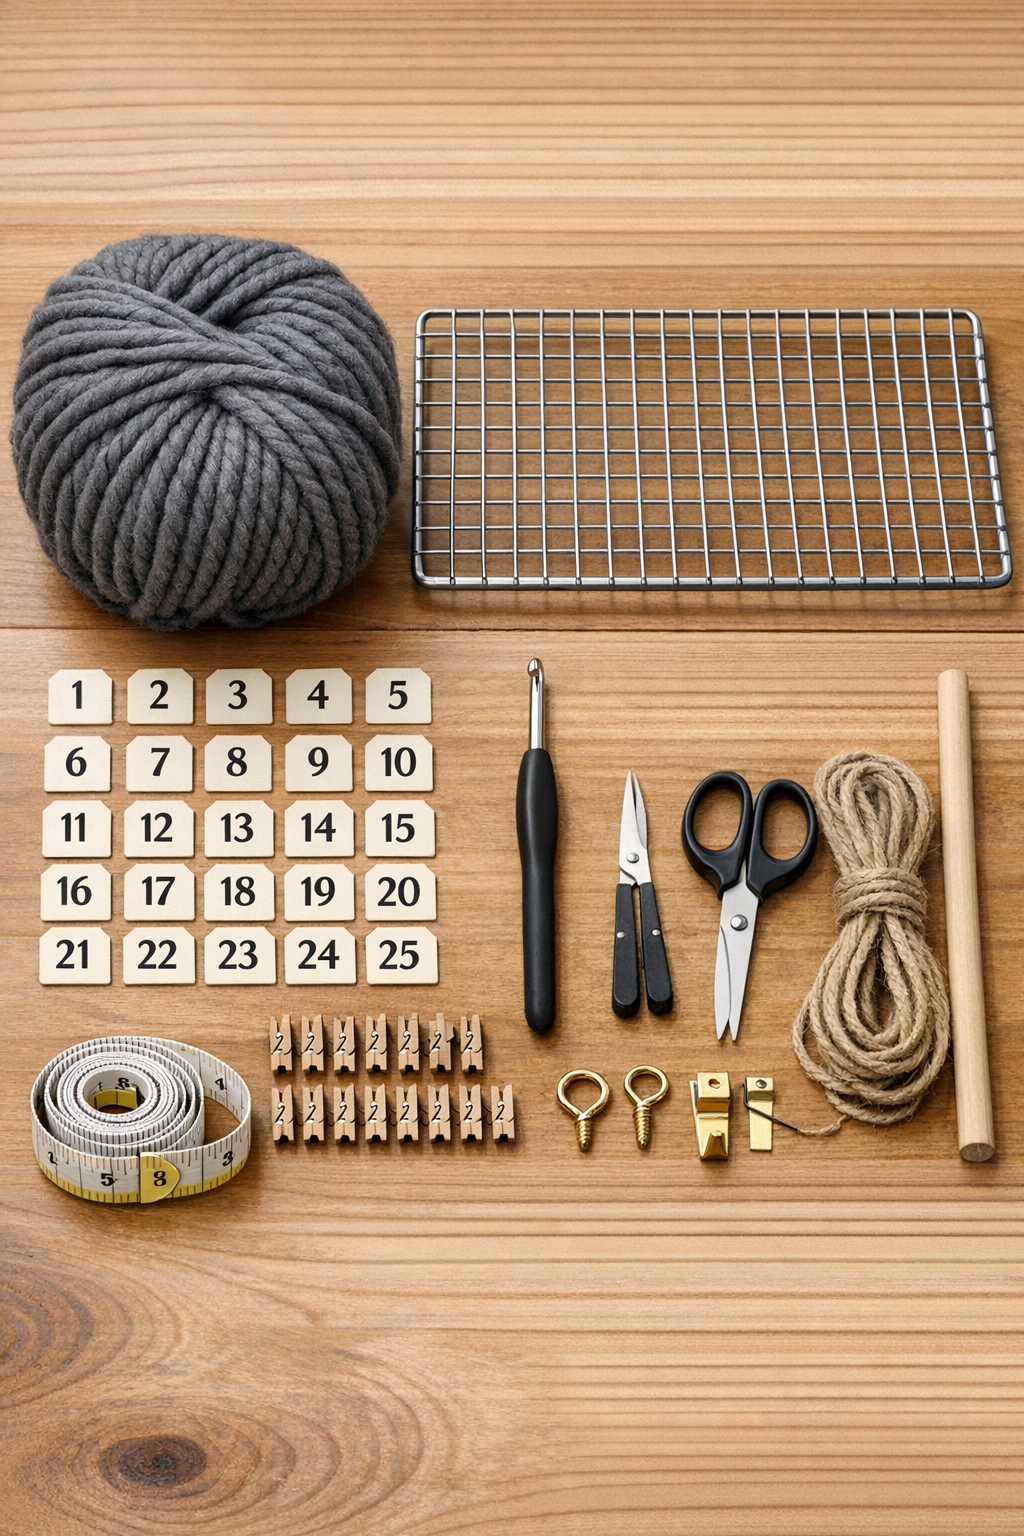
Materials
Instructions
1. Clean the cooling rack thoroughly and dry it well so the yarn stays neat and dust-free. Check that the rack sits flat and that the grid openings are even enough to hold the hanging tags clearly.
2. Decide which side will be the top, then measure out your layout so you have 7 columns across and 5 rows down for 35 date spaces. If your rack has extra border area, leave that open as a frame rather than trying to fill every section.
3. Tie the gray yarn securely to one corner of the rack and begin looping it through the outer edge and across the bars with your crochet hook. Work steadily to wrap and cover the metal, keeping the tension snug but not so tight that the rack bows.
4. Continue crocheting or blanket-stitching the yarn through the rack openings row by row until the main grid has a softer, finished look. Leave each square opening visible so the numbered tags can hang freely without getting tangled.
5. If you want a sturdier calendar, place the cardboard behind the rack and secure it at the corners with zip ties or floral wire. Keep the center open behind the grid if possible so the calendar still looks light rather than bulky.
6. Cut or gather 35 small tags and number them from 1 to 35 with the marker. I like to keep the numbering simple and bold, the way I label freezer meals, so the dates are readable from across the room.
7. Attach one tag to each grid square using a mini clothespin or paper clip, working left to right and top to bottom. Adjust the spacing so the tags hang centered and do not overlap too heavily.
8. Add hanging hardware by attaching picture wire to the top corners of the rack or by planning to rest it on two adhesive wall hooks. Test the balance before hanging so the calendar does not tilt once the tags are in place.
9. Hang the calendar on the wall and, if you like, add a small ribbon or faux greenery at one corner for a back-to-school touch. Stand back and make any final adjustments to the yarn, tags, and rows so the whole piece reads clearly like a monthly calendar.
Variations & Tips
Color change: If chalkboard gray feels too serious for the room, try deep navy, cream, or school-bus yellow accents while keeping the main grid neutral.
Tag upgrade: Laminate the number tags or cut them from thin plastic sheet if you want a calendar that can handle a full school year of constant handling.
Hook alternative: If crocheting through the rack feels awkward, use a simple over-under weaving method with the same thick yarn; it gives a similar cozy look with less hand strain.
Monthly flexibility: Make a separate set of small weekday labels and a month name card to clip along the top edge so the calendar can change with the season.
Kid-friendly use: Clip notes, lunch reminders, library days, or practice schedules behind the numbered tags to turn this from wall decor into a real family command center.
Neater finish: Weave yarn tails behind the wrapped bars with a large yarn needle and trim closely so the back looks tidy and the front stays crisp.