
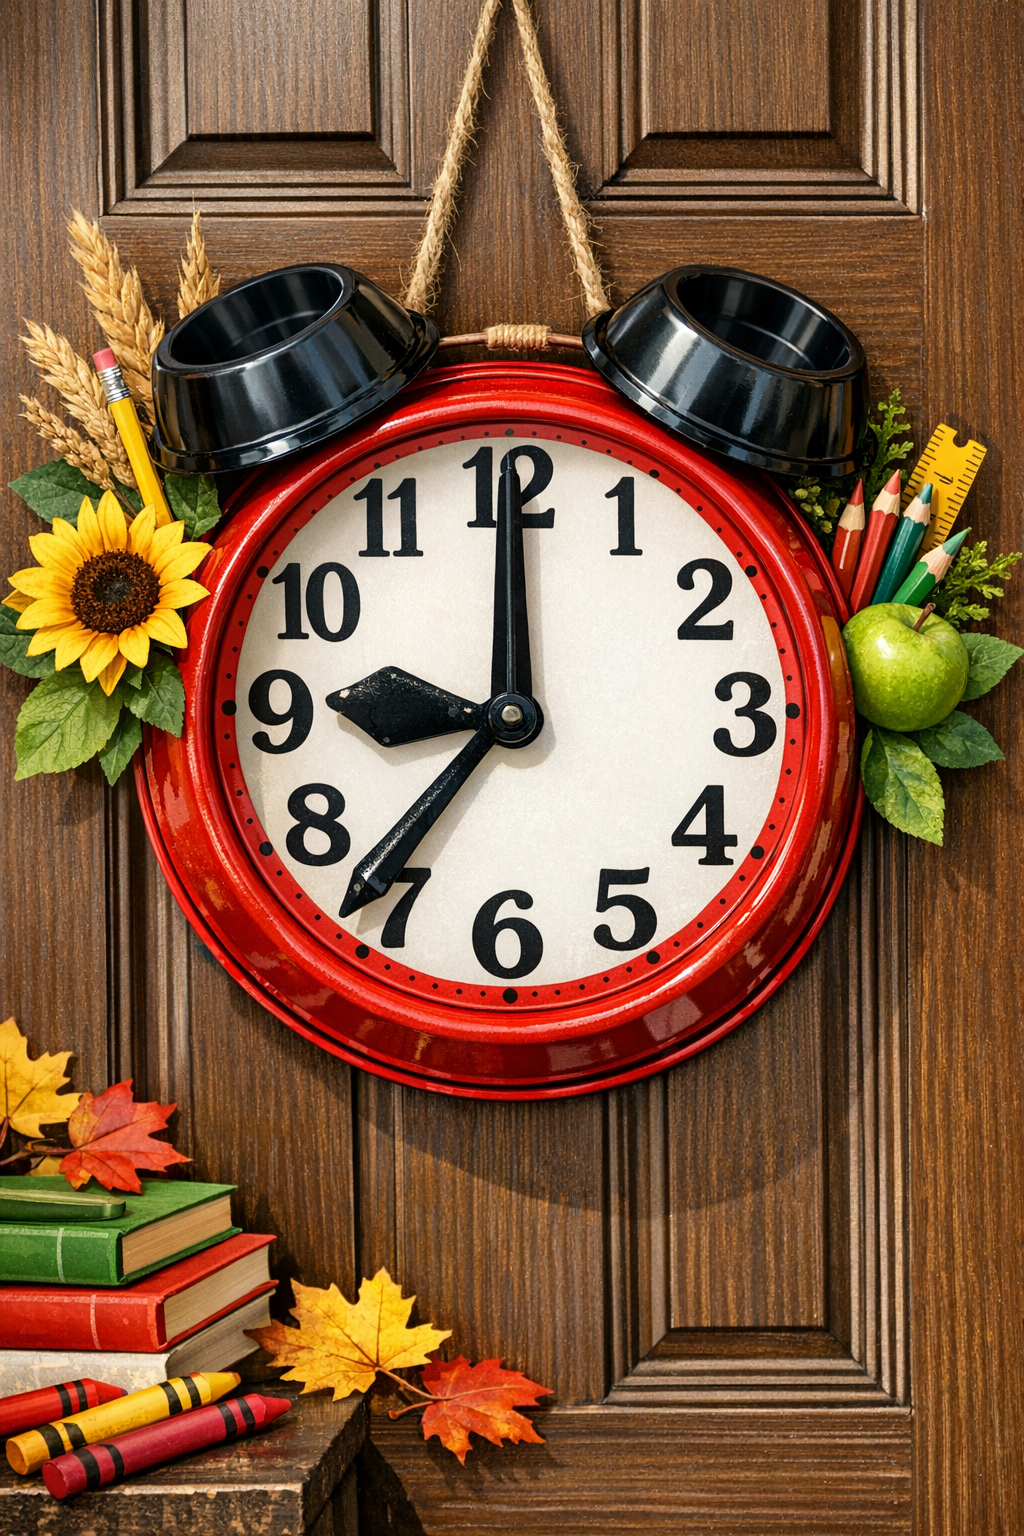
I love a front door project that makes people smile before they even step inside, and this giant alarm clock door hanger does exactly that. It starts with a simple metal cake pan and two little dog bowls, but once they’re painted and assembled, the whole thing turns into a playful back-to-school decoration that looks custom-made.
This is a great project if you want something bold, inexpensive, and easy enough to finish in an afternoon. I especially like making cheerful seasonal decor like this when the kids are gearing up for a new school year, because it adds a little fun to the routine and makes the house feel festive without a lot of fuss.
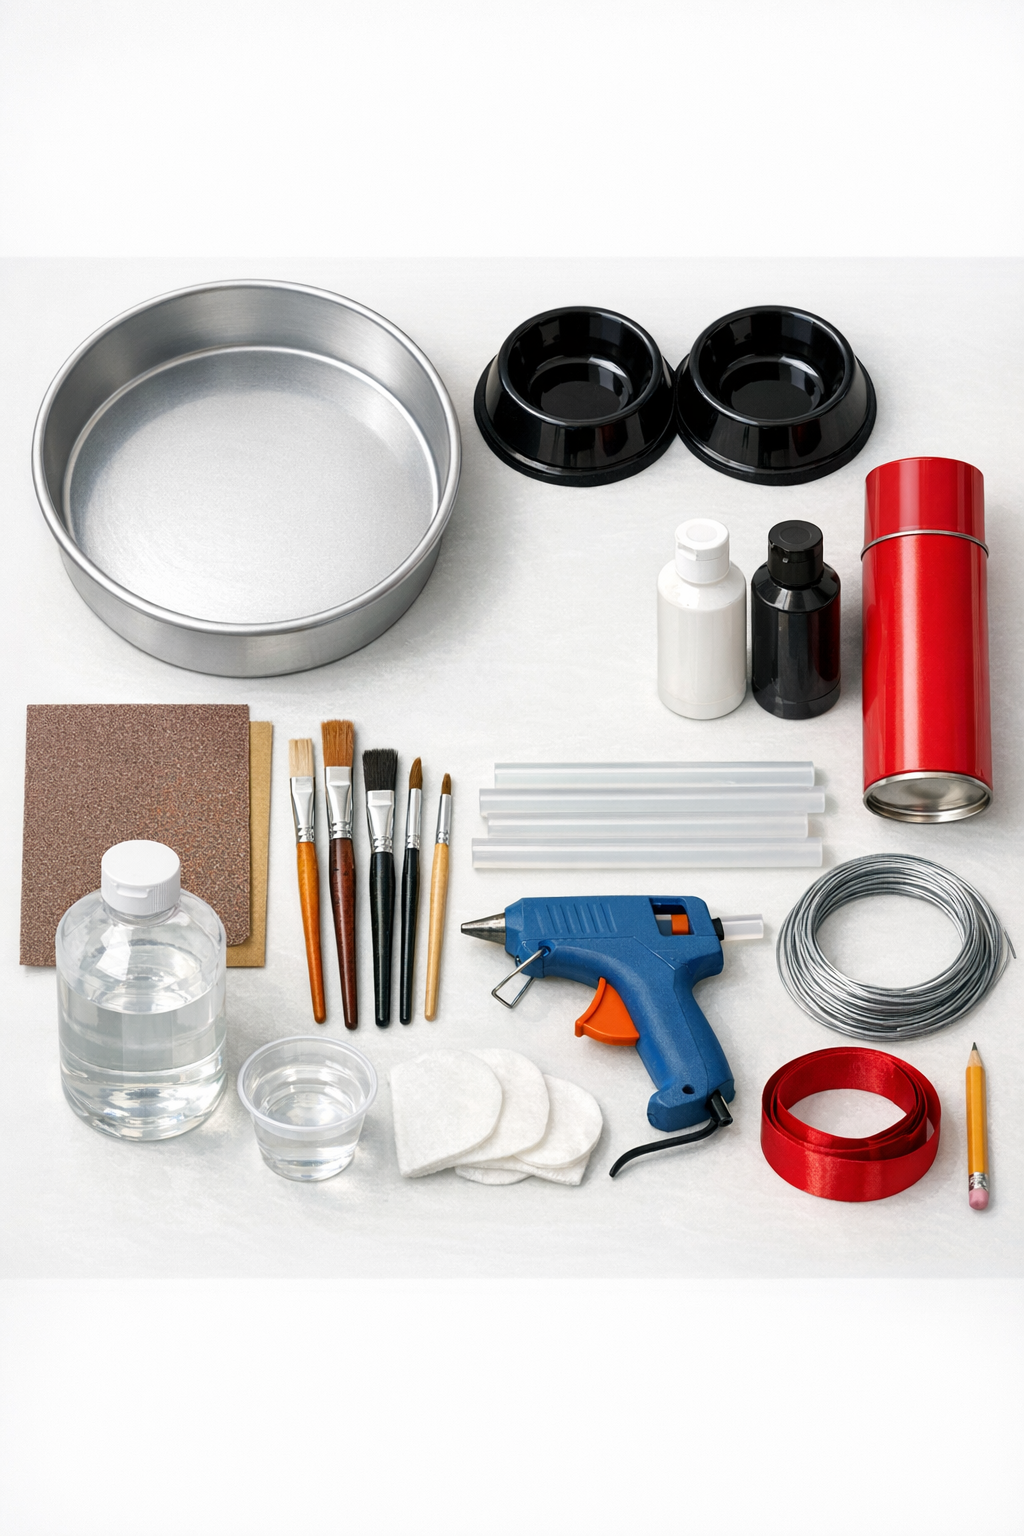
Materials
1 large round silver metal cake pan, 12 to 14 inches wide
Instructions
1. Wash the cake pan and dog bowls with warm soapy water, then dry them completely. Wipe all surfaces with rubbing alcohol so the paint sticks well.
2. Lightly sand the outside bottom of the cake pan and the outside of both dog bowls to scuff the surfaces. Brush away the dust with a dry cloth.
3. Spray the cake pan bright red on the outside bottom and outer rim using light, even coats. Let each coat dry before adding the next until the silver is fully covered.
4. Spray the outside of both dog bowls black if they need a more even finish, then let them dry fully. If they already have a solid black color, you can skip this step.
5. Seal the painted pieces with a light coat of clear sealer and allow everything to dry completely. This extra layer helps the hanger hold up better on a covered front door.
6. Turn the cake pan so the painted outside bottom faces up, then sketch a simple clock face in pencil. Mark the center first, then add the numbers evenly around the edge.
7. Paint a white circle in the center area if you want stronger contrast for the clock hands and numbers. Let it dry, then write or paint the numbers in black.
8. Add clock hands in black paint or paint pen, aiming them to a fun school-time hour like 7:00 or 8:00. Keep the lines bold and simple so they show up from the street.
9. Glue one dog bowl at the top left edge and the other at the top right edge of the cake pan to create the classic alarm clock bells. Hold each bowl in place for 30 to 60 seconds so the glue grabs firmly.
10. Create a hanger by threading floral wire or picture wire through the back lip of the cake pan, then twist it securely. Tie a ribbon or twine over it if you want a softer look against your door.
11. Check the balance by holding the hanger up before displaying it, and adjust the wire if one side dips. Add a little extra hot glue behind the bowls if they need more support.
12. Hang your giant alarm clock on a hook or wreath hanger on your front door. If you like, tuck in a small bow, faux greenery, or a pencil accent to give it even more back-to-school personality.
Variations & Tips
For picky decorators: If bright red feels too bold for your porch, try apple green, sunshine yellow, or classic school-bus blue. I find that keeping the bowls black still gives it that alarm clock look no matter what color you choose.
Add a school theme: Glue on a small wooden pencil cutout, mini faux crayons, or a ribbon bow in school colors near the top or bottom. This is a sweet way to tie the design into the back-to-school season without making it too busy.
Make the numbers easier: If freehand painting isn’t your favorite, trace around a small cup for the center circle and use a paint pen for the numbers and hands. That’s usually the route I take when I want a cleaner finish in less time.
Help it last longer: This project does best on a covered porch or storm door. If your front door gets strong sun or rain, add an extra coat of outdoor sealer and bring it in during rough weather.
Stronger assembly tip: For a more permanent hold, rough up the glue spots on the bowls and cake pan a second time right before gluing. A slightly scratched surface gives the hot glue more to grab onto.
Kid-friendly crafting: If little ones want to help, let them choose the clock time or the ribbon color while an adult handles the spray paint and hot glue. In my house, giving kids one fun design choice makes them feel part of the project right away.