
This outdoor drink tray is one of those projects that looks fancy on the patio table but is actually very doable if you take your time. You’ll be pouring a clear layer of epoxy resin over pressed wildflowers set inside a wooden serving board, which creates a smooth, glossy surface that feels special for backyard entertaining, brunches, or even just lemonade with the kids on a warm evening.
I love a project that blends practical and pretty, and this one does exactly that. If you enjoy nature-inspired décor, handmade serving pieces, or giving old trays a fresh purpose, this is a lovely weekend build. It’s especially nice for anyone who wants a functional piece that still feels personal and homemade.
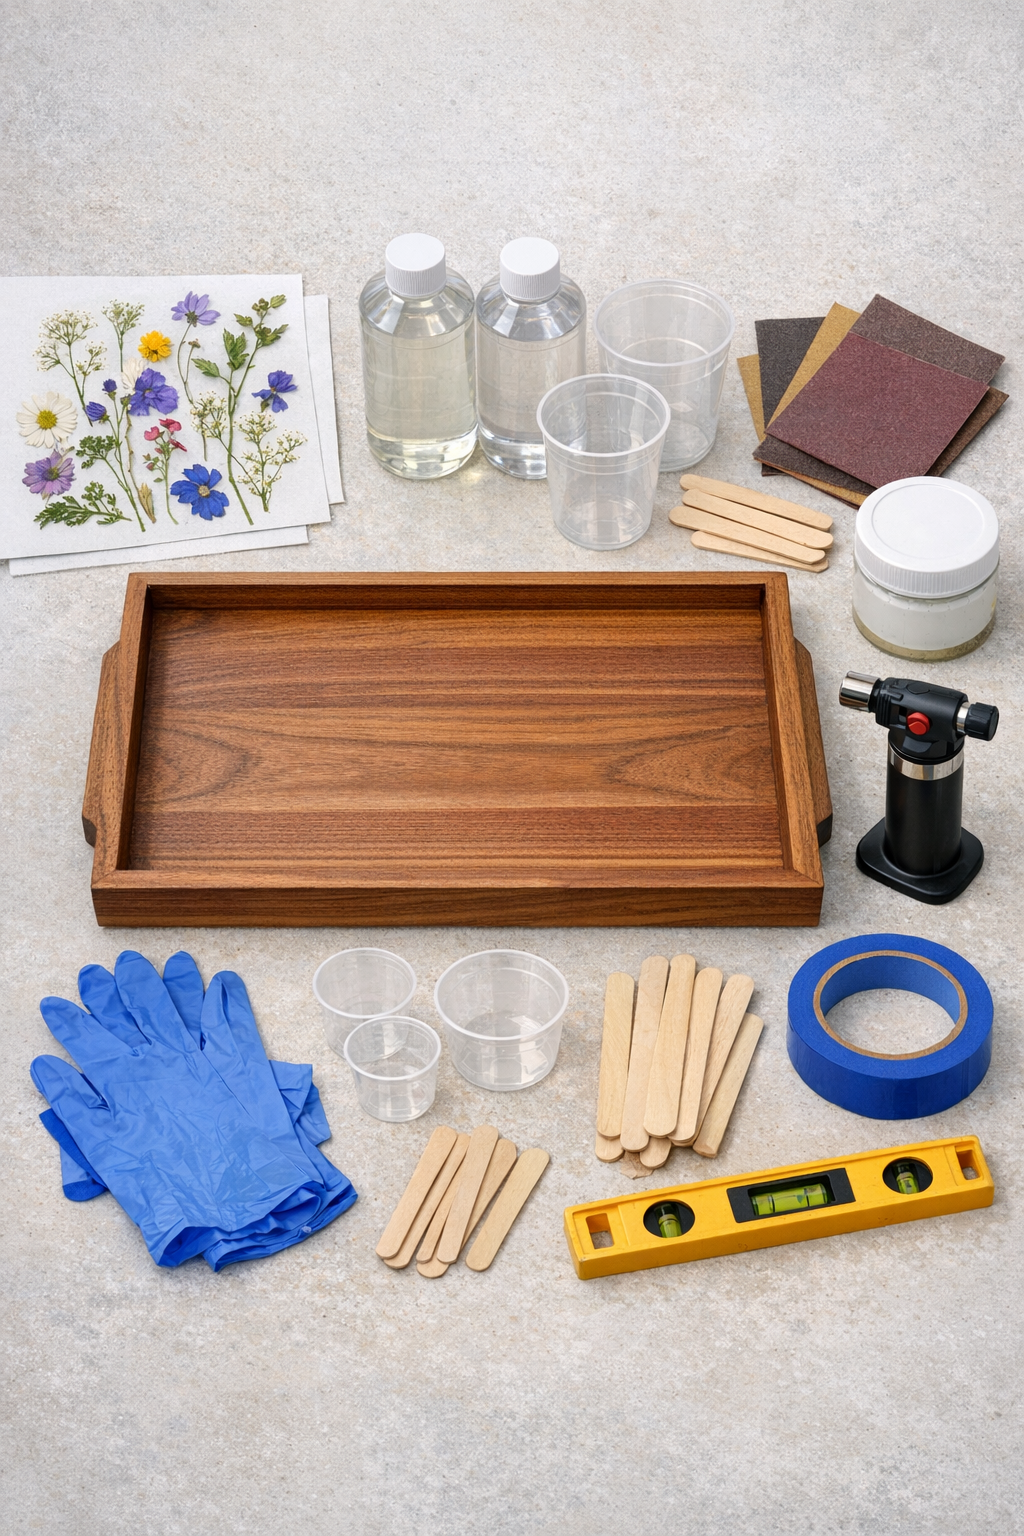
Materials
Instructions
1. Cover your work surface with a drop cloth or parchment paper, then place the serving board on a flat table and check that it sits level. If needed, shim one side with folded paper so the resin will cure evenly.
2. Lightly sand the inside surface and top rim of the board with 220-grit sandpaper to help everything bond well. Wipe away all dust with a lint-free cloth dampened with isopropyl alcohol.
3. Apply painter’s tape around any seams, handle openings, or underside gaps where resin could drip out. Press the tape down firmly so you do not lose resin through tiny leaks.
4. Arrange the pressed wildflowers inside the tray until you like the layout, spacing larger blooms first and filling gaps with smaller petals or greenery. Once it looks balanced, take a quick photo so you can recreate the placement easily.
5. Lift each flower gently and add a tiny amount of clear-drying craft glue to tack it in place. Let the glue dry fully so the flowers do not float when the resin is poured.
6. If your flowers are especially delicate, brush on a very thin coat of clear sealer or a small amount of mixed resin over them first and let it get tacky. This helps reduce trapped air and keeps lighter petals from shifting.
7. Put on gloves and mix the epoxy resin according to the package directions, measuring equal parts carefully if required by the brand. Stir slowly for 3 to 5 minutes, scraping the sides and bottom of the cup, until the mixture is fully clear.
8. Let the mixed resin sit for a minute if the instructions allow, then pour it slowly into the center of the tray. Use a stir stick to guide the resin into corners and edges without overfilling.
9. Pass a small torch or heat gun lightly over the surface for a few seconds to pop bubbles. Keep it moving and do not hold heat in one spot, especially near the wood edges or delicate flowers.
10. Check the tray again after 10 to 15 minutes and remove any new bubbles with another quick pass of heat or by gently lifting them with a stir stick. This little extra check is worth it for that glassy finish.
11. Leave the tray on a level surface to cure for the full time recommended by the resin manufacturer, usually 24 to 72 hours. Keep dust, pet hair, and curious hands away while it hardens.
12. Peel off the painter’s tape and sand away any cured drips on the underside or edges. If you want extra outdoor durability, spray or brush a clear outdoor-safe sealer onto the wooden frame only, avoiding the resin surface unless your product specifically allows it.
13. Add felt pads to the bottom corners and install handles if your board needs them. Once everything is fully cured, your tray is ready for serving iced tea, mocktails, or a plate of summer snacks outdoors.
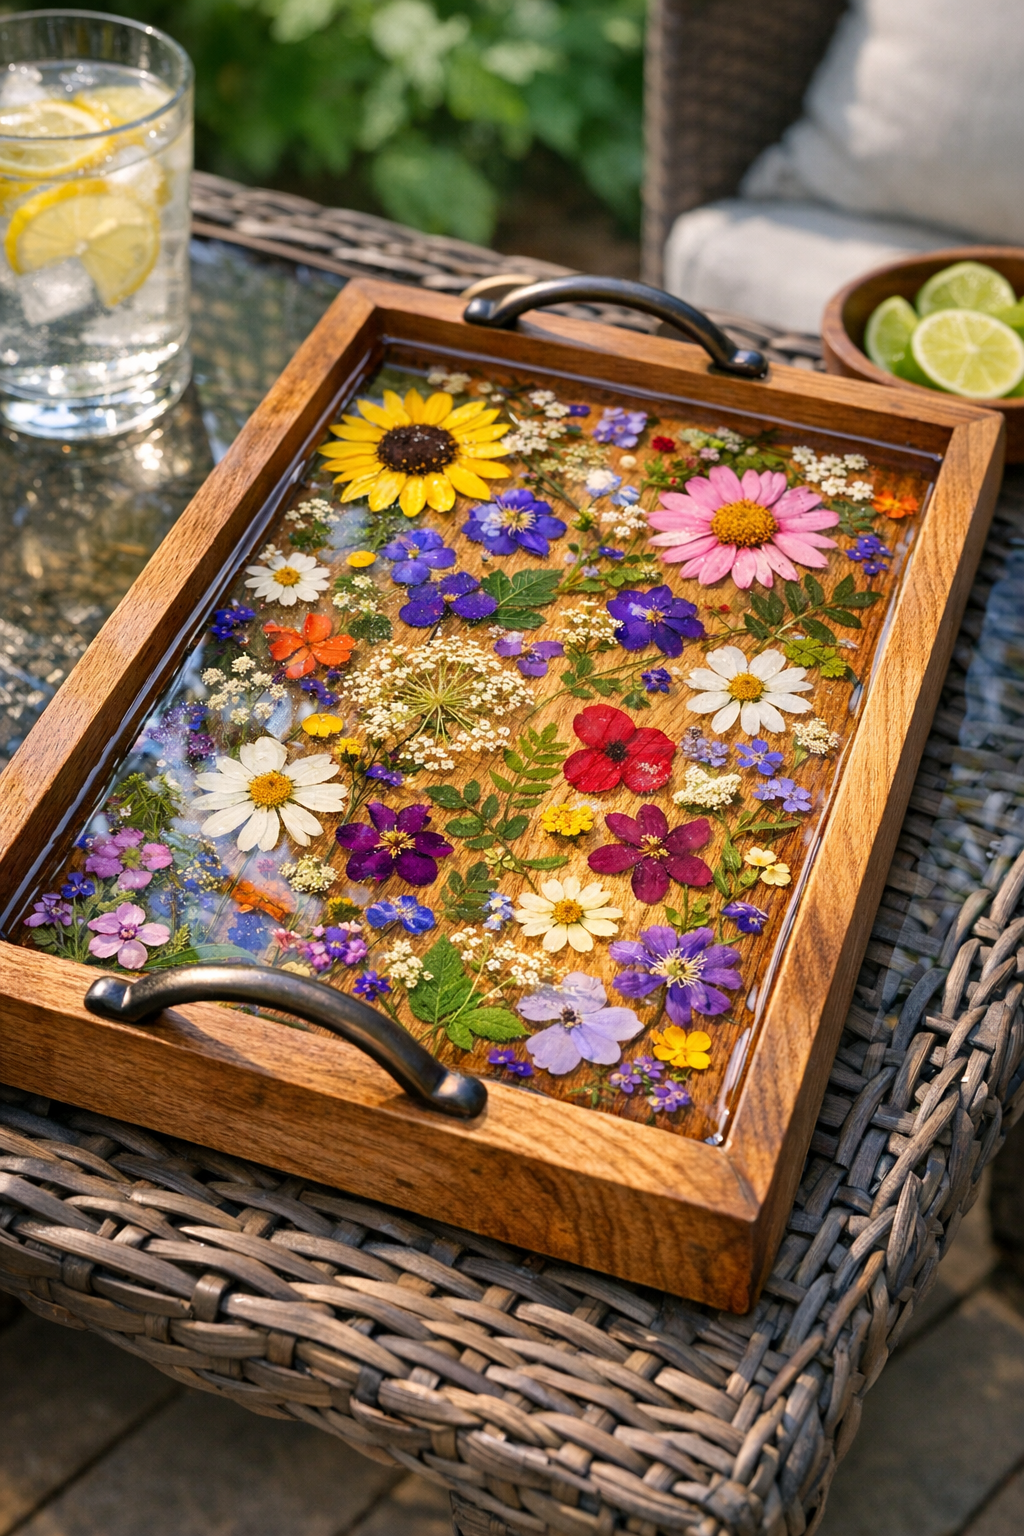
Variations & Tips
Flower choice: Small, flat pressed flowers work best because they sit low in the resin and are less likely to trap air. I like mixing a few statement blooms with tiny filler flowers for a more natural garden look.
For picky decorators: If wildflowers feel too busy for your style, use just one type of flower in repeating rows or stick to a simple color palette like whites and yellows. It gives the tray a calmer look that still feels handmade.
Wood finish: You can stain the serving board before starting if you want a darker, richer frame. Just let the stain cure completely before adding flowers or resin.
Resin depth: For most serving boards, a thin flood coat is enough to cover the flowers. If your board has deeper sides, pour in layers according to the resin instructions rather than one very thick pour.
Outdoor use: This tray is wonderful for backyard entertaining, but I still bring mine inside when it is not in use. That simple habit helps the wood and finish stay pretty much longer.
Gift idea: This makes a thoughtful housewarming or hostess gift, especially if you use flowers pressed from your own yard or garden. It feels extra personal without being fussy.
Cleaning tip: Wipe the finished tray with a soft damp cloth and dry it right away. Avoid soaking it in water or putting it in the dishwasher.
Leak test: If you are unsure about your tray seams, pour a tablespoon of water in first to see whether anything escapes. Dry it completely before starting the real project.