
I love a project that borrows from the kitchen aisle and turns it into something unexpectedly architectural, and this backyard privacy screen does exactly that. By spray-painting inexpensive metal cooling racks and fastening them to a sturdy wood frame, you get a modern grid panel that looks custom-made for an outdoor space without the custom price tag.
This is a smart build for anyone who wants more privacy on a patio, to block an unattractive view, or to create a clean backdrop for container plants. As someone who spends a lot of time thinking about structure, finish, and how humble materials can be elevated, I find this one especially satisfying: the cooling racks behave almost like a modular lattice, and the matte black finish gives the whole piece a crisp, contemporary look.
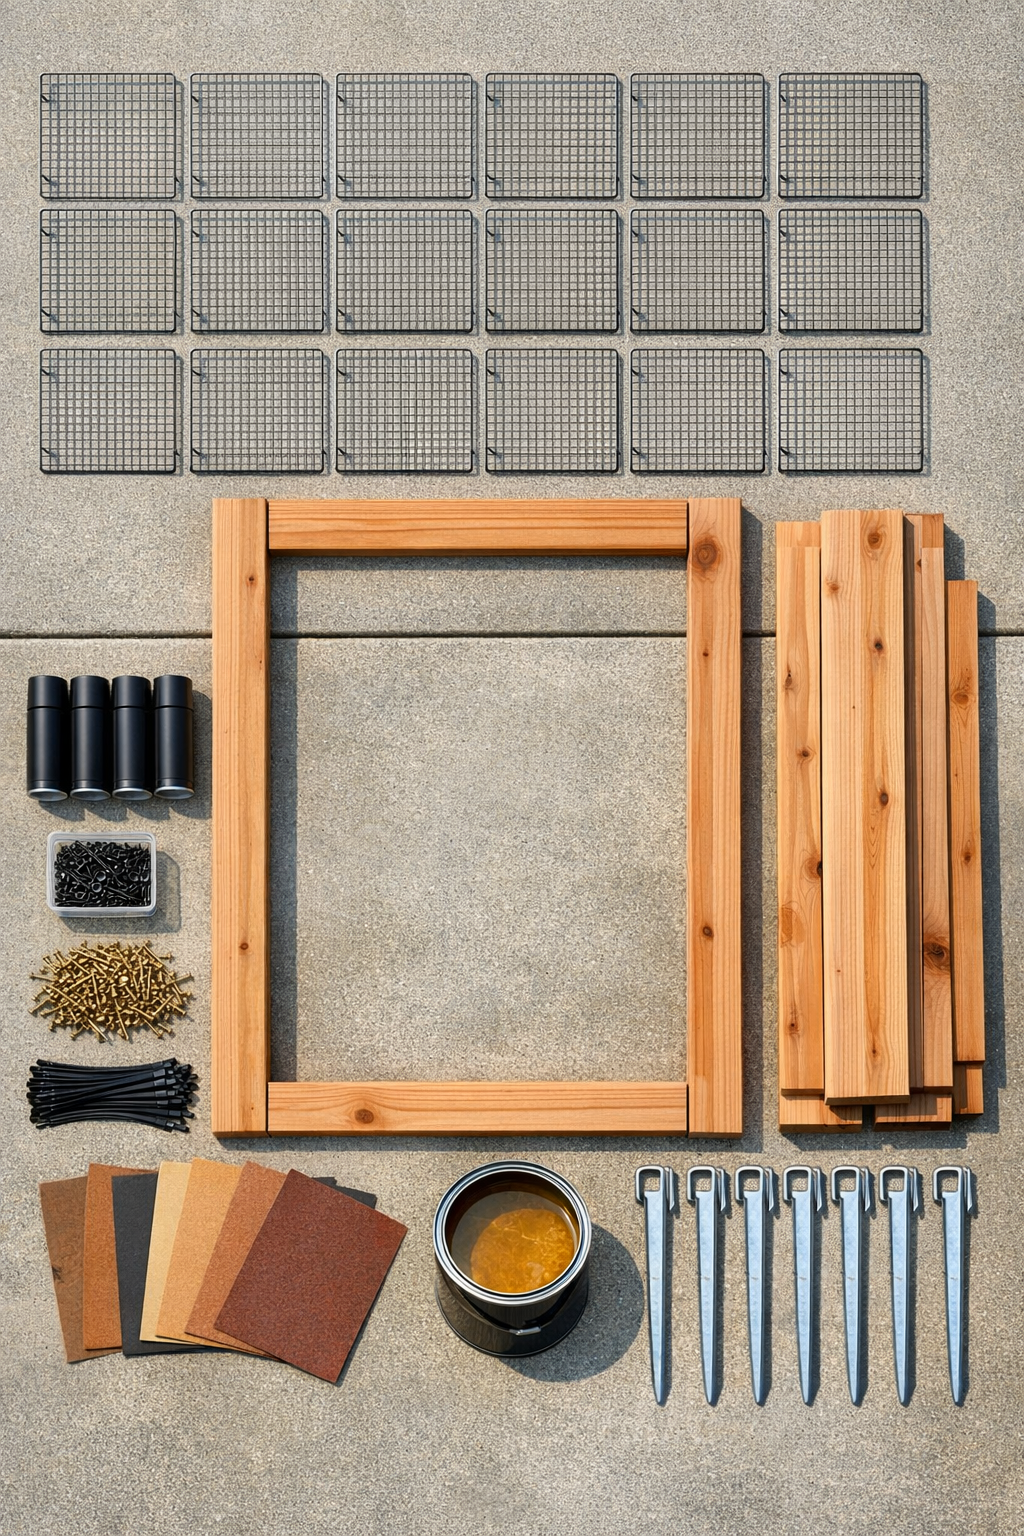
Materials
Instructions
1. Decide on your finished screen size before cutting anything; a practical build for 24 cooling racks is a tall panel around 4 feet wide by 8 feet high, arranged in a 4-by-6 grid.
2. Lay out the cooling racks in that 4-by-6 pattern on the ground and confirm the spacing you like; I prefer leaving a small, even gap of about 1/2 inch between racks for a cleaner modern grid effect.
3. Clean each cooling rack thoroughly with rubbing alcohol or a degreaser so the paint can bond well; let them dry completely before spraying.
4. Lightly scuff the racks with 120-grit sandpaper, then wipe away dust; this extra prep makes a noticeable difference, much like properly drying ingredients before searing helps browning happen evenly.
5. Set the racks on a drop cloth in a well-ventilated outdoor area and apply a light coat of metal primer if you are using it; let it dry according to the can directions.
6. Spray-paint the first side of all 24 racks with thin, even coats of matte black paint, holding the can about 10 to 12 inches away to avoid drips.
7. Once the first side is dry, flip the racks and paint the second side; add a second coat on both sides if needed for full, even coverage.
8. Cut the frame pieces from the 2 x 4 boards: two vertical sides at 96 inches and two horizontal rails sized to your chosen width, then dry-fit them on a flat surface.
9. Assemble the outer rectangle with 3-inch exterior screws, checking for square by measuring corner to corner; if both diagonal measurements match, the frame is square.
10. Add 1 x 3 support strips or cross braces inside the frame where needed so the cooling racks have consistent attachment points, and reinforce the corners with angle brackets if the panel will stand in a windy spot.
11. Sand any rough edges on the wood, fill visible screw holes if desired, and apply exterior sealer or stain; let the frame dry fully before attaching the racks.
12. Stand the frame flat or prop it securely, then place the painted cooling racks onto it in your planned 4-by-6 arrangement, using spacers or scrap wood to keep gaps even.
13. Zip-tie each rack to the frame at multiple points along the edges, pulling the ties snug but not so tight that the racks bend out of shape.
14. Continue attaching the remaining racks row by row, aligning them carefully as you go; I like to step back after each row, the same way I taste and adjust a sauce in stages, because small corrections are easier before everything is locked in.
15. Trim the excess tails from all zip ties with flush cutters or scissors so the screen looks neat and finished from both sides.
16. Attach the base feet or rear kickers made from the 48-inch 2 x 4 boards, or secure the panel to ground stakes or post anchors if it will live permanently in the yard.
17. Move the finished screen into place and check for stability; if it wobbles, add another rear brace, anchor it more deeply, or fasten it to an existing fence or post.
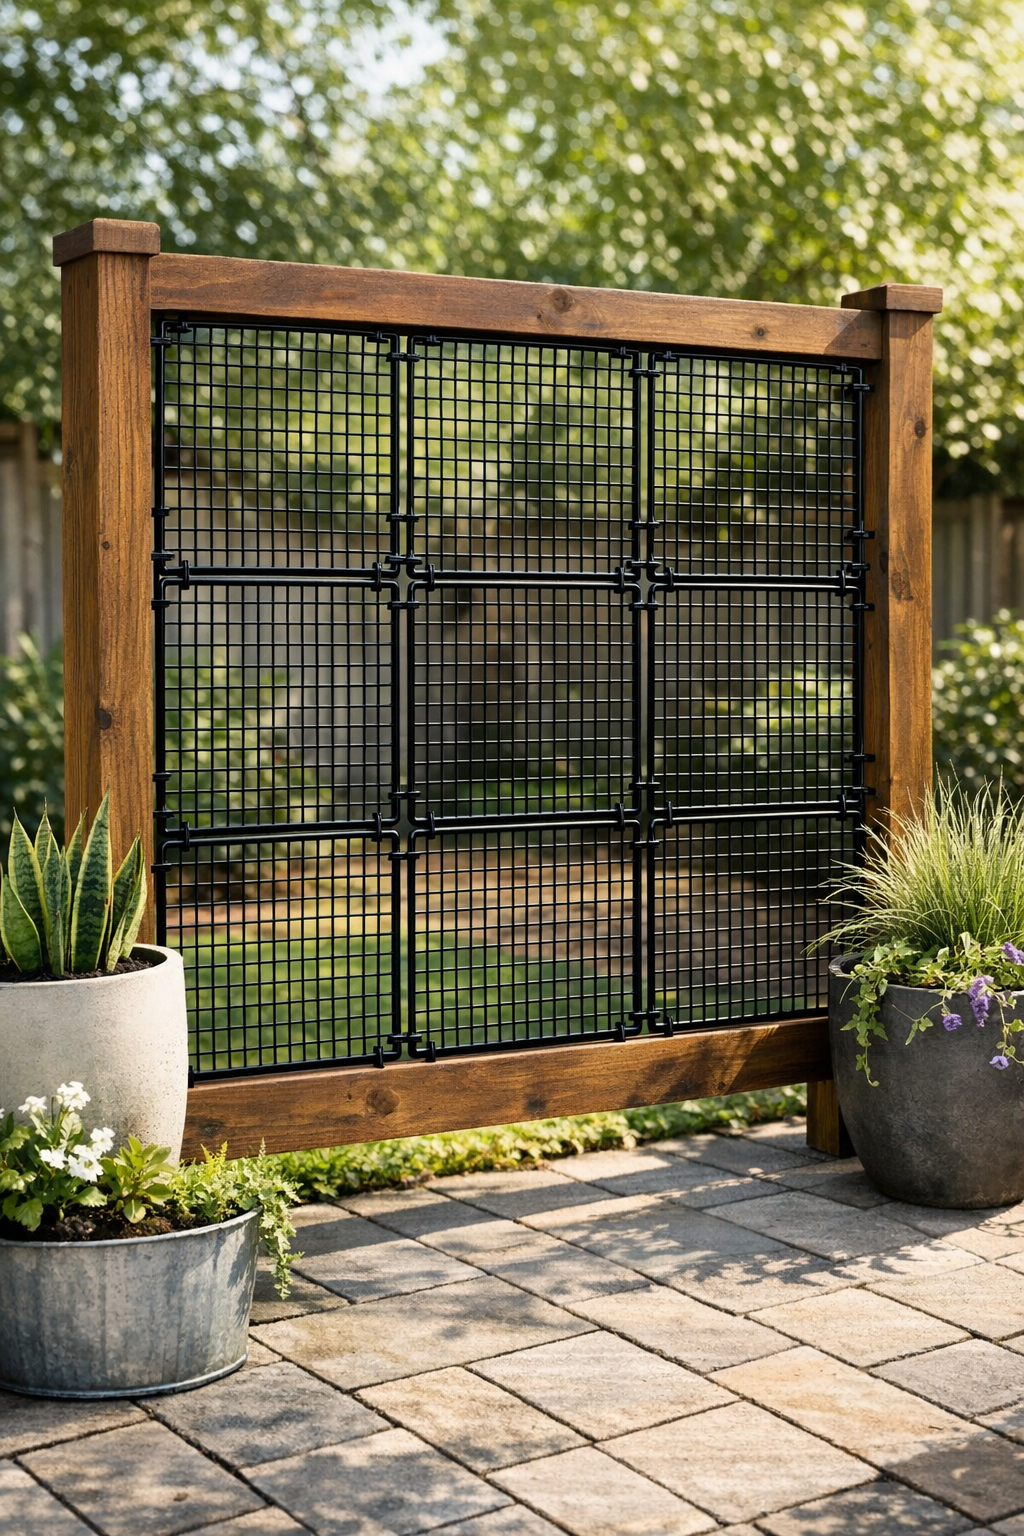
Variations & Tips
Add greenery: This screen works beautifully as a hybrid privacy wall and trellis. Thread small pots, climbing vines, or lightweight plant clips through the grid for a softer look.
Use pressure-treated or cedar lumber: If the screen will stay outdoors year-round, rot-resistant wood is worth it. Cedar gives a cleaner finished look, while pressure-treated lumber is often more budget-friendly.
Double up for more privacy: If you want less visibility through the grid, attach outdoor reed screening, polycarbonate panels, or weather-resistant fabric to the back side of the frame.
Choose UV-resistant zip ties: Standard indoor zip ties get brittle in sun. Black UV-rated ties hold up much better outdoors and blend into the painted racks.
Mind the wind load: A tall panel catches more wind than people expect. In exposed yards, make the feet wider, add diagonal rear bracing, or anchor the frame to posts set in the ground.
Try a different finish: Matte black is what gives this project its modern edge, but dark bronze, charcoal, or satin white can shift the style dramatically while keeping the same grid effect.
Check rack quality before buying: The cheapest cooling racks vary a lot. Look for metal racks with welded joints and a firm outer rim so they stay flat when zip-tied in place.
Build in sections for easier handling: If an 8-foot panel feels unwieldy, make two shorter stacked panels or two narrower side-by-side screens. They are easier to paint, move, and anchor.