
I love a yard project that looks far more expensive than it really is, and this one absolutely fits that category. Using old wire fan covers and a thick cement mix, you can make sturdy domed garden structures that work as sculptural accents, low planters, mushroom-style garden ornaments, or even protective cloches over small plants depending on how you finish them.
This is the kind of weekend DIY I reach for when I want something substantial in the garden without dragging home a giant store-bought concrete piece. If you have a couple of rusty fan guards tucked away in the garage or you spot some at a salvage yard, this is a smart way to turn them into something durable and surprisingly beautiful.
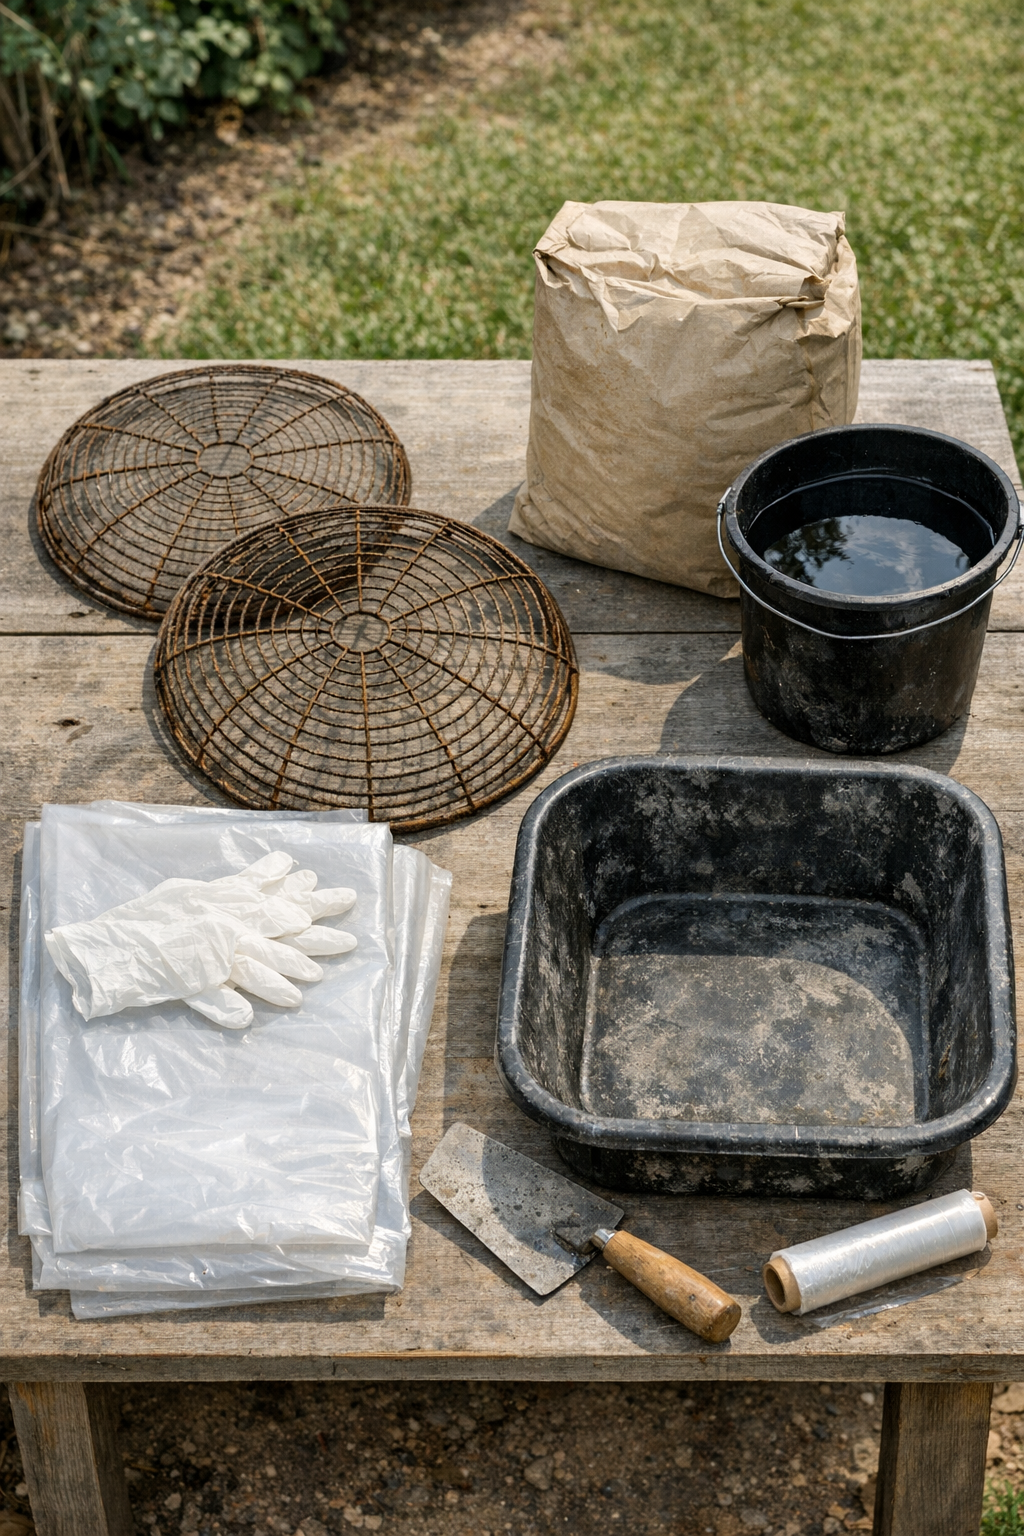
Materials
2 rusted wire fan covers, 16 to 20 inches across each
Instructions
1. Clean the wire fan covers with a stiff brush to remove loose rust, dust, and flaky debris, but do not worry about making them look new. The rough surface actually helps the cement grip better.
2. Set your plastic sheeting over a flat work surface or directly on the ground, then prop each fan cover so the domed side faces up. I usually use scrap wood blocks underneath to keep the shape stable while I work.
3. Lightly coat the outside of each fan cover with a thin film of oil so the cement spreads more smoothly by hand or trowel. This also helps you refine the surface without the mix dragging.
4. In a mixing tub, combine the concrete mix with water a little at a time until it reaches a very thick, spreadable consistency, like stiff brownie batter. Do not make it runny or it will slide through the wire instead of building over it.
5. Press the first layer of cement over each fan cover, starting at the top center and working downward, forcing the mix into and over the wire. Aim for a layer about 1/2 inch thick so the metal becomes fully embedded.
6. Smooth and shape the dome with your gloved hands or a trowel, adding more mix where needed to keep the curve even. If you want a more natural stone look, leave a little texture instead of making it perfectly polished.
7. Cover the domes loosely with plastic wrap or a plastic bag so they cure slowly, then leave them undisturbed for 24 to 48 hours. Slow curing makes a stronger finished piece, which is especially helpful if your weather is warm or windy.
8. After the domes have set, remove the plastic and check for soft spots before moving them. If needed, patch thin areas with a little extra cement and let them cure another day.
9. Once fully hardened, flip the domes carefully and clean up the edges with a rubbing stone, old rasp, or gloved hand while the concrete is still slightly green. I like to keep the edge a little organic because it blends better into a garden bed.
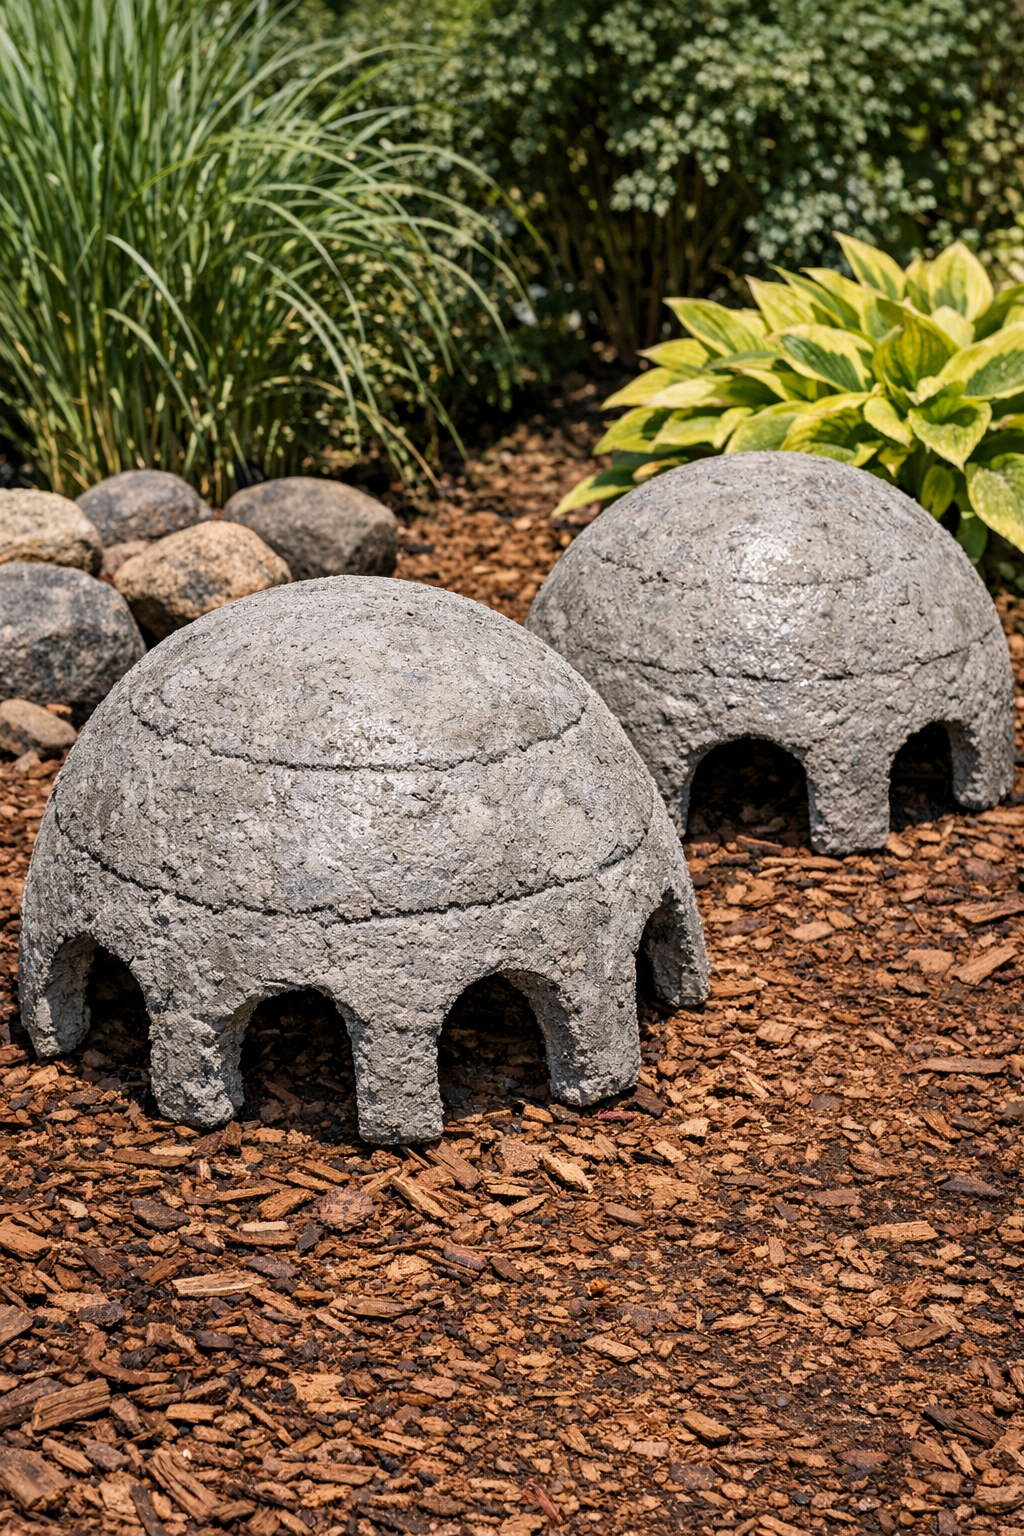
10. Let the finished domed structures cure for a full 5 to 7 days before placing them in the yard. After curing, set them over mulch, gravel, or soil as decorative domes, garden cloches, or statement pieces grouped in pairs.
Variations & Tips
Use as garden cloches: If your fan covers have wider openings, these domes can work as low protective covers for young plants. Just make sure the finished piece still has enough ventilation and is light enough for you to move safely.
Create a stone finish: For a more natural look, dab the final wet surface with a stiff brush or crumpled plastic before curing. It gives the dome a weathered texture that looks nice in cottage-style landscaping.
Make them heavier: If you want these to stay put in a windy area, build the cement slightly thicker around the base edge. That extra weight also makes the dome feel more like cast garden stone.
Patch cracks early: Small hairline cracks are easiest to fix within the first day or two. Mix a little fresh cement and press it into the crack before the structure fully cures.
Work in batches: Since I usually squeeze projects like this in between work and dinner, I find it easier to mix half the cement first, cover one dome, and then mix more as needed. The texture stays manageable and you are less likely to waste material.
Try a mossy finish later: After a few weeks outdoors, the concrete will start to soften visually on its own. If you like aged garden décor, placing the domes in a damp shady bed will help them blend in even faster.