
I’m always looking for small fixes that save money and keep one more thing out of the trash, and this gutter guard clip project checks both boxes. If you’ve got a pile of snapped plastic hangers and a bottle of super glue in a junk drawer, you can turn them into sturdy custom clips that help hold lightweight gutter guard mesh in place.
This is a good weekend project for anyone who likes practical home DIYs but doesn’t want to buy a specialty part for a simple problem. I started experimenting with this after breaking a few hangers in my laundry room and realizing the plastic gets surprisingly workable with gentle heat, then firms back up into a very rigid shape once cooled.
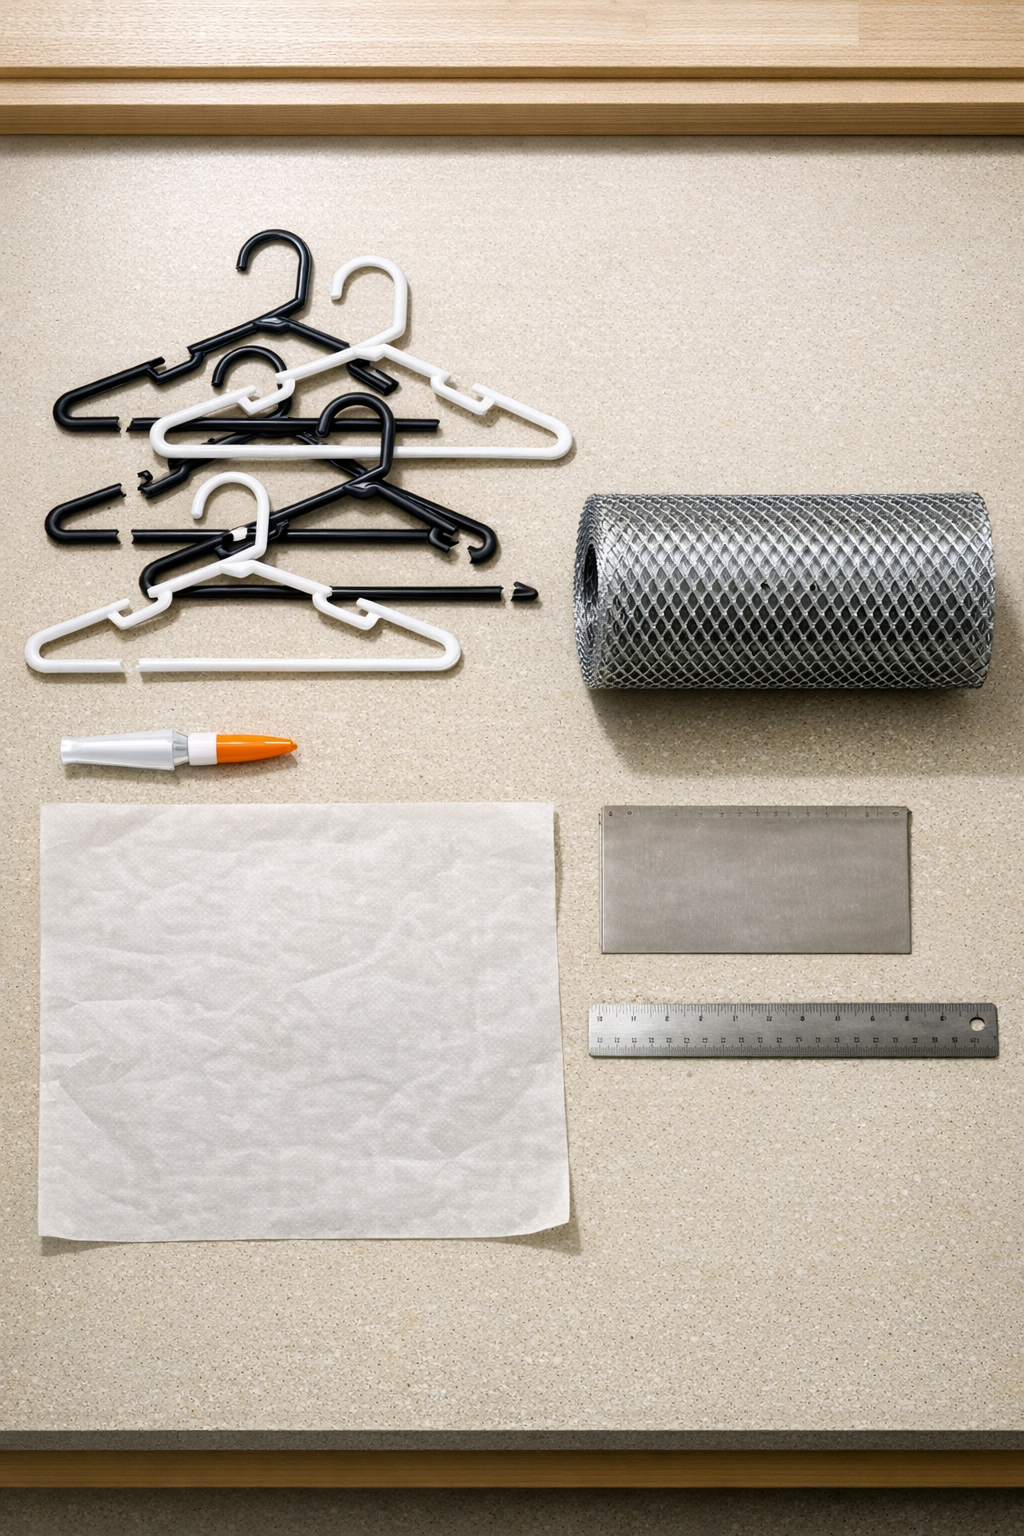
Materials
Instructions
1. Preheat your oven to 300°F and line a baking sheet or oven-safe tray with parchment paper. Work in a well-ventilated area and only use plain rigid plastic hangers, not rubber-coated or fabric-covered ones.
2. Break or cut the hanger pieces into straight sections 3 to 5 inches long, keeping the flattest parts for the clips. Wipe off any dust so the glue bonds cleanly later.
3. Place the plastic pieces on the parchment-lined tray and heat them for 3 to 5 minutes, just until they soften slightly. Watch closely and remove them as soon as they become flexible, not melted flat.
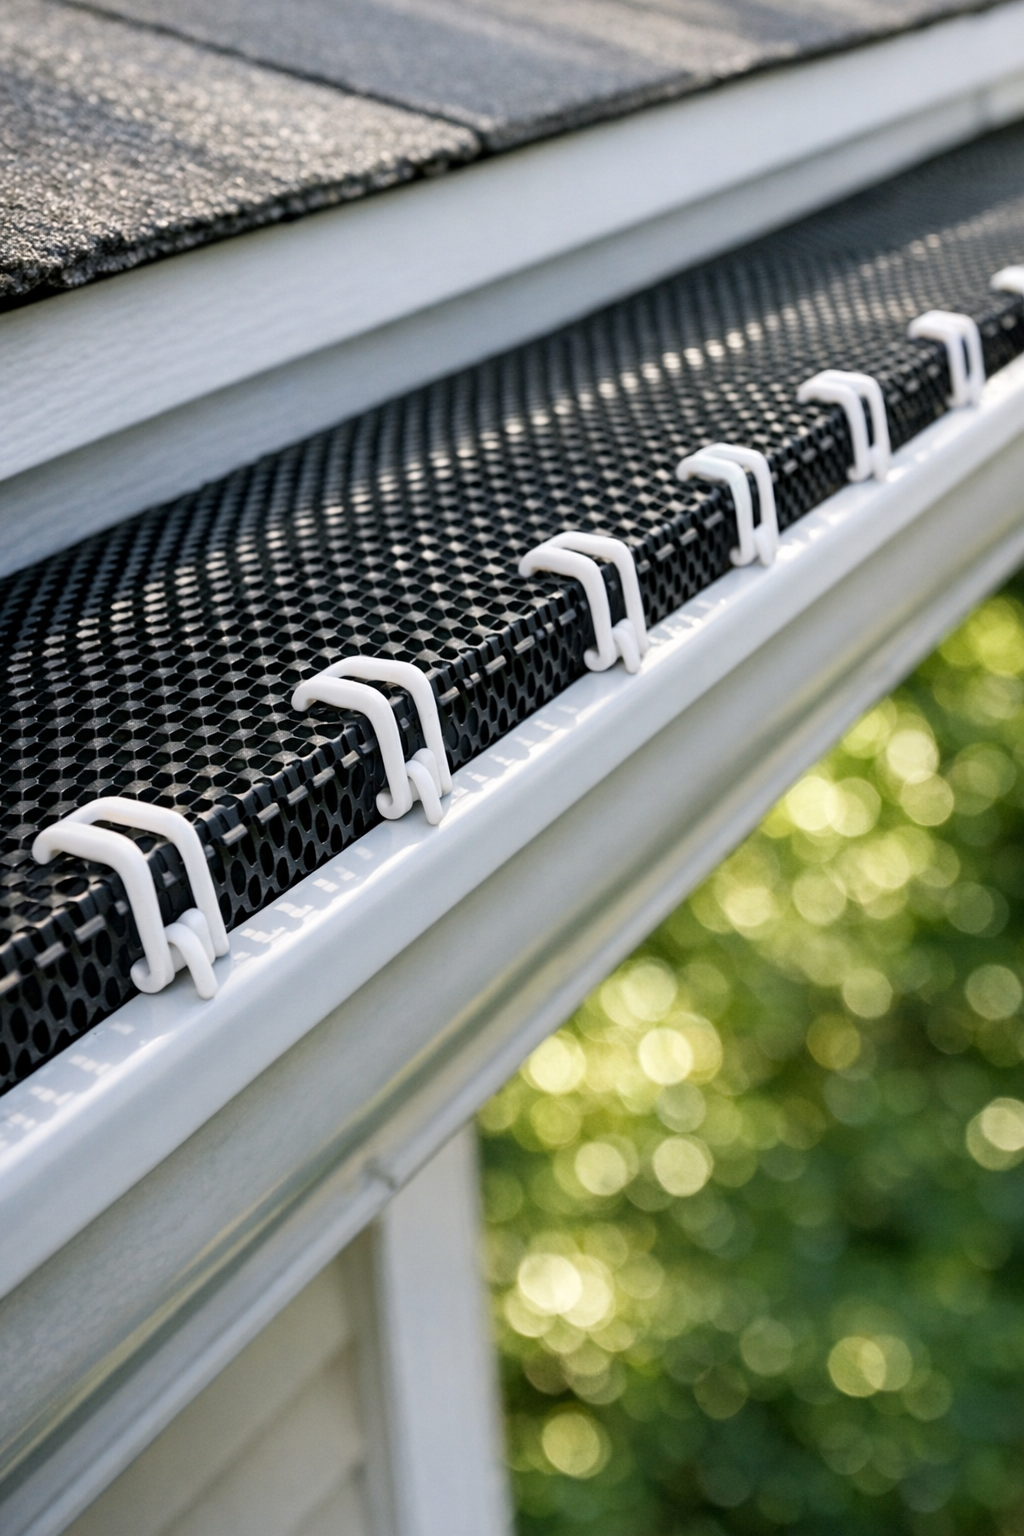
4. Carefully take out one softened piece at a time and bend it into a narrow U or hook shape sized to clip over your gutter lip and catch the edge of the guard mesh. I like to test the first one directly against the gutter guard so I can repeat the same shape for the rest.
5. Let each shaped piece cool for 2 to 3 minutes so it hardens fully. If a clip twists or sits unevenly, reheat it briefly and reshape it before moving on.
6. For extra strength, glue a second matching piece onto the flat side of each clip to create a laminated double-thick clip. Hold the layers together for 30 to 60 seconds, then let them cure on cardboard for at least 10 minutes.
7. Space the finished clips along the gutter guard mesh every 12 to 18 inches, depending on how flexible your mesh is. Snap each clip over the gutter edge so it traps the mesh snugly without crushing it.
8. Check that the guard sits flat and doesn’t lift at corners or seams, then add extra clips anywhere the mesh wants to spring up. Once everything is seated, give each clip a firm tug to confirm it holds.
Variations & Tips
Match your gutter first: Before making a full batch, shape one test clip and try it on the actual gutter. Gutter lips vary a little, and getting that first fit right saves a lot of rework.
Use thicker sections: The bottom bar of a plastic hanger is usually sturdier than the shoulder area. If I have enough material, I save those thicker sections for the clips that will sit near corners or seams.
Keep the heat gentle: You want softened plastic, not bubbling or scorched plastic. In my experience, short heating times work much better than trying to rush it with higher heat.
Double up for windy spots: If one side of your house gets a lot of wind, make all the clips laminated with two layers. That little extra step makes them feel much more rigid.
Best use case: These work best for lightweight mesh-style gutter guards, not heavy steel covers that need factory hardware. For a simple mesh hold-down solution, though, they’re surprisingly effective.
Batch prep tip: I like to make a dozen more clips than I think I need. It’s the same approach I use in my kitchen when I meal prep on Sunday—having extras ready makes installation go much faster.