
There’s something especially satisfying about turning a handful of humble household odds and ends into something that looks right at home out on the patio. This project uses crushed red plastic party cups along with two everyday items to create sturdy, eye-catching patio pavers with a speckled, almost stone-like finish. It’s a clever little upcycling job, and the kind of backyard improvement that gets folks leaning in for a closer look.
I’ve always had a soft spot for practical projects that don’t ask for fancy supplies or a workshop full of equipment. If you enjoy simple DIYs, like the look of bold recycled materials, and want an accent paver for a garden path, seating nook, or decorative stepping area, this is a fine weekend project to try.
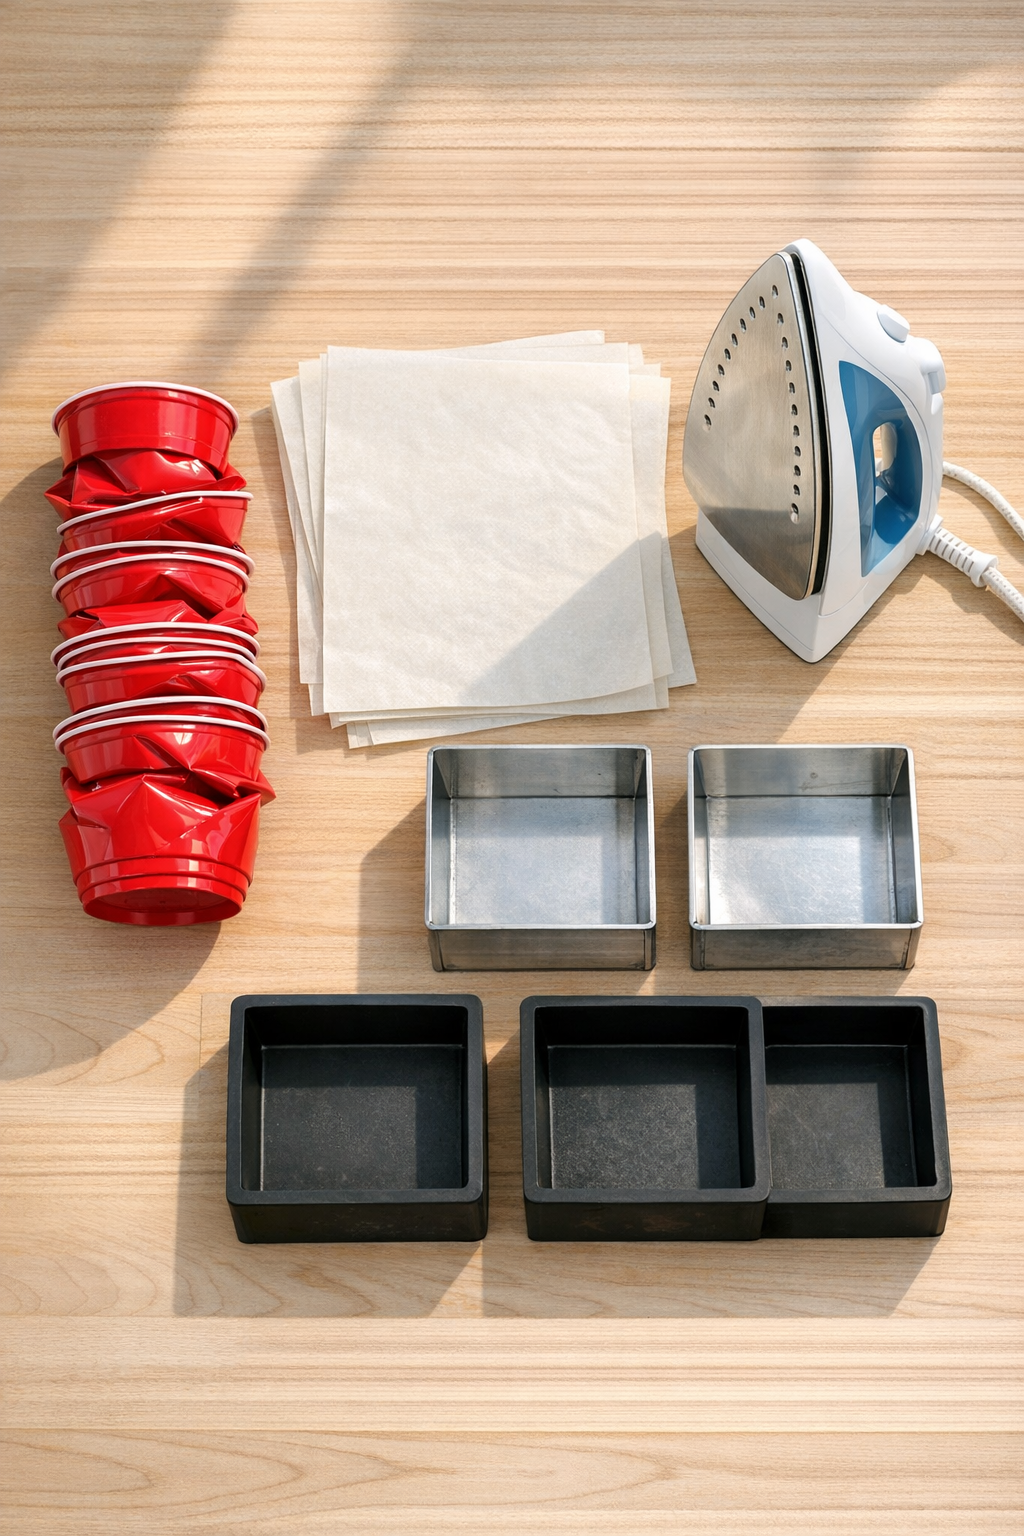
Materials
36 red plastic party cups, 16-ounce size
Instructions
1. Wash and dry the red plastic cups if needed, then crush them by hand and cut them into rough 1- to 2-inch pieces so they melt more evenly.
2. Set your molds on a heat-safe surface and line the bottom and sides of each one with parchment paper, leaving enough overhang to help lift the pavers out later.
3. Fill each mold with a thick, even layer of crushed cup pieces until the depth reaches about 1 1/2 inches; press the pieces down gently with your hands so the corners are packed.
4. Place a sheet of parchment paper over the top of the first mold, then press a hot dry iron onto the surface for 10 to 15 seconds at a time, lifting between presses to check the melt.
5. Continue ironing in sections until the top layer softens and binds together; use the spatula to tuck in any raised edges under the parchment while the plastic is still warm.
6. Add another thin layer of crushed cup pieces anywhere the paver looks low, then cover again with parchment and iron until the surface is level and firmly fused.
7. Repeat the pressing process for the remaining molds, keeping the thickness of each paver close to 1 inch so they match well as a set.
8. Let the pavers cool completely in their molds for 30 to 45 minutes, then lift them out using the parchment overhang and peel the paper away slowly.
9. Trim any thin plastic overhang from the edges with scissors or shave it carefully with the spatula for a neater square shape.
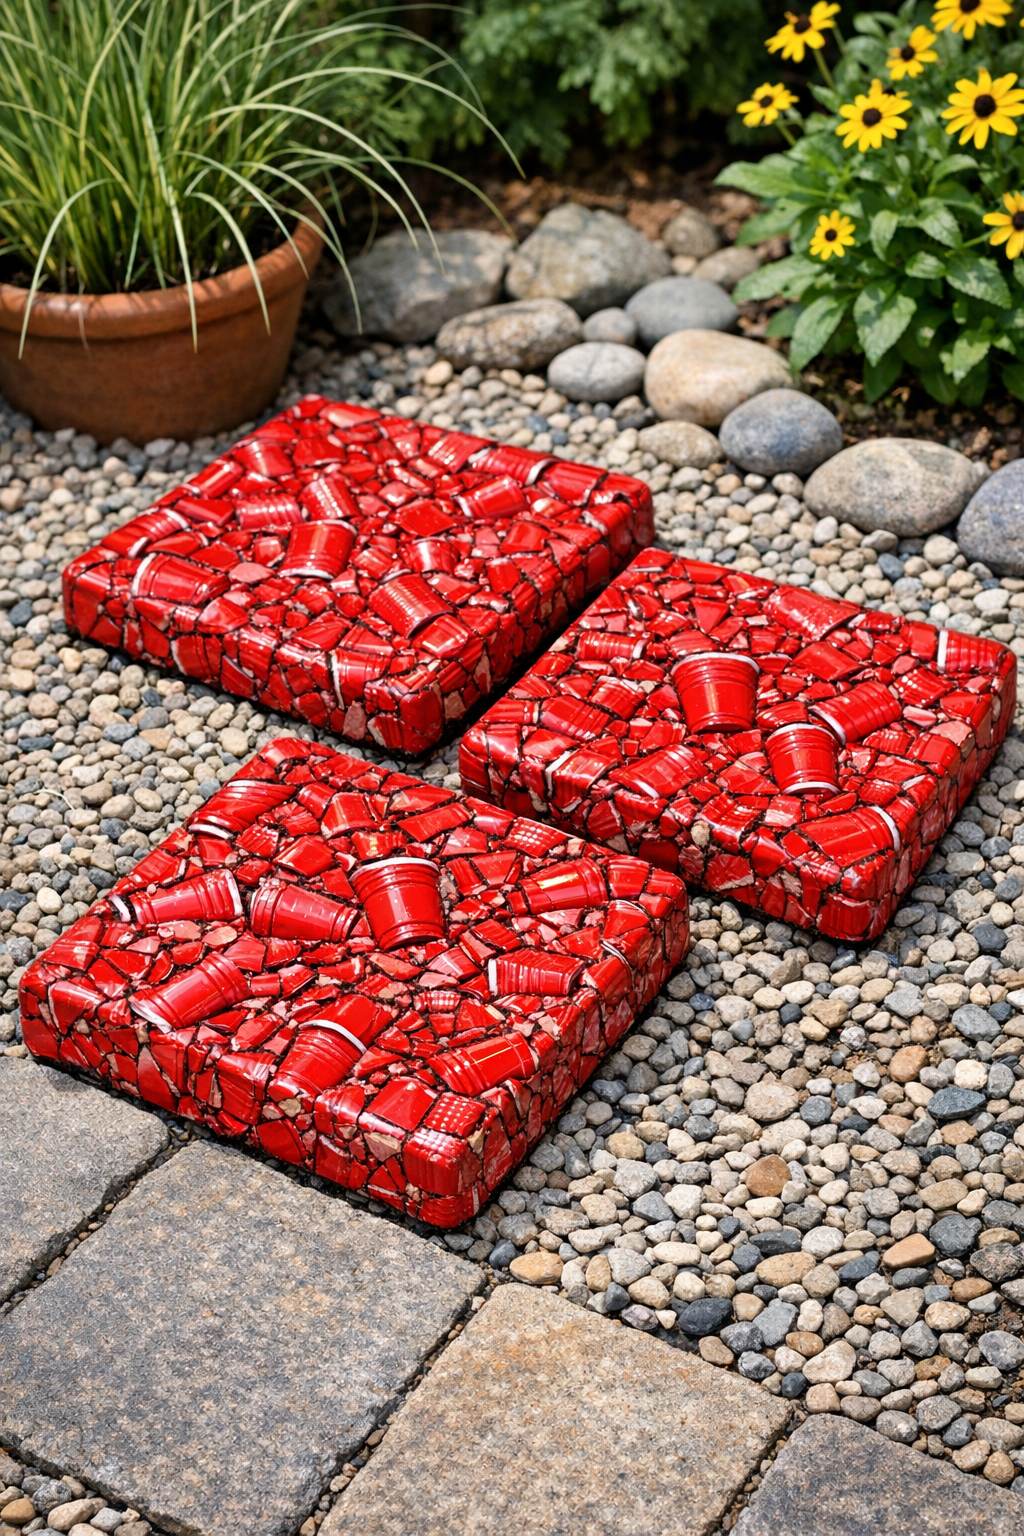
10. Place the finished pavers in your patio or garden area on level ground, using them as decorative stepping stones or accents rather than weight-bearing structural pavers.
Variations & Tips
Color mix: If you’d like a more terrazzo-style look, mix in a few white or clear plastic cup pieces with the red before pressing, but keep the total volume the same.
Mold shape: Square molds are tidy and patio-friendly, but round or rectangular pans work just as well if you want a different stepping-stone style.
Surface texture: For a smoother top, give the paver one final short press with fresh parchment after it has mostly fused; that little extra pass makes a surprising difference.
Outdoor use: I’d use these as decorative patio accents, under lightweight planters, or in low-traffic garden spots rather than in a main walkway that sees hard daily wear.
Safety note: Always work in a well-ventilated area, wear heat-safe gloves, and use an old iron or one dedicated to crafting, since melted plastic residue should never go back to clothing duty.