
I’ve always had a soft spot for projects that turn something plain and practical into something cheerful enough to brighten a whole room, and this wall pocket organizer does exactly that. By cutting away every other pocket from a clear plastic over-the-door shoe holder and crocheting right through the plastic with thick apple red yarn, you end up with a sturdy organizer that feels handmade in the best possible way. It’s especially nice for back-to-school season, when papers, pencils, notes, and all those little odds and ends seem to multiply overnight.
Out here, we’ve long believed in making do with what we have and dressing it up with a little ingenuity, and this project reminds me of that spirit. It’s a good fit for anyone who knows a few basic crochet stitches and wants a functional piece for a child’s room, homework corner, mudroom, or family command center. The plastic gives it backbone, and the crochet adds color, texture, and charm you just can’t buy off a shelf.
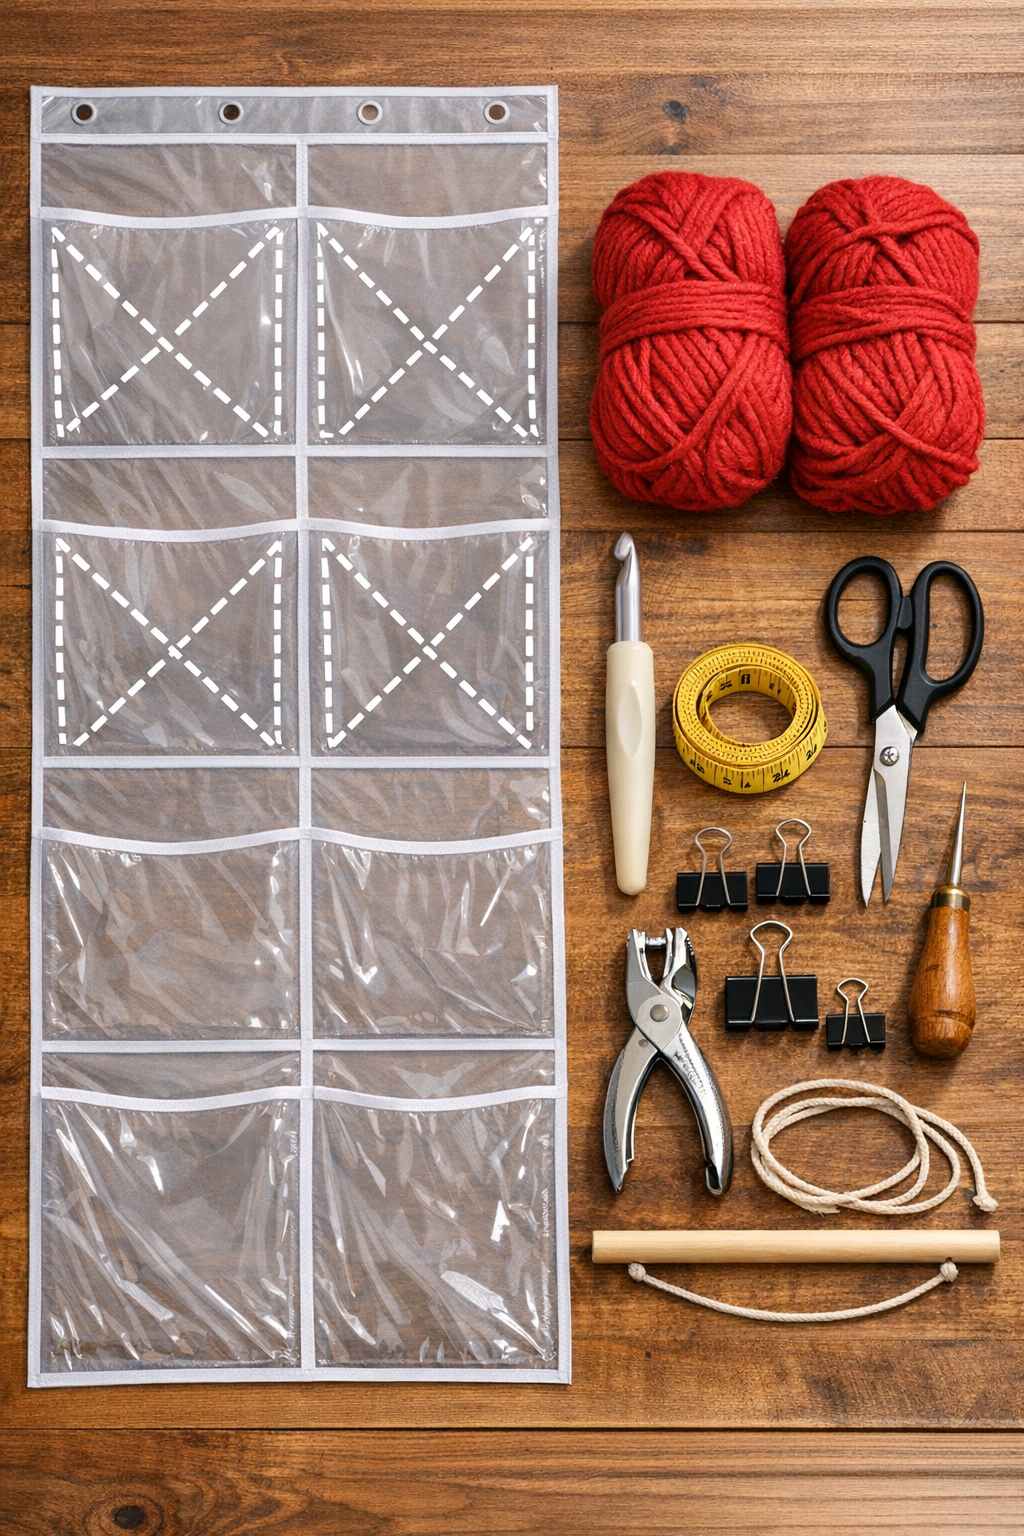
Materials
Instructions
1. Lay the shoe holder flat on a large table or clean floor and decide how many pockets you want to keep; leaving 6 to 8 pockets usually makes a balanced organizer for school supplies.
2. Use the marker and ruler to mark every other pocket for removal, spacing the remaining pockets so each one has room to show off the crochet trim and still hold notebooks, pencils, or mail.
3. Carefully cut away the marked pockets, trimming close to the seams without cutting into the main backing panel, and save the remaining pockets intact.
4. If any cut edges feel weak or rough, place a narrow strip of clear packing tape along those edges to reinforce them before crocheting.
5. Punch holes around the outer edge of the organizer and around the top edge of each remaining pocket, spacing the holes about 1/2 inch apart and keeping them about 1/4 inch in from the edge.
6. Clip the organizer flat with binder clips so the plastic stays steady, then join the apple red yarn in one top corner with a slip knot through the first hole.
7. Single crochet through each punched hole all the way around the outside edge, working one stitch per hole and adding 3 single crochets in each corner hole so the edging lies flat.
8. Continue by single crocheting across the top of each pocket opening, working through the punched holes to give every pocket a firm red border that helps it keep its shape.
9. Work a second round of single crochet around the full outside edge, then add a simple shell or scallop stitch if you want a softer decorative finish.
10. Crochet a reinforcing band across the very top by working 1 row of single crochet and 1 row of half double crochet through the top edging stitches, making a sturdy channel area for hanging.
11. Fold the top edge over the wooden dowel by about 1 1/2 inches and use slip stitches or a yarn needle with matching yarn to secure that folded flap around the dowel.
12. Cut two 3-foot lengths of cotton cord, tie them to each end of the dowel, and knot them together at the top to make a hanging loop.
13. Weave in all yarn ends with the yarn needle, then check each pocket by gently tugging the edging to be sure everything is secure.
14. Hang the organizer on a wall hook and fill the pockets with folders, crayons, flash cards, note pads, scissors, or mail, keeping heavier items in the lower pockets for balance.
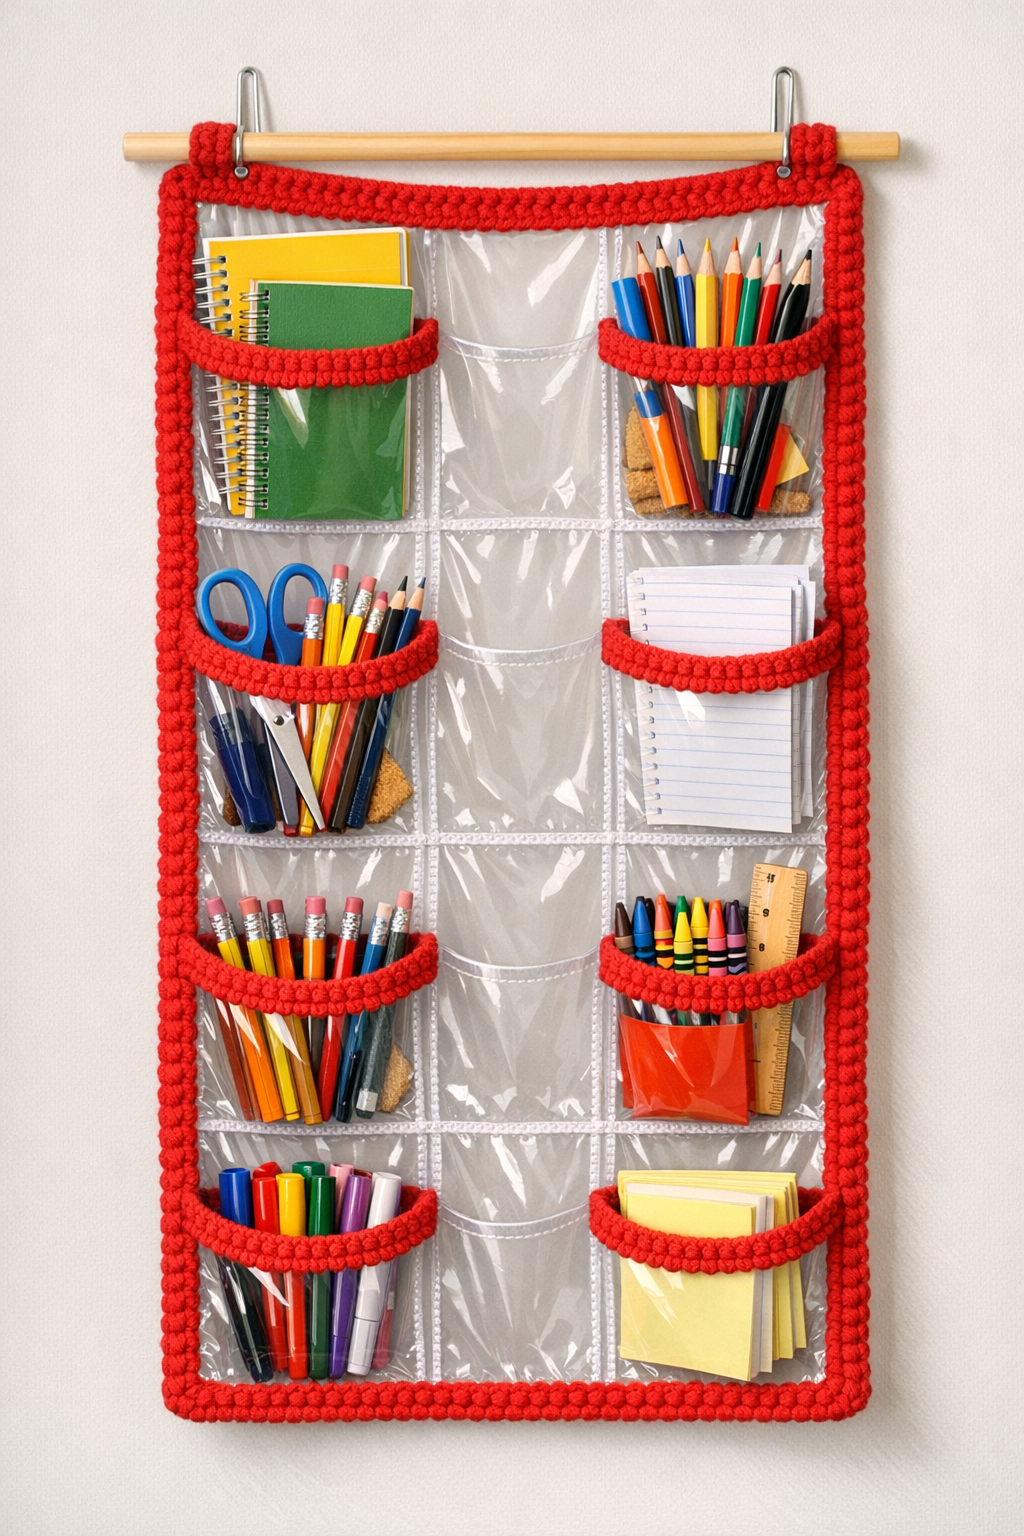
Variations & Tips
School colors: If apple red doesn’t suit your space, use your child’s school colors or make each pocket opening a different shade for a playful look.
Beginner-friendly edging: If you’re newer to crochet, stick with two rounds of single crochet only; it still looks tidy and gives the organizer plenty of strength.
Pocket spacing: Removing every other pocket gives a nice open design, but you can remove fewer pockets if you want smaller storage spaces for markers, rulers, or craft tools.
Hole punching tip: Test your hole spacing on one cut-off pocket first so you can make sure your hook slides through cleanly without tearing the plastic.
Make it sturdier: For heavy homework folders or composition books, add an extra crochet round around each pocket opening and reinforce the back top corners with a small square of clear tape.
Use what you have: A curtain rod, smooth stick, or leftover wooden strip can stand in for the dowel as long as it’s straight and strong enough to support the weight.
Keep it neat: I like to sort by purpose: papers up top, writing tools in the middle, and bulkier items down below. That old practical habit saves a lot of rummaging on busy school mornings.