
If you want a cheerful porch project that makes people smile before they even ring the bell, these giant ladybugs are such a fun one to make. I love decorating outdoor spaces with simple, bold pieces, and this is the kind of project that looks playful and expensive at the same time, even though it’s made from very basic supplies.
These oversized porch ladybugs are great for anyone who wants an easy weekend craft with a big visual payoff. I especially love projects like this because they’re family-friendly, forgiving, and easy to customize if you want a brighter red, a more rustic finish, or a smaller group for your steps or flower bed.
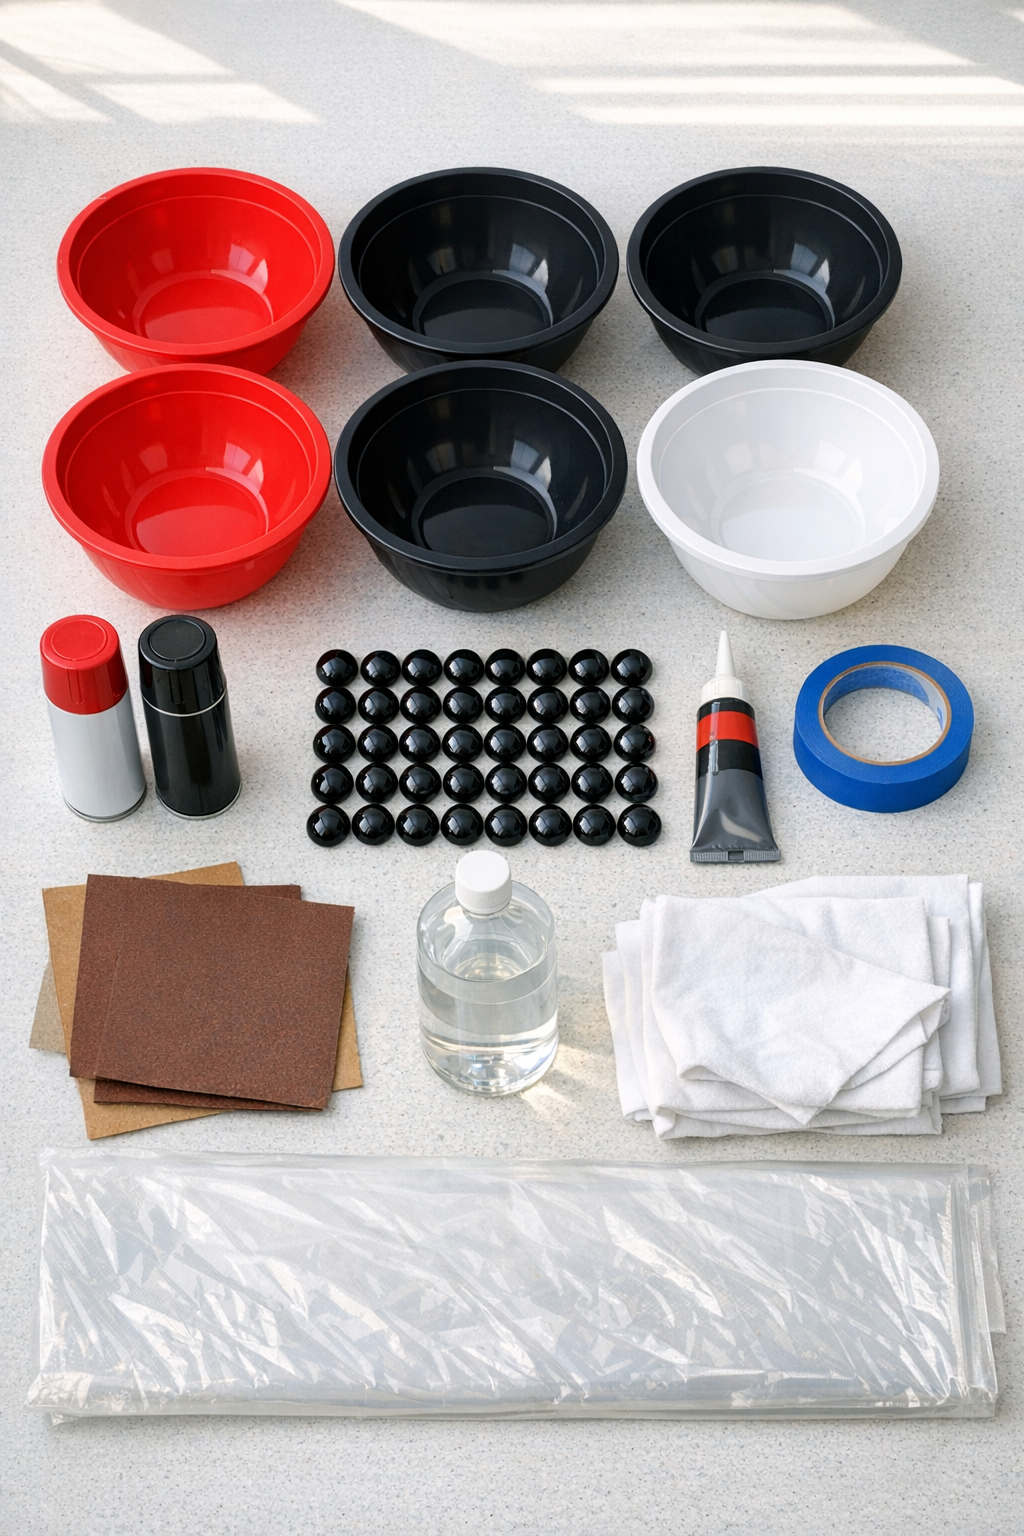
Materials
6 large round plastic mixing bowls, 12 to 14 inches wide each
Instructions
1. Wash all 6 plastic bowls with warm soapy water, rinse them well, and let them dry completely so the paint will stick better.
2. Lightly sand the outside of each bowl with 220-grit sandpaper, then wipe away the dust with a cloth dampened with rubbing alcohol.
3. Set the bowls upside down on the drop cloth in a well-ventilated outdoor area, spacing them a few inches apart so you can spray all around them evenly.
4. Spray the outside of all 6 bowls with light, even coats of red spray paint, letting each coat dry according to the can directions before adding the next one.
5. Apply 2 to 3 thin coats until the bowls look evenly covered and bright red, then let them dry fully before adding any black details.
6. Use painter’s tape to mark off a small curved area at the front of each bowl for the ladybug head, and leave a straight center line open if you want the classic wing division.
7. Spray the taped-off head area black on each bowl, using short passes to avoid drips, and let the paint dry before removing the tape carefully.
8. Arrange 7 flat black glass marbles on each bowl before gluing so you can space the spots evenly across the red section.
9. Glue the marbles in place one bowl at a time, pressing each one gently into a small dab of exterior adhesive and keeping the spots balanced from side to side.
10. Let the adhesive cure completely according to the package directions before moving the bowls or setting them outside on the porch.
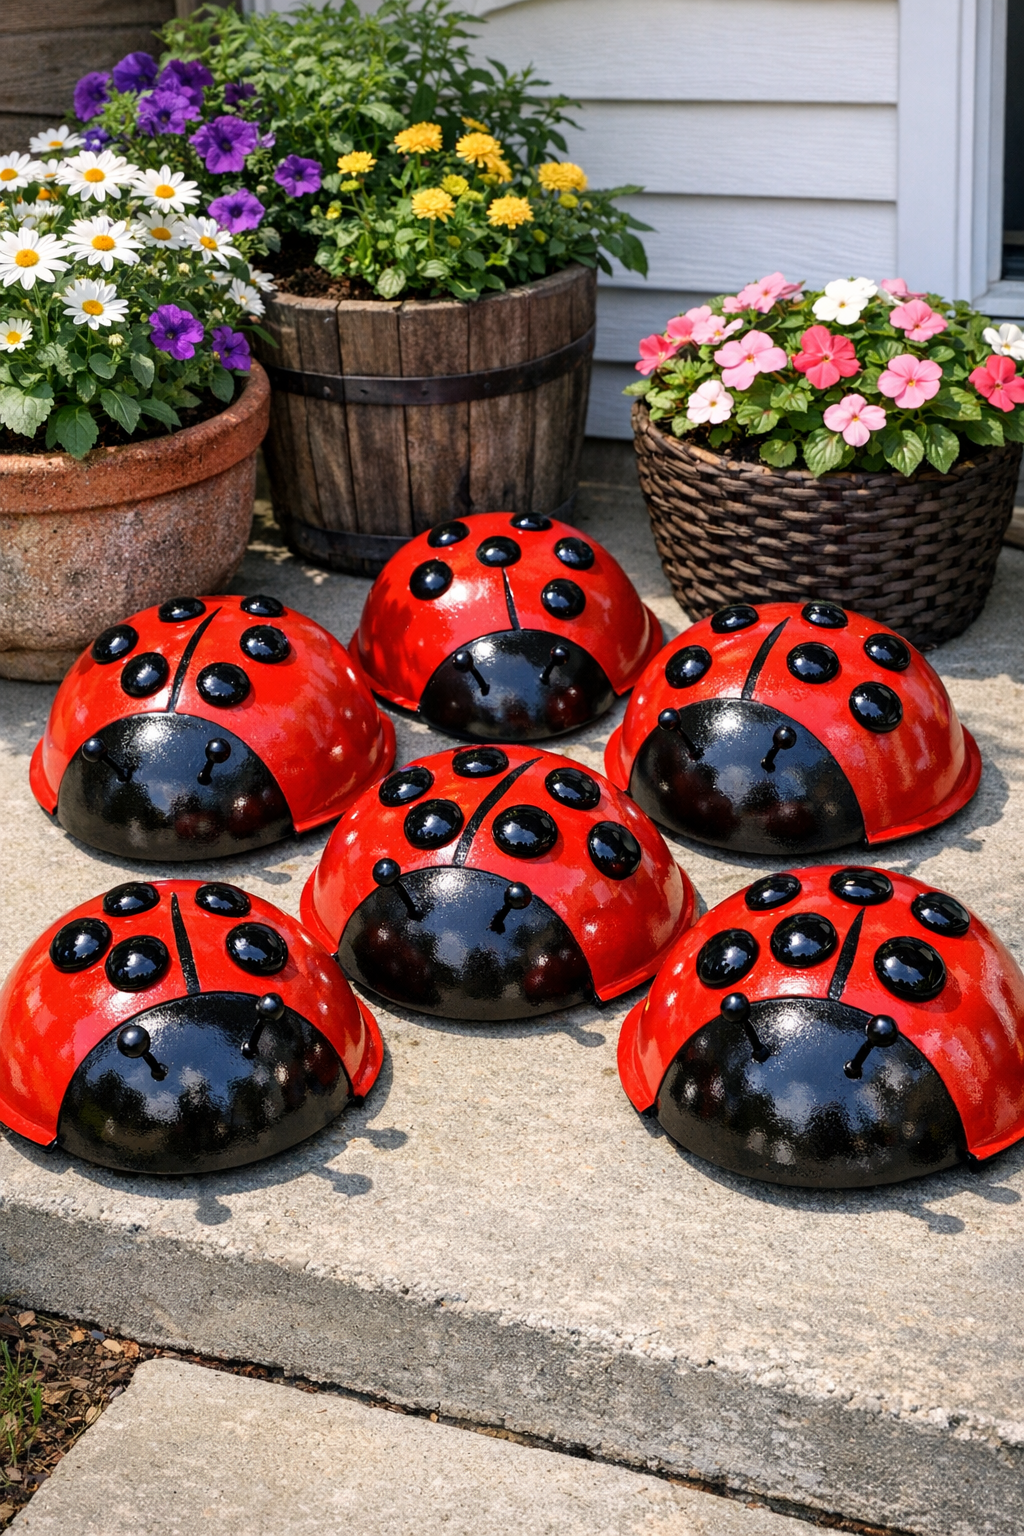
11. Arrange the finished ladybugs in a cluster by your front door, along porch steps, or beside potted plants for the biggest impact.
Variations & Tips
Color choice: If you want a softer look, try cherry red, brick red, or even coral spray paint instead of a bright primary red.
Spot placement: I used 7 flat black glass marbles per bowl for a full, balanced look, but you can use 5 or 6 per ladybug if you prefer a simpler design.
Extra durability: If your porch gets lots of sun or rain, finish the bowls with a clear outdoor sealer once the paint and glue are fully cured.
Easy arranging: I like grouping these in sets of three or six near planters because odd and clustered arrangements usually look more natural and eye-catching on a porch.
Kid-friendly help: This is a fun one to do with older kids helping arrange the marble spots before gluing; it turns into a little design game and makes decorating feel more special.
For picky decorators: If you have family members who don’t love bold porch decor, make just one or two large ladybugs and mix them in with plain black or terra-cotta planters for a more subtle look.