
There’s something about a simple patio project that reminds me of getting ready for summer company out in the yard, with folding chairs in the grass and a table full of little things to nibble on. This outdoor snack bowl stand is made by painting wooden salad bowls and threading them onto a sturdy rope, and the finished piece looks cheerful, useful, and just a touch nautical.
I especially like this project for casual parties, porch suppers, and family get-togethers because it lifts snacks up off the table and gives everything a homemade charm. If you’re comfortable with basic painting and a little careful drilling, this is an easy afternoon project that feels far fancier than the work involved.
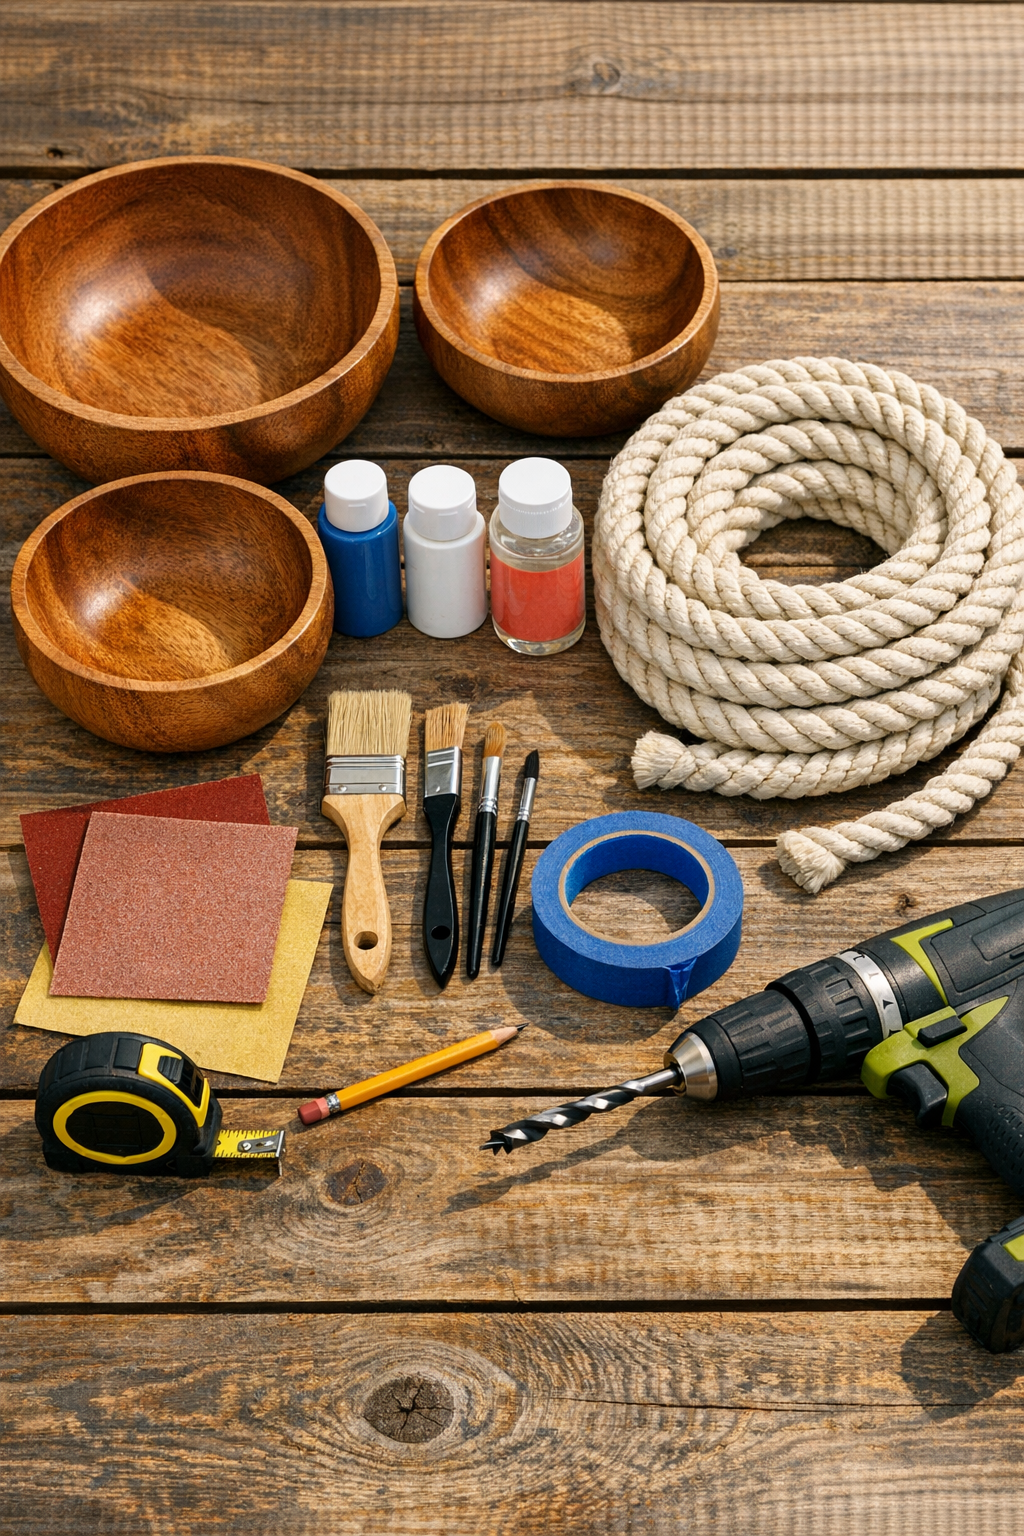
Materials
Instructions
1. Lightly sand the outside and rim of each wooden bowl with 120-grit sandpaper, then smooth with 220-grit so the paint will go on evenly.
2. Mark the center of the bottom of each bowl with a pencil, measuring carefully so the bowls will stack straight on the rope.
3. Drill a hole through the center of each bowl bottom using the 7/8-inch wood bit, then sand the hole edges smooth so the rope won’t snag.
4. Tape off any stripes or color blocks you want, then paint the outside of the bowls and the rims in thin coats, letting each coat dry before adding the next.
5. Brush on a clear exterior sealer over the painted surfaces and let the bowls dry completely according to the product directions.
6. Cut the rope to length if needed, then seal both cut ends with a lighter or a dab of clear glue to prevent fraying.
7. Tie a large stopper knot near one end of the rope, leaving about 8 inches below it to form the base tail.
8. Thread the first bowl onto the rope so it rests on the knot, then tie another large knot about 8 to 10 inches above that bowl to hold the next level in place.
9. Add the second bowl and repeat with another knot 8 to 10 inches higher, then thread on the third bowl and tie a final knot above it to secure the stack.
10. Stand the piece upright and adjust the spacing by tightening or loosening the knots until the bowls sit level and the whole stand feels balanced.
11. If you want extra stability, make a broad loop or additional knotting at the bottom so the rope tail helps the stand sit more firmly on the table or deck surface.
12. Fill the bowls with dry party snacks like nuts, pretzels, crackers, or wrapped treats, and keep the stand under cover when not in use so the finish lasts longer.
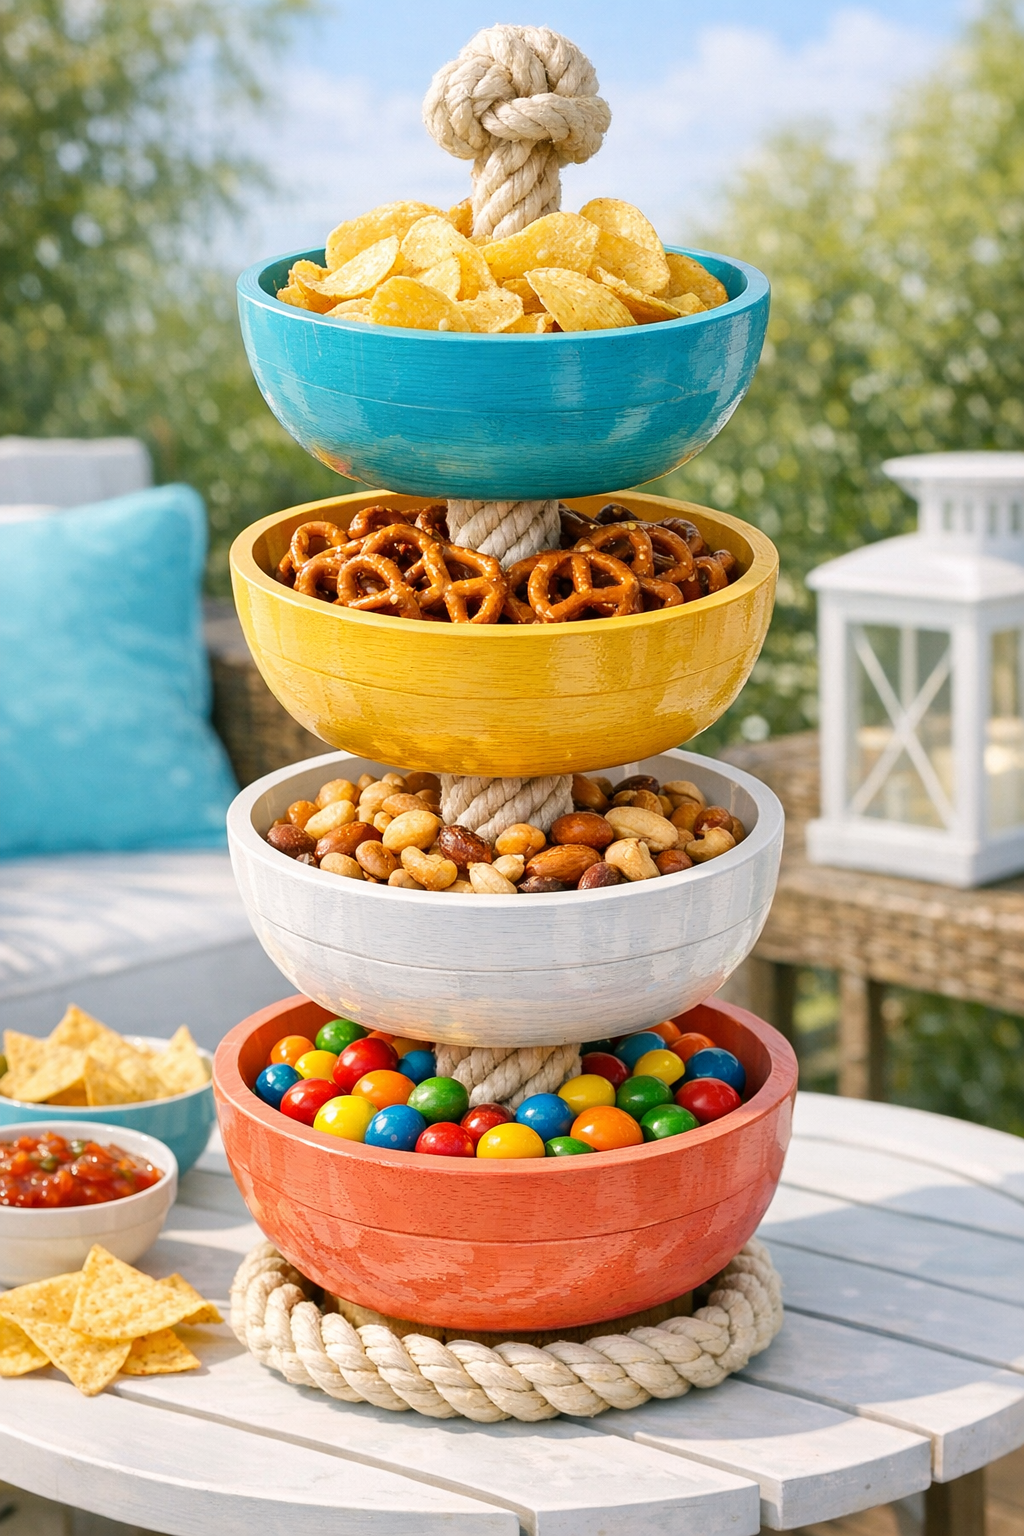
Variations & Tips
Color choice: I like seaside colors for this one, but farmhouse white, sunny yellow, or even simple natural wood with a clear finish would be just as pretty on a patio table.
Best snacks: This stand works best with dry foods that are easy to grab. I’d skip anything oily or very wet unless you line the bowls with small removable cups.
Rope option: Polypropylene rope handles outdoor moisture better, while cotton rope gives a softer, more old-fashioned look. If your patio is uncovered, the synthetic rope will hold up longer.
Make it taller or shorter: You can use two bowls for a smaller centerpiece or four bowls if you have enough rope and want a more dramatic serving piece. Just keep the spacing even so the stand doesn’t tip.
Finishing tip: In my experience, thin coats of paint and sealer always behave better than one heavy coat. It takes a little patience, but the finish comes out smoother and wears better through the season.
Hosting idea: I love using the top bowl for something special, like spiced nuts or homemade snack mix, and the lower bowls for crackers or wrapped candies. It makes the whole table feel thoughtful without much fuss.