
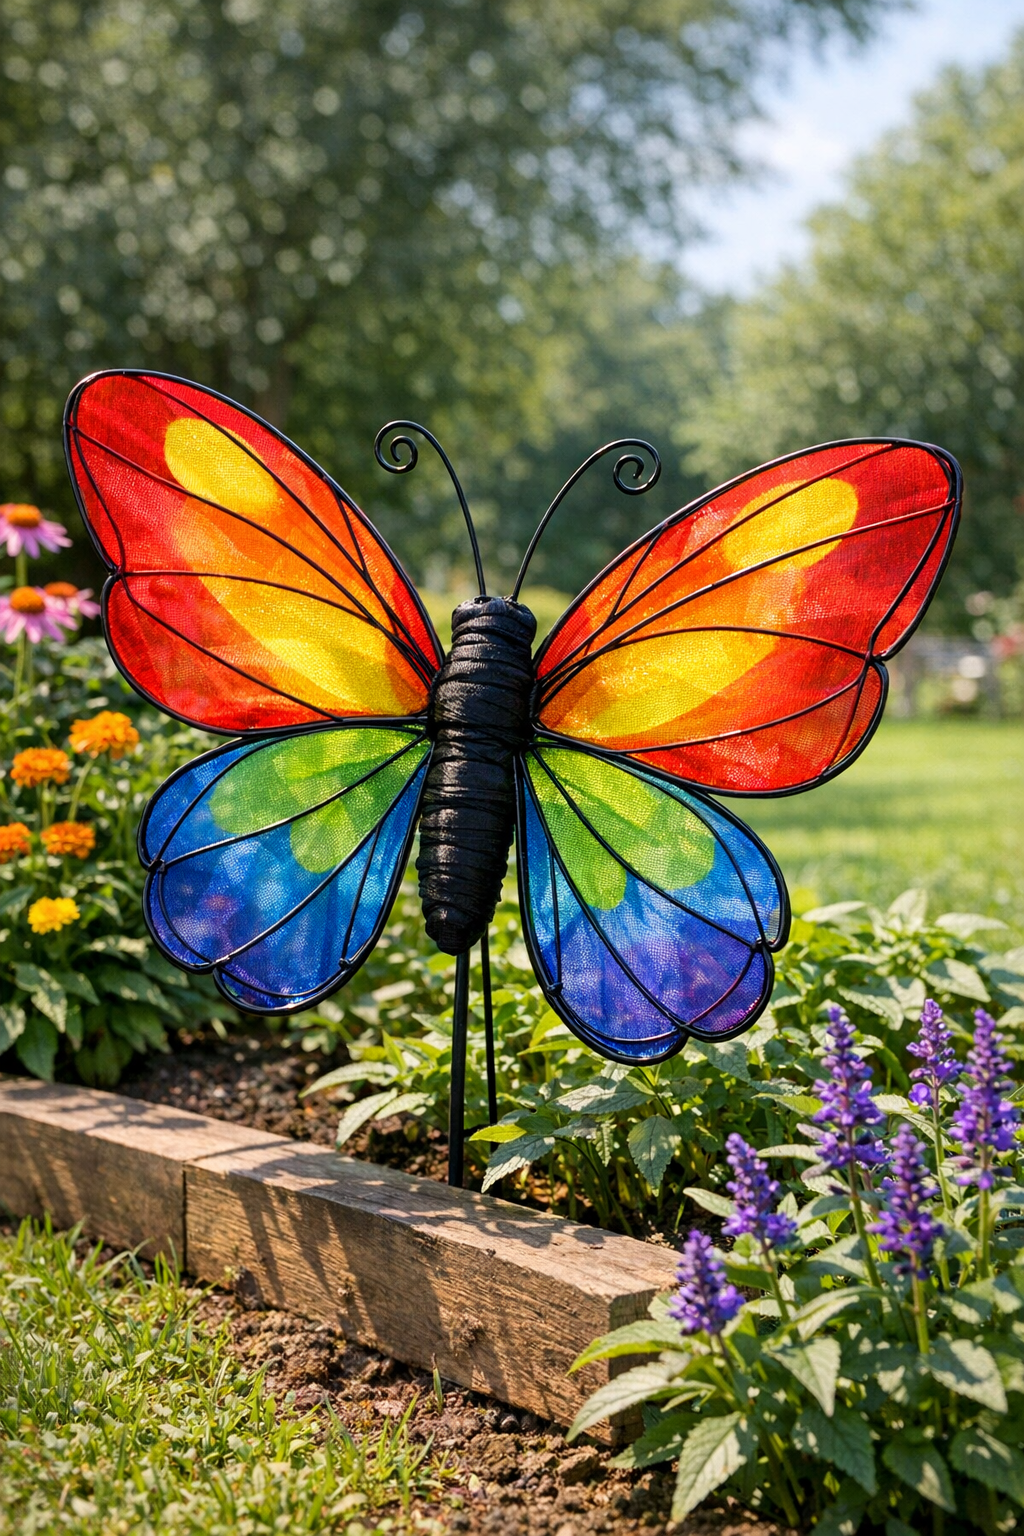
I have always had a soft spot for yard art that feels a little fanciful, especially the kind you can make from humble things most folks already have tucked away in a closet or utility room. This giant decorative butterfly is made by bending simple wire hangers into shape and stretching bright sheer pantyhose over the frame, and the end result catches the light in such a cheerful way that it can wake up a porch, fence, garden bed, or old shed wall in no time.
Projects like this remind me of the old make-do spirit I grew up around in the Midwest, where beauty often came from whatever was on hand and a good bit of patience. If you enjoy easy upcycling, oversized garden décor, or a weekend craft that does not require fancy tools, this is a lovely one to try. It is especially nice for anyone who wants bold backyard color without spending much money.
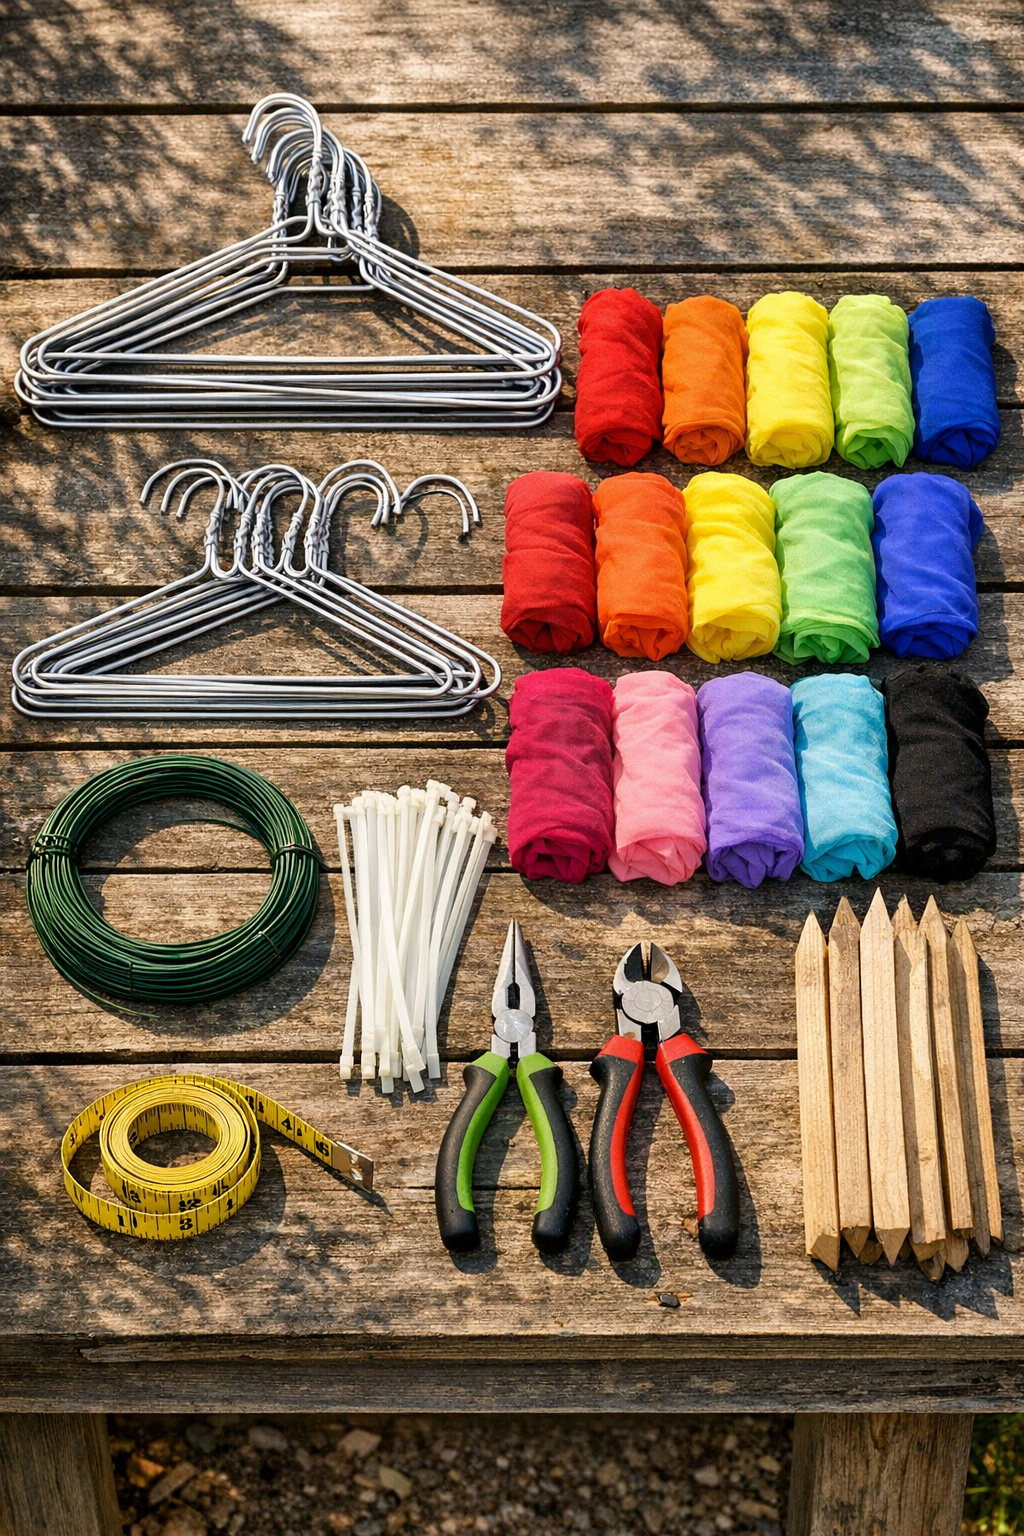
Materials
12 cheap metal wire hangers, standard adult size, approximately 16 to 17 inches wide each
Instructions
1. Set out all 12 wire hangers and untwist the hook necks with needle-nose pliers so each hanger can be opened and reshaped. Straighten only as much as needed, keeping the wire in one piece.
2. Form 4 large upper wings by bending 4 hangers into wide rounded teardrop shapes about 24 inches tall and 18 inches wide. Twist each hanger closed at the bottom so the shape holds firm.
3. Form 4 slightly smaller lower wings by bending 4 more hangers into softer oval or petal shapes about 20 inches tall and 14 inches wide. Twist the wire ends together tightly so there are no loose points.
4. Use the remaining 4 hangers to make extra support loops or decorative inner wing shapes. Bend 2 into medium ovals for the top wings and 2 into smaller ovals for the bottom wings, then set them inside the larger frames.
5. Attach each inner support shape to its matching outer wing with floral wire wrapped tightly in 3 or 4 places. Trim the wire ends and tuck them inward so they will not snag the sheer fabric.
6. If you want a darker finished outline, spray paint all the wire frames black and let them dry completely. This step is optional, but it does help the colors stand out in the yard.
7. Slide one leg of a bright sheer pantyhose pair over each wing frame, stretching it evenly from top to bottom. Pull it snug so the color looks smooth and luminous, then knot or twist the excess tightly at the base.
8. Repeat with different bright colors on all 8 main wing sections, using contrasting or rainbow shades for a lively backyard look. Cover the 4 inner support shapes too if you want extra layers of color and dimension.
9. Secure the gathered pantyhose ends on each wing with floral wire, zip ties, or clear tape, then trim off excess fabric. Check all edges and pull the sheer material taut wherever it looks wrinkled.
10. Lay out the butterfly shape with 2 upper wings and 2 lower wings on each side, adjusting until both sides match. Join the wing bases together in the center with floral wire first, then reinforce each connection with zip ties.
11. Place the two 36-inch wooden stakes vertically behind the center of the butterfly, spaced about 3 inches apart. Wire and tape them firmly to the wing joints so the whole piece has a strong spine for mounting.
12. Wrap the center where all the wings meet with the black fabric or black pantyhose scrap to create a neat body. Wind black pipe cleaners around the middle for texture, and shape 2 pipe cleaners at the top into simple curled antennae.
13. Carry the finished butterfly to the garden, fence, or side of a shed and secure the stakes into the soil or fasten them to a surface. Step back a few feet and make any final wing adjustments so it looks balanced and open.
Variations & Tips
Color planning: I like to lay the pantyhose colors out before I start covering the frames, almost like piecing together a quilt. Warm colors on top and cooler colors below make the butterfly especially eye-catching from the road.
For windy areas: Add a few extra wire ties where the upper and lower wings meet, and use thicker stakes if your yard gets strong gusts. A sturdier center makes all the difference outdoors.
Gentler wing shapes: If you want a more natural butterfly look, make the top wings rounder and the bottom wings a little narrower. Small shape changes give each butterfly its own personality.
Layered wing effect: Stretch one color over the frame first and a second color over just the inner support loop for a stained-glass feel. In the evening light, that extra layer looks mighty pretty.
Budget-friendly substitute: If you do not have enough bright pantyhose, sheer tights, knee-highs, or stretchy costume fabric can work too. Just be sure whatever you use has enough give to pull smooth over the wire.
Safe finishing: Always tuck or tape over any cut wire ends before covering or displaying the butterfly. That is one of those small careful steps my generation never skips, and it keeps the project looking tidy too.
Seasonal decorating: These are charming for summer gardens, but I have seen folks make orange-and-black ones for autumn or pastel versions for spring. Once you know the basic method, you can dress the idea up for just about any season.