
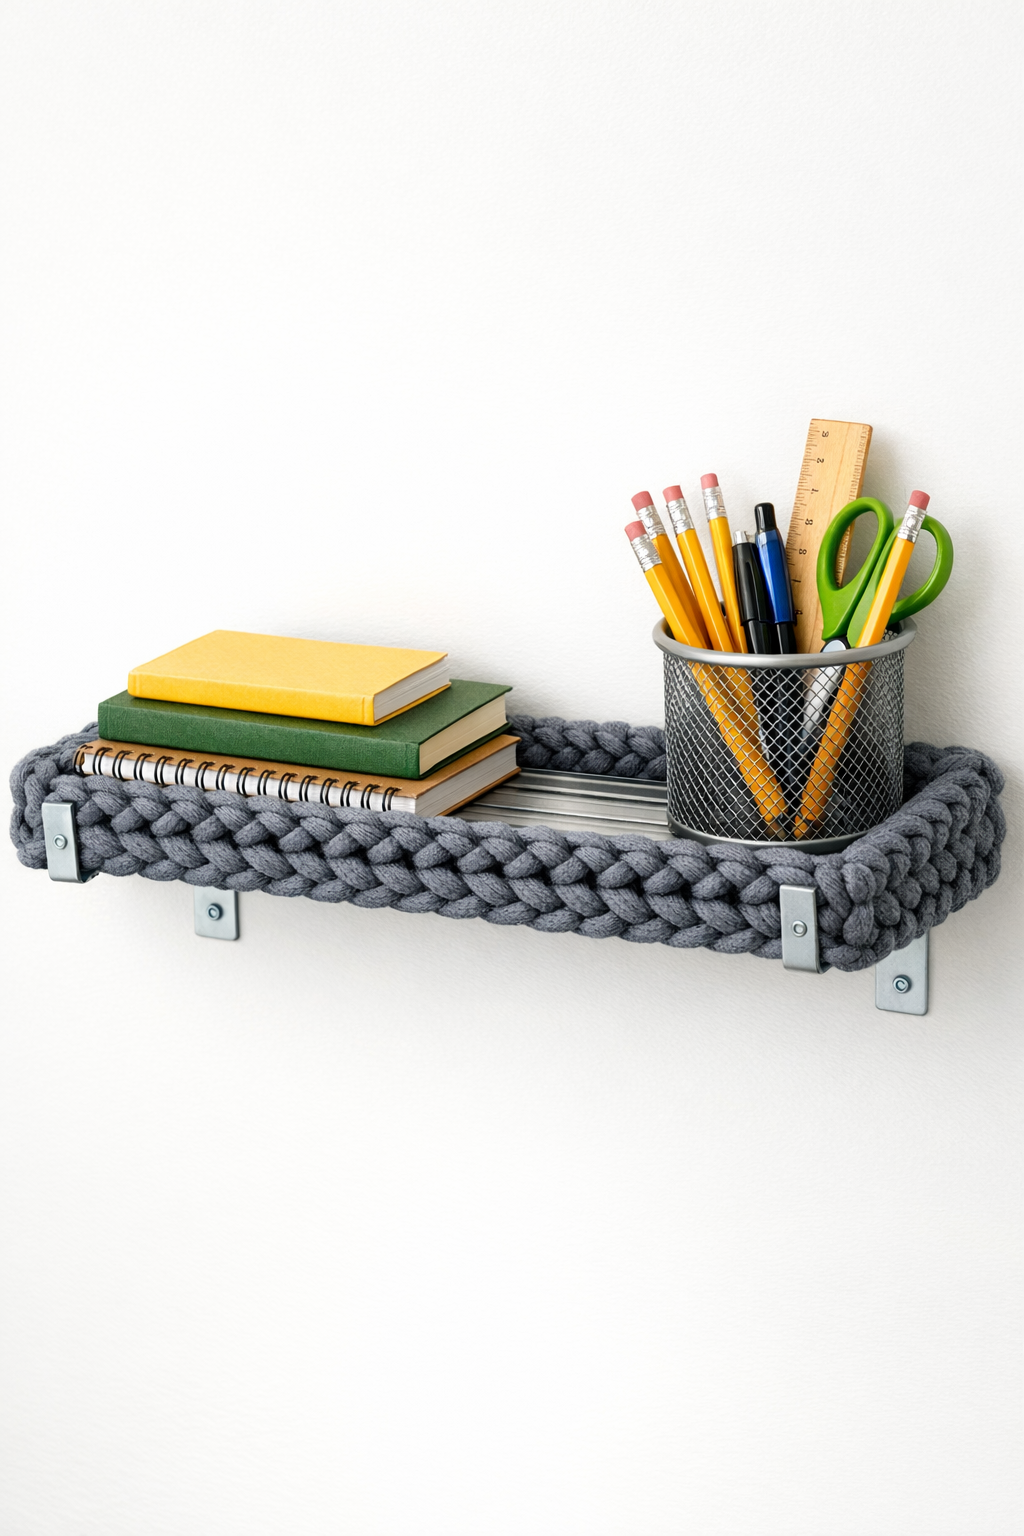
I love a project that turns something headed for the curb into something unexpectedly useful, and this wall shelf does exactly that. For this build, I use a bundle of old metal Venetian blind slats as the structure, then crochet chunky slate gray yarn through the stacked slats to create a soft, sculptural sleeve that holds everything together. Once brackets are attached and the piece is mounted, you get a compact wall shelf with a clean, modern look that feels especially nice for a back-to-school corner, craft nook, or small apartment entry.
As someone who spends plenty of time thinking about materials and how they behave, I find this project particularly satisfying because it combines rigid metal, soft fiber, and simple hardware in a very practical way. If you can do basic crochet stitches and handle a drill or screwdriver, you can make this. It’s a good beginner-friendly upcycling project, and the finished shelf is ideal for holding notebooks, pencil cups, small cookbooks, or a trailing plant.
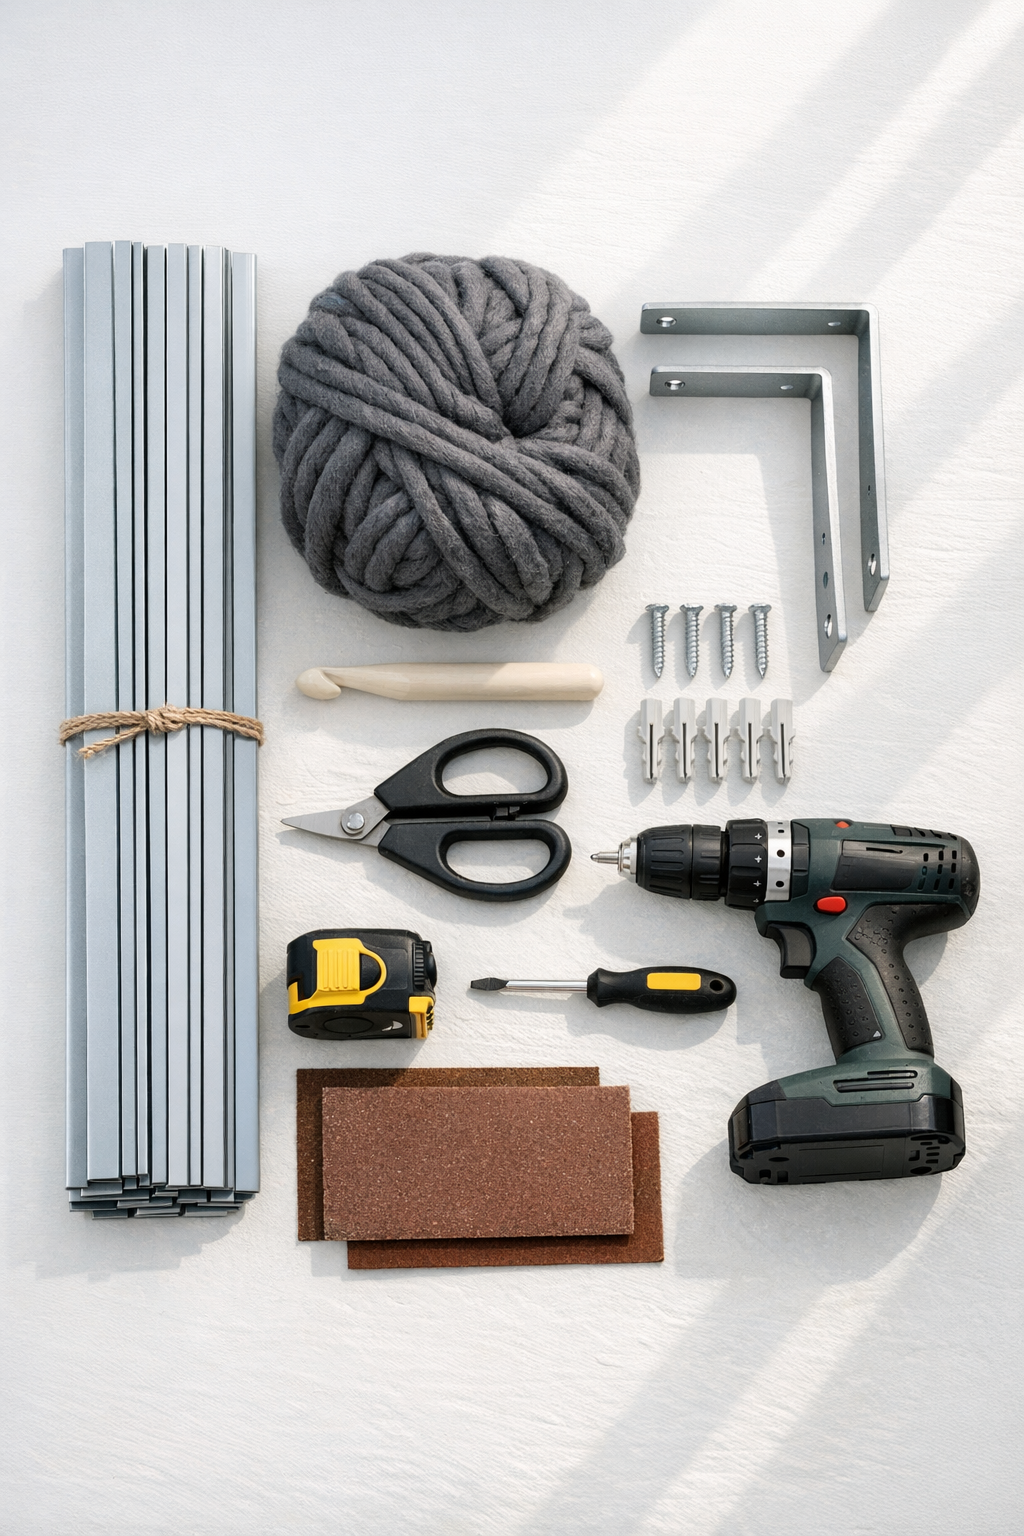
Materials
20 metal Venetian blind slats, each 1 inch wide x 24 inches long
Instructions
1. Remove the old blind slats from the headrail and cords, then choose 20 straight slats that are free from major dents or sharp bends. Wipe them clean and lightly sand any rough cut edges so the yarn will not snag.
2. Stack the slats evenly into one flat bundle, lining up the ends and keeping the slight curve of each slat facing the same direction. Wrap a short scrap of yarn around each end temporarily to hold the bundle together while you work.
3. Measure 2 inches in from each end of the bundle and mark bracket positions on the underside. If your brackets need attachment holes, drill through the slat bundle slowly at the marked spots, keeping the stack clamped or firmly held so the holes stay aligned.
4. Attach the two brackets to the underside of the slat bundle, one near each end, and tighten the screws until snug. Check that the shelf sits level and that the bracket arms project evenly from the back for wall mounting.
5. Make a slip knot with the chunky yarn and begin crocheting around and through the slat bundle at one end, using single crochet stitches worked tightly so the yarn grips the metal. Insert the hook between slats where possible and wrap over the outer edges to lock the stack together.
6. Continue crocheting across the full length of the bundle in snug rows, rotating the shelf as needed so you cover the top, front edge, and bottom edge without blocking the bracket mounting points. Keep your tension firm and consistent; the goal is a dense woven sleeve rather than an airy fabric.
7. When you reach the far end, add extra stitches around the corners and side edges so the bundle looks finished from every visible angle. Cut the yarn with an 8-inch tail, weave the tail back through several stitches, and trim it cleanly.
8. Cut pieces of clear rubber shelf liner or non-slip pads to fit the top surface where objects will rest. Tuck or adhere them neatly so they do not show from the front but help keep books and containers from sliding.
9. Hold the shelf against the wall at your chosen height, mark the bracket holes, and drill for anchors if needed. Install the wall screws through the brackets, check for level, and tighten everything securely.
10. Test the shelf with light items first, then style it with school supplies, a small basket, notebooks, or a framed print. Keep the load modest, since this is a decorative upcycled shelf rather than a heavy-duty storage unit.
Variations & Tips
Wider shelf: Use 24 to 28 slats instead of 20 if you want a deeper-looking shelf face, but make sure your brackets are also larger and stronger to match.
Color change: Slate gray gives this project a tailored, modern finish, but cream, navy, or mustard yarn can completely change the mood. I tend to choose darker yarn for upcycled metal because it visually unifies the structure and hides wear nicely.
Beginner crochet option: If working through the slats feels awkward at first, start by wrapping one foundation row around the full bundle and then build your single crochet stitches into that row for easier handling.
Smoother edges: If your blind slats have sharp corners, round them slightly with sandpaper before stacking. This small step makes a tremendous difference and protects both your hands and your yarn.
Stronger mounting: For a more dependable install, anchor at least one bracket into a wall stud whenever possible. I always prefer to let the wall hardware do the hard work rather than asking the fiber covering to compensate.
Best use: This shelf is ideal for lightweight everyday items like mail, a glasses case, pencils, sticky notes, or a slim planter. Avoid heavy textbooks, large ceramics, or anything breakable in a high-traffic area.
Neater finish: Keep all yarn joins and tails on the underside or back edge of the shelf so the front stays crisp and architectural. That contrast between soft texture and straight lines is what makes the finished piece so striking.