
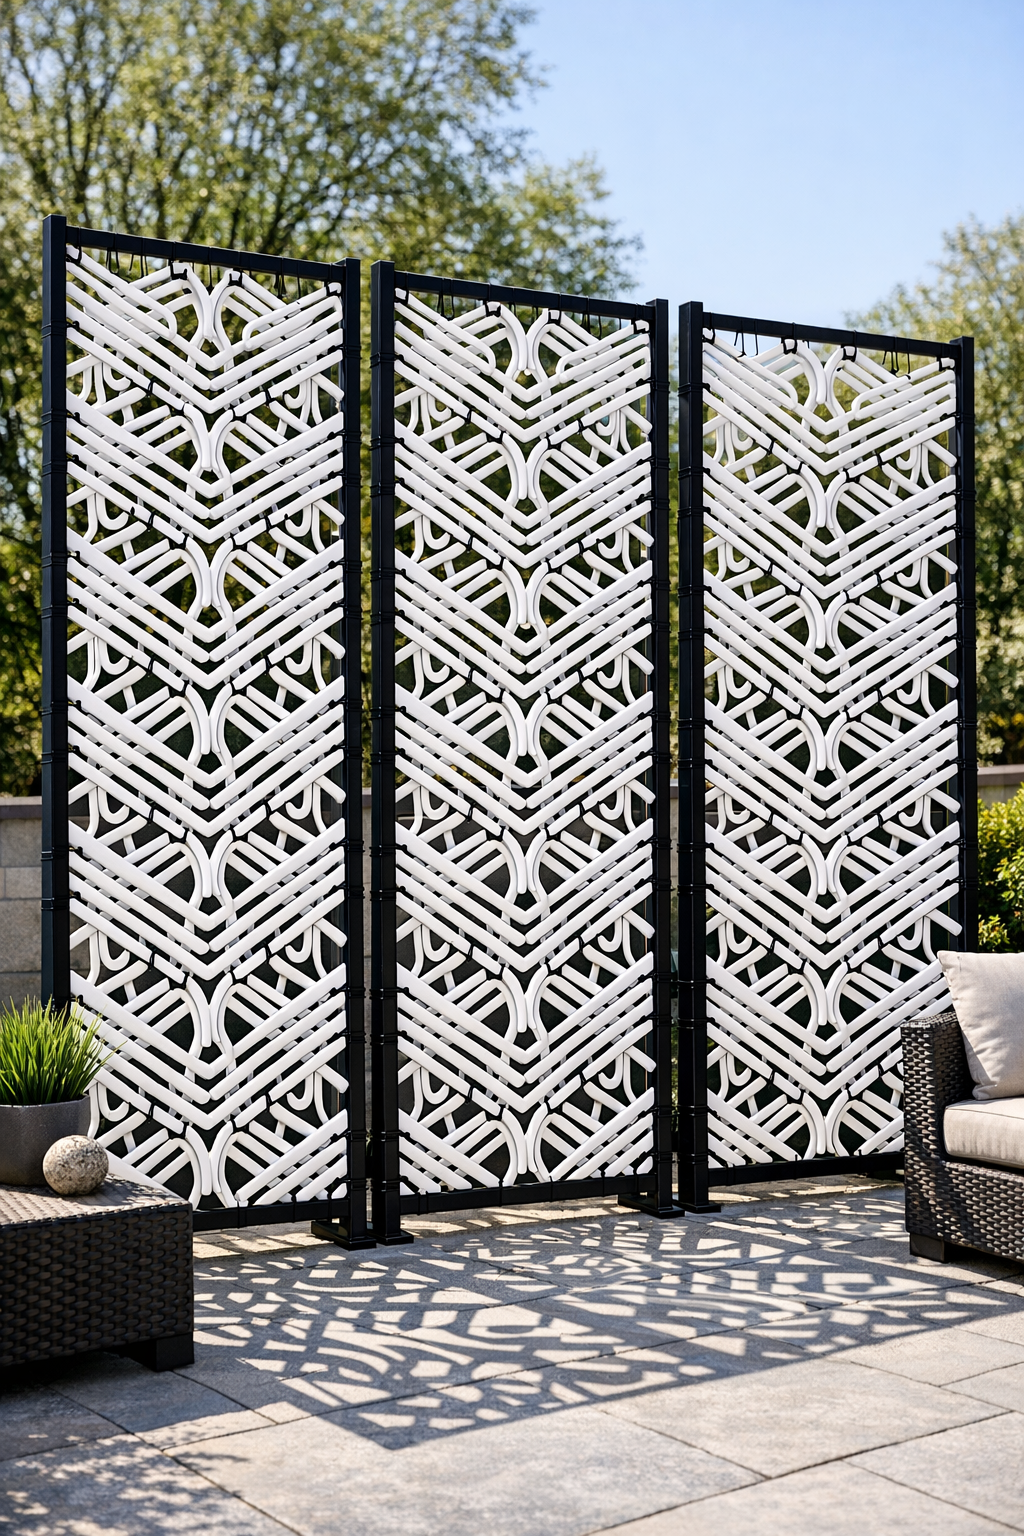
If you need patio privacy without the cost of custom panels, this hanger-and-trellis screen is one of those surprisingly smart projects that really works. By weaving inexpensive white plastic hangers through black metal garden trellises and securing everything with zip ties, you can make a bold modern screen that blocks views, lets air move through, and adds a graphic look to an outdoor space.
I love projects like this because they use simple materials in a fresh way, and they are very doable for a weekend. As a mom, I am always drawn to ideas that stretch the budget and still make the backyard feel inviting for family dinners, morning coffee, or having friends over. This one is especially good for renters, first-time DIYers, or anyone who wants privacy without building a full fence.
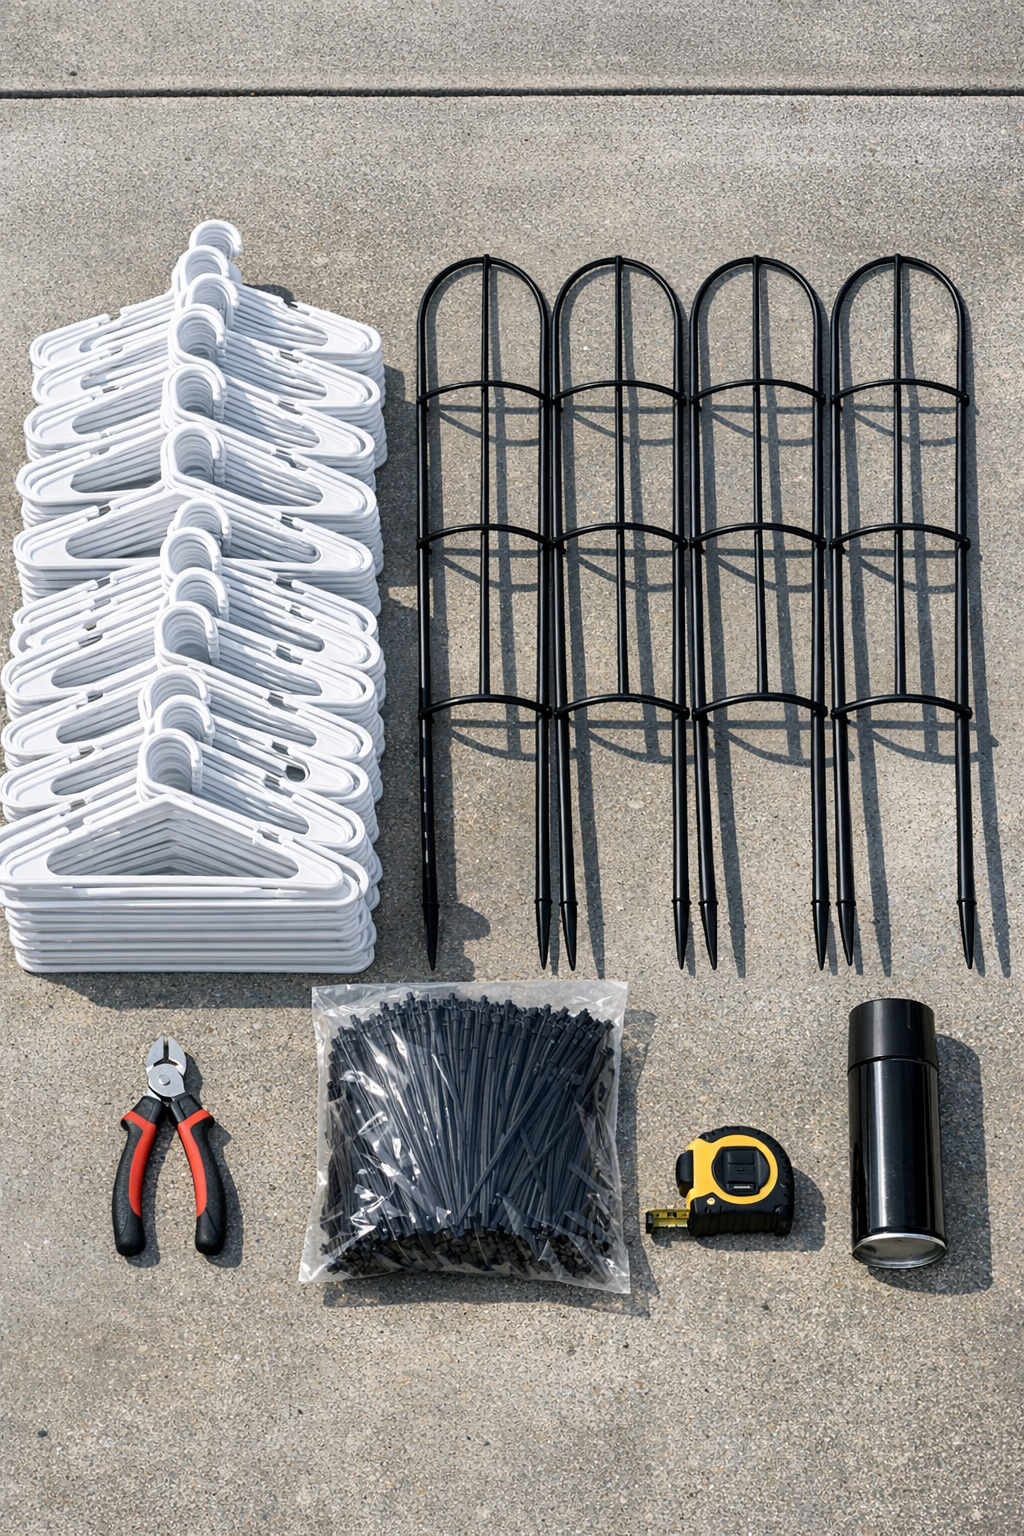
Materials
Instructions
1. Lay out all 4 trellises side by side and measure the total width of the area you want to screen so you know your final footprint before you start weaving.
2. Wash and dry the plastic hangers if they are dusty or have store residue on them, because clean hangers are easier to handle and give the finished screen a crisp bright look.
3. Check each trellis for bent sections, then straighten any slightly warped bars and touch up scratched spots with black spray paint if needed.
4. Stand one trellis upright or lean it securely against a wall, then start at the bottom row by sliding hanger hooks around the vertical rods so the hanger bodies overlap in a simple woven pattern.
5. Alternate the direction of the hanger hooks every few pieces so the pattern feels balanced and the weight is spread evenly across the trellis.
6. Once the first row is in place, attach each hanger to the trellis with 2 black zip ties, one near the hook and one near a lower corner, pulling them snug but not so tight that the plastic bends.
7. Build the second row above the first, tucking the hanger bottoms and hooks through the open spaces so the pieces interlock visually and leave fewer gaps.
8. Repeat the weaving and zip-tying row by row until the first trellis is filled, stepping back every couple of rows to check the pattern and spacing.
9. Trim the zip tie tails with wire cutters after each section or at the end of each panel so the surface looks neat and no sharp edges are left sticking out.
10. Fill the remaining 3 trellises the same way, aiming for about 75 hangers per trellis and keeping the pattern as consistent as possible from panel to panel.
11. Set the finished trellises in their final location and connect adjacent frames together with black zip ties or short lengths of black utility wire at the top, middle, and bottom.
12. Anchor each trellis securely with ground stakes if placed in soil, or fasten the panels to a stable railing, fence post, or heavy planter structure if used on a hard patio surface.
13. Press the panels gently from a few angles to test stability, then add extra zip ties anywhere the hangers shift or the trellises need more support.
14. Make final adjustments by straightening any crooked hangers, trimming the last zip ties, and lining up the 4 panels so the screen reads as one clean modern wall.
Variations & Tips
For more privacy: Overlap the hangers more tightly as you weave so there are fewer open spaces. This uses the same materials but gives you a denser screen.
For windy yards: Use additional zip ties on every hanger and anchor the trellises to something solid instead of letting them stand alone. In my Midwestern weather, extra support is never wasted.
For a softer look: Try weaving with all hooks facing the same direction on alternating rows. It creates a cleaner, calmer pattern that feels a little less busy.
For picky style preferences: If someone in your household likes bold modern lines and someone else prefers a simpler patio, use the hanger screen only on one side as an accent panel instead of enclosing the whole area.
Budget tip: Check thrift stores, discount shops, or laundry suppliers for bulk hangers. Buying all 300 at once usually saves quite a bit.
Safety tip: Clip zip tie tails flush and run your hand carefully over the surface when you are done. That quick check helps keep sleeves, cushions, and little fingers from catching.
Cleaning tip: Spray the finished screen with a garden hose now and then to remove dust and pollen. Let it dry fully so the white hangers stay looking fresh.
Rental-friendly option: Connect the trellises together as a folding screen and anchor them in heavy planters rather than attaching them permanently. That makes the whole project easier to move later.