
I have always had a soft spot for turning humble little odds and ends into something useful and pretty, especially when the garden is starting to shift from high summer into that golden late-summer season. This hanging planter does exactly that. We take a plastic Halloween candy bucket from the dollar store, drill proper drainage holes in the bottom, and crochet thick terracotta-orange yarn right through the bucket to give it a warm, handmade look that feels right at home on a porch, near a kitchen window, or hanging from a shepherd’s hook.
What I love most about this project is that it is practical as well as charming. The plastic bucket gives the planter structure and holds moisture better than a fiber basket alone, while the crochet adds color and texture without much fuss. If you know a few basic crochet stitches, this is a very manageable project, and even if you are still learning, the rhythm of working around the bucket reminds me of the old make-do-and-mend spirit so many of us grew up with.
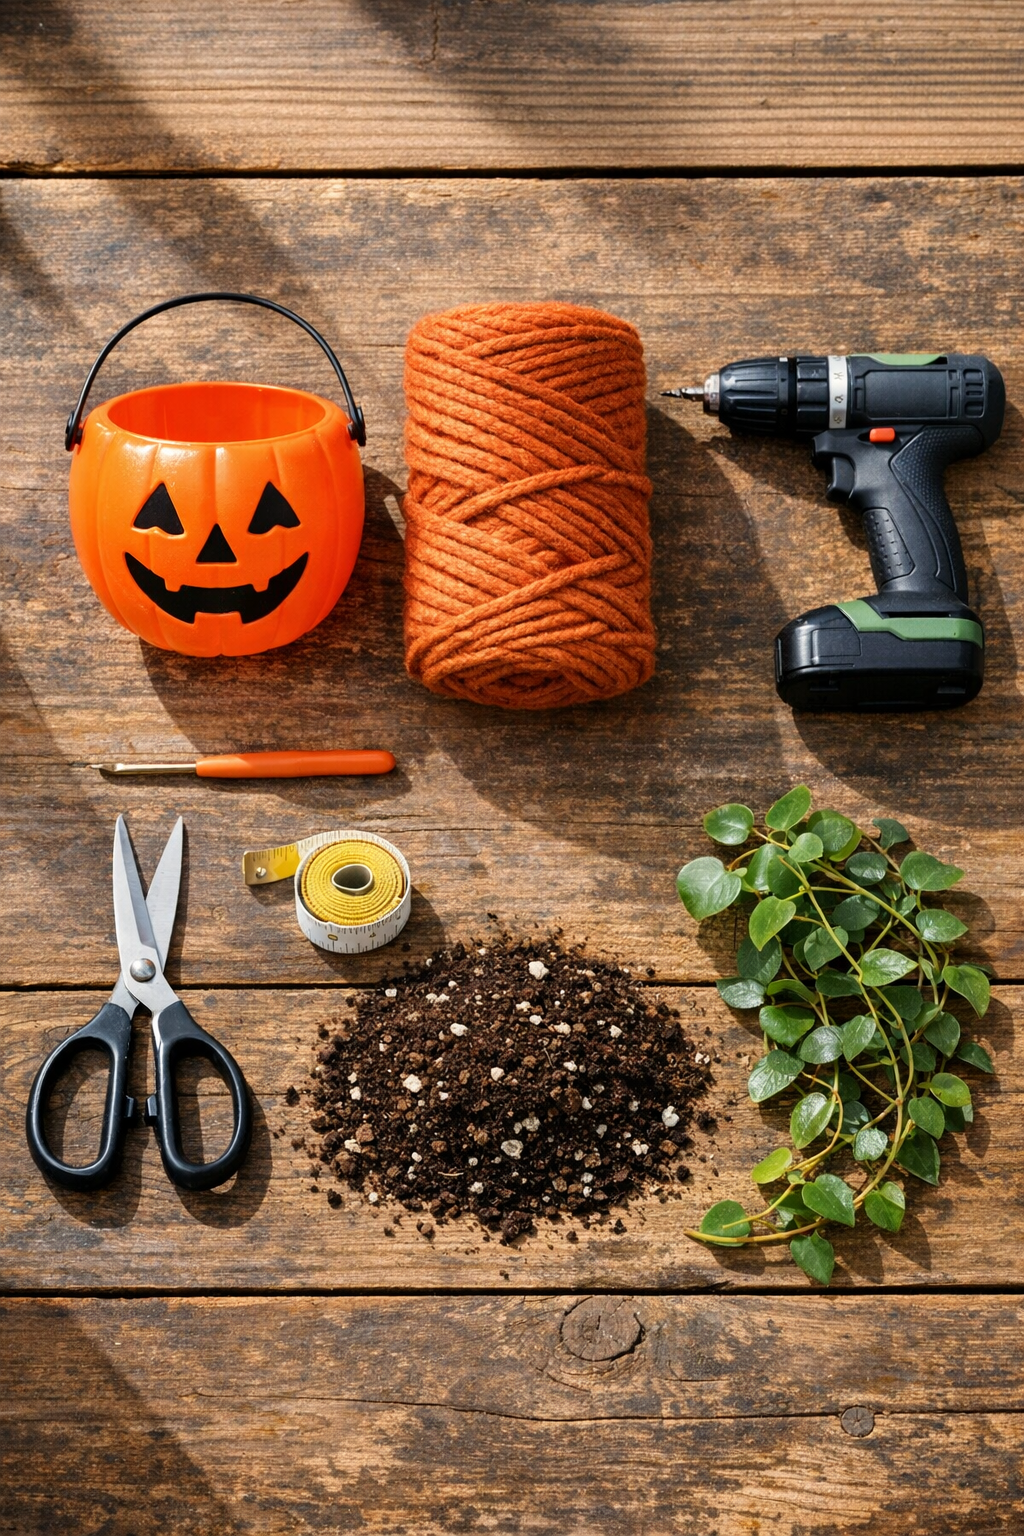
Materials
Instructions
1. Wash and dry the candy bucket well, then remove any handle or stickers so you have a clean surface to work with.
2. Mark 6 evenly spaced drainage holes on the bottom of the bucket and 12 evenly spaced crochet holes around the upper rim area, about 1/2 inch below the top edge.
3. Drill the 6 drainage holes in the bottom using a 1/4-inch bit, then drill the 12 side holes around the top rim where the yarn will anchor.
4. Cut a 4-inch square of mesh or a coffee filter and lay it inside the bucket over the drainage holes to keep soil from washing out.
5. Make a slip knot with the yarn and attach it through one upper side hole, then single crochet around the bucket by working through each drilled side hole to create the first anchored round.
6. Continue crocheting in rounds around the outside of the bucket, using single crochet or half-double crochet, keeping the stitches snug so the plastic becomes covered without gaps.
7. Work down the bucket until you are about 1 inch from the bottom, then decrease slightly if needed so the crochet cover follows the bucket’s shape neatly.
8. Fasten off the yarn and weave the end through nearby stitches on the outside, trimming any excess close.
9. Cut 3 lengths of cord at 36 inches each, thread them evenly through the upper drilled holes or through sturdy crochet stitches near the rim, and knot each one securely.
10. Gather the top ends of the 3 cords through the hanging ring and tie them together so the bucket hangs level.
11. Add potting mix to the bucket until it is about one-third full, set in the plant, and fill around it with more soil until the root ball is covered.
12. Water lightly until moisture begins to drain from the bottom holes, then hang the planter in a spot with the right light for your plant.
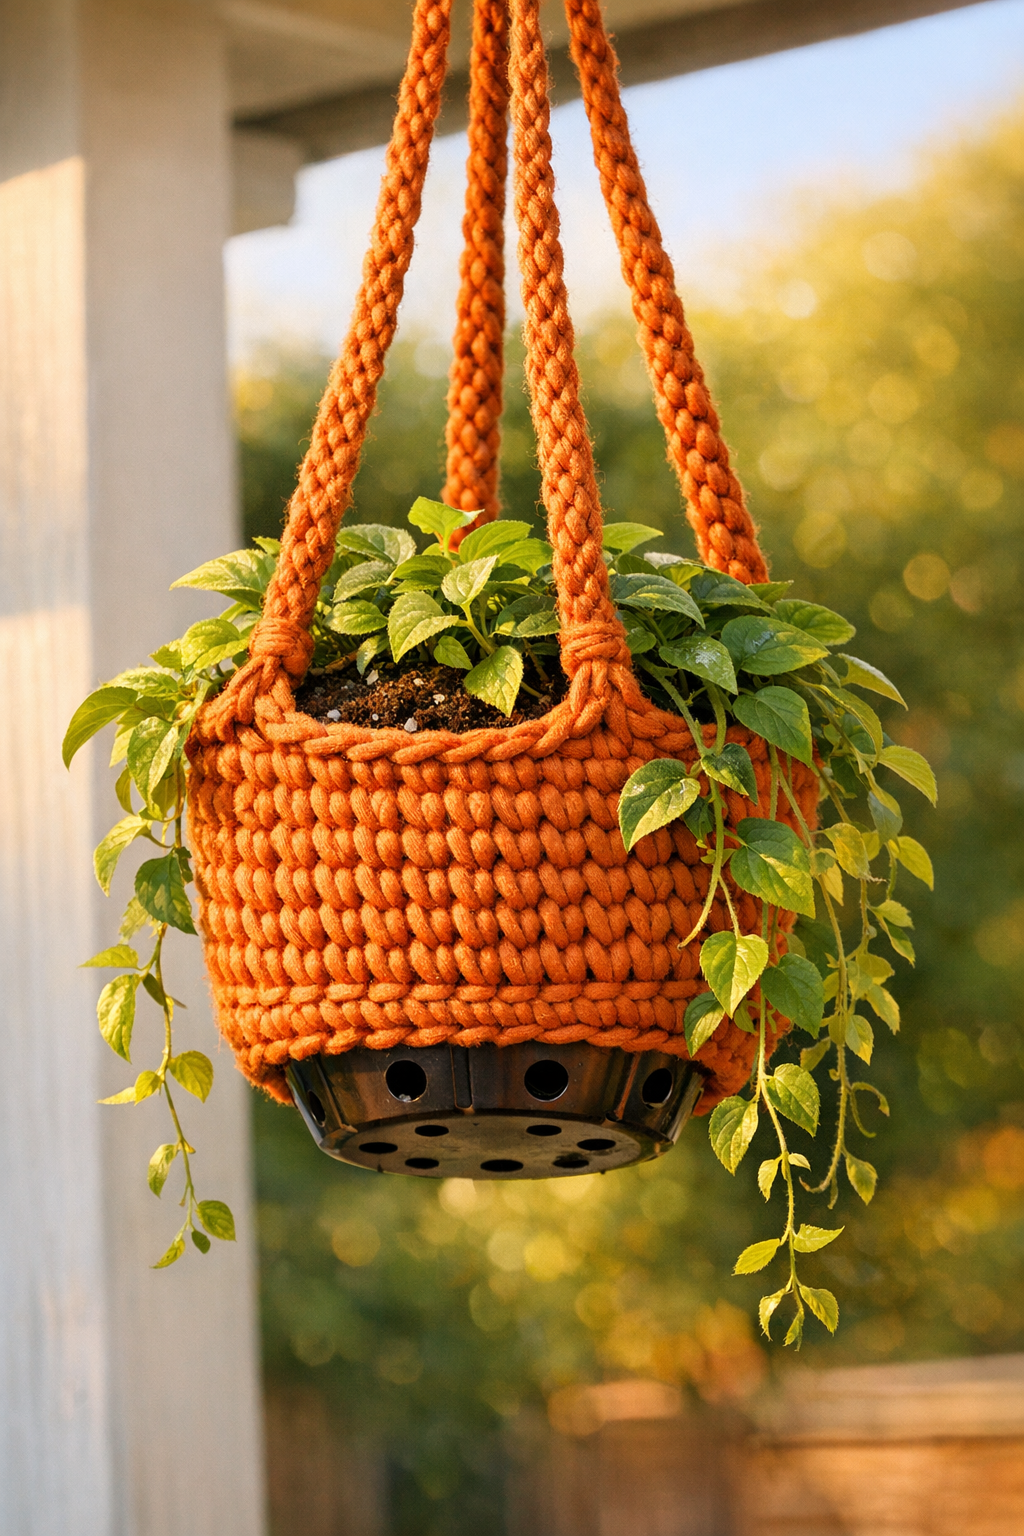
Variations & Tips
For a softer autumn look: Use rust, pumpkin, clay, or muted mustard yarn if terracotta orange is not available. Those shades have the same late-summer-to-fall feeling I always enjoy on the porch when the evenings start cooling off.
Choose the right yarn: A synthetic or cotton-blend bulky yarn holds up better outdoors than delicate wool. If your planter will live in full weather, a mildew-resistant cord or outdoor macramé yarn is even better.
Keep drainage working: Do not skip the bottom holes, even though the plastic bucket already holds water well. Plants are a lot like my old tomatoes out back: too much standing water will sour the whole business in a hurry.
Make it easier for beginners: If crocheting in full rounds feels fiddly, work only a simple stitched band around the upper half of the bucket. You still get the handmade charm with less stitching.
Use the bucket handle if it is sturdy: Some candy buckets have a decent plastic handle that can stay in place as an extra support, but I still recommend adding three separate cords for balanced hanging.
Best plants for this project: Try pothos, ivy, string of pearls, small ferns, or a compact petunia if the planter will be outdoors. A slightly trailing plant shows off the basket shape beautifully.
Refresh it seasonally: One of the nicest things about this project is how easy it is to replant. In my own yard, I would use a leafy green trailing plant for late summer, then switch to little mums or ornamental peppers when autumn settles in.
Check the weight before hanging: After watering, lift the planter and make sure the knots, ring, and yarn cover all feel secure. Hang it from a hook rated for more weight than you think you need, just to be safe.