
I love a project that solves a real problem without asking me to buy specialty supplies, and these heavy textured yard weights do exactly that. By filling simple canvas grocery totes with wet cement, you can make a pair of sturdy, weather-friendly weights that help hold down tarps, outdoor fabric, pop-up canopies, lightweight planters, or seasonal yard décor.
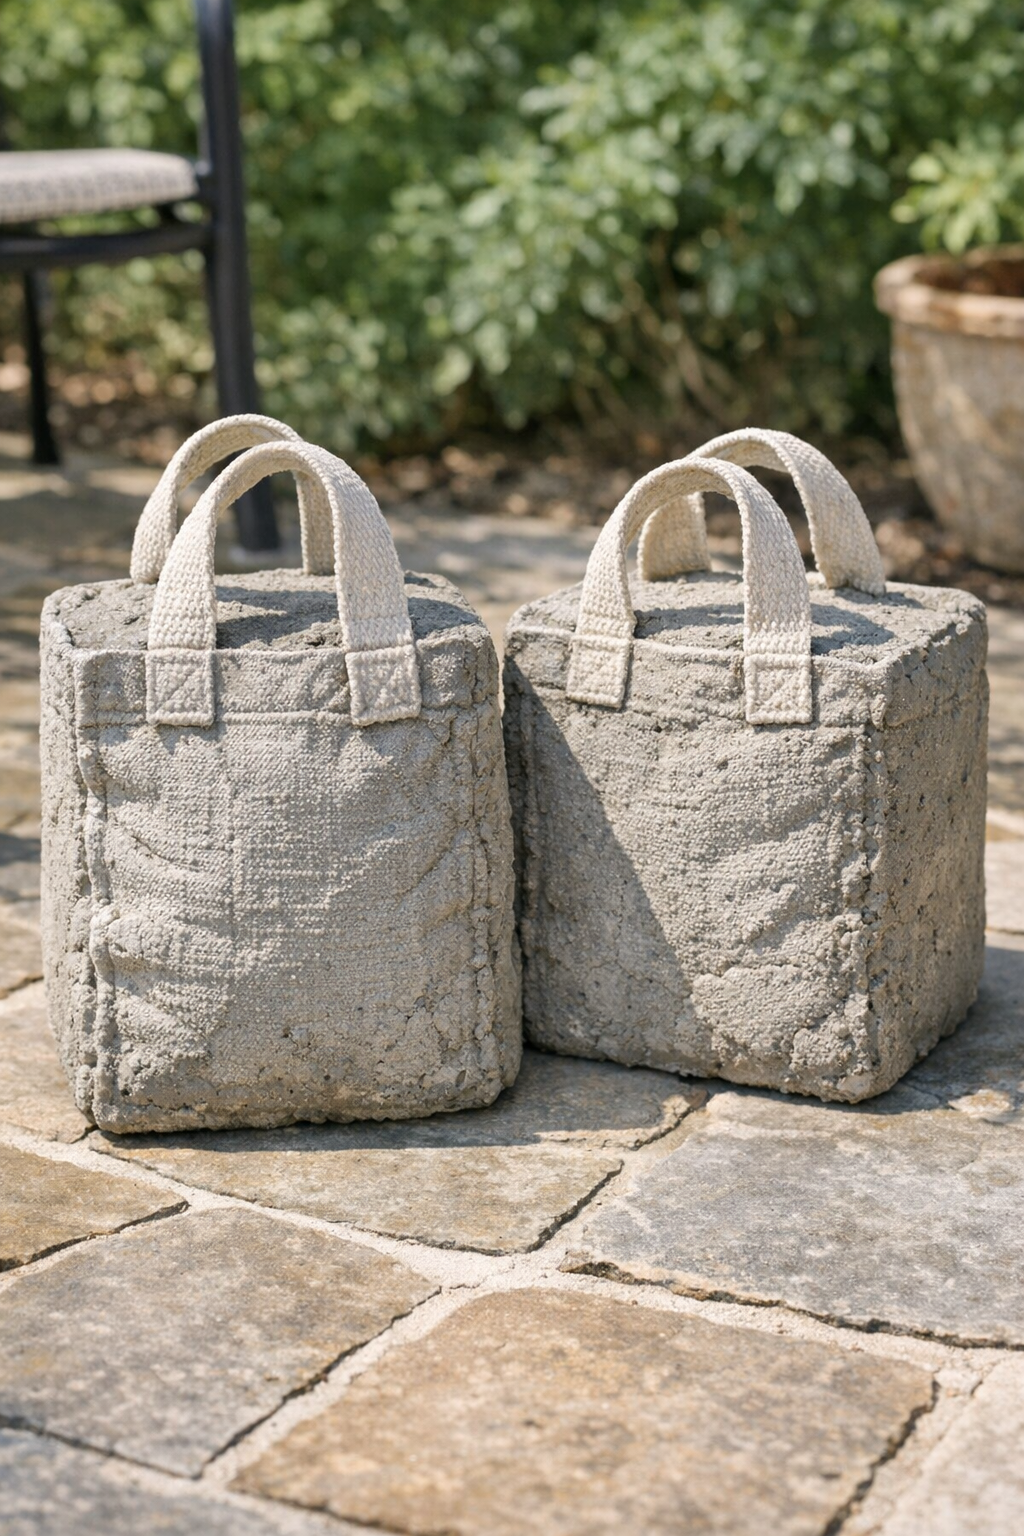
What makes this project especially satisfying is the finish: the canvas leaves a wonderfully rugged texture on the cured cement, so the weights look far more intentional than you’d expect from such humble materials. If you’re comfortable mixing pancake batter, you can handle this one; it’s a practical beginner project with a surprisingly polished result.
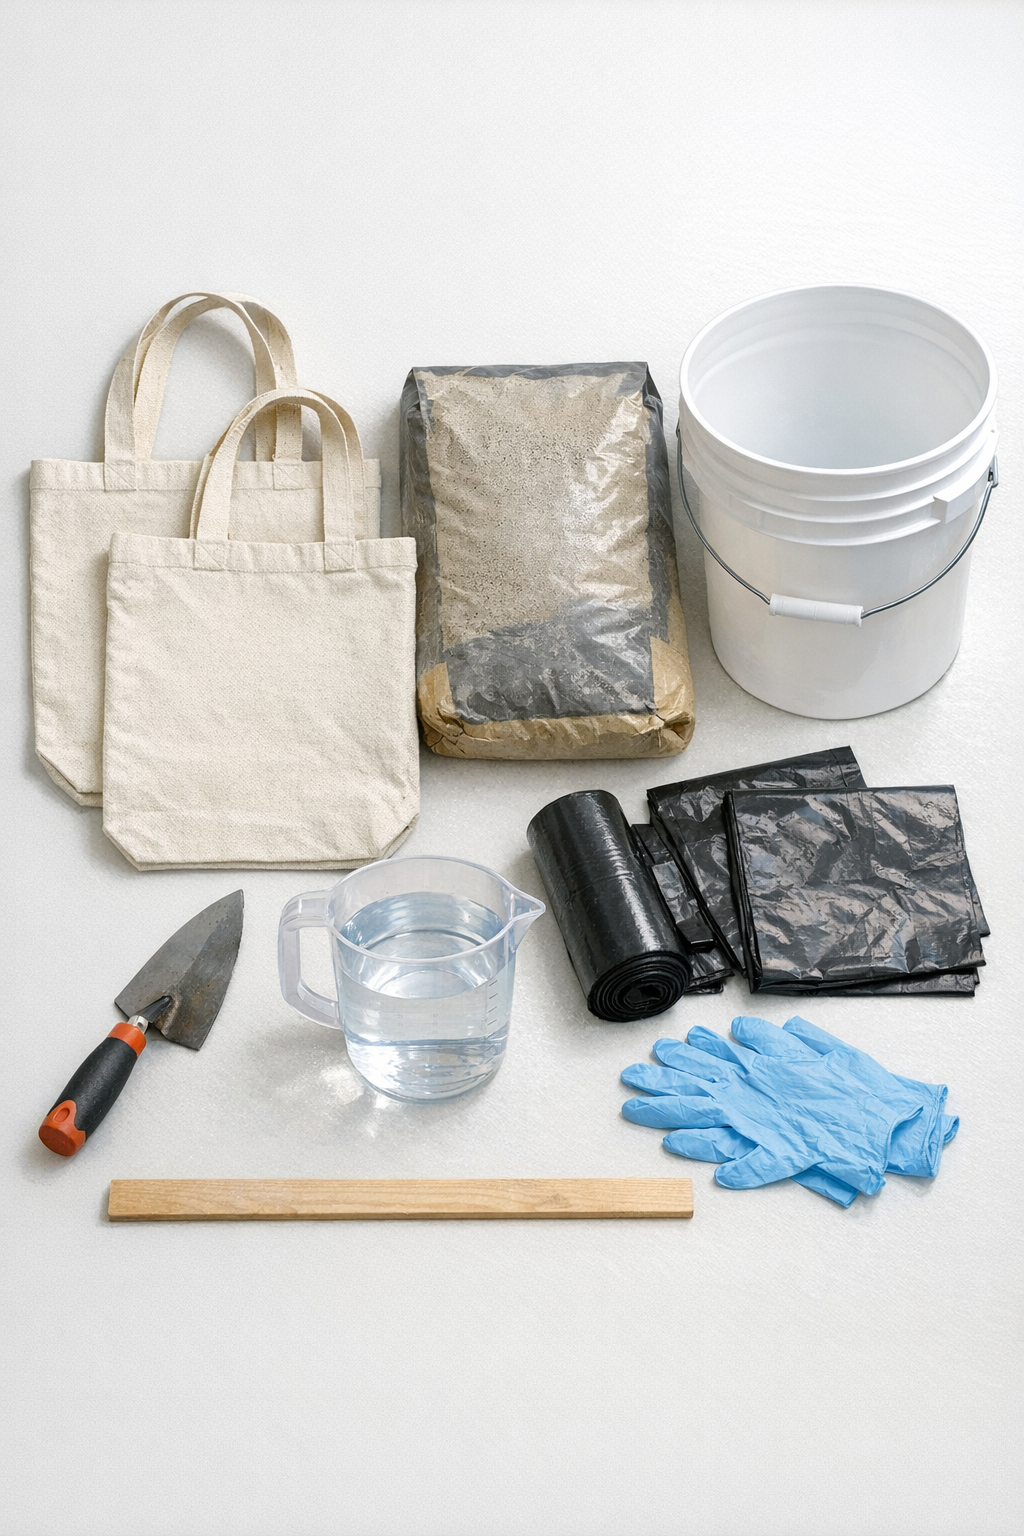
Materials
2 plain canvas tote bags, 13 to 15 inches wide, 14 to 16 inches tall, with sturdy sewn handles
Instructions
1. Spread the trash bags over a flat outdoor work area and set the two canvas totes upright, shaping their bottoms so they sit as evenly as possible.
2. Put on gloves and mix about half the concrete in the bucket with water, adding a little at a time until it reaches a thick oatmeal-like consistency that holds its shape but is still scoopable.
3. Scoop the wet concrete into the first tote, filling it about one-third full, then use the trowel to press the mix firmly into the bottom corners and sides.
4. Add more concrete to the first tote until it reaches roughly 6 to 8 inches high, or about half to two-thirds full, depending on how heavy you want the finished weight.
5. Repeat the filling process with the second tote, aiming to match the height and weight of the first so the pair feels balanced in use.
6. Tap each tote gently against the ground a few times to release trapped air, then smooth the top surface with the trowel without overworking it.
7. If you want usable loops at the top, position the tote handles upright and keep them free of wet cement; if needed, slide a short dowel or rope loop between the handles so they stay separated while curing.
8. Leave the totes undisturbed on a level surface for 24 hours, or until the concrete is firm enough that the bags no longer shift when nudged.
9. Cure the weights for another 2 to 5 days in a shaded spot, lightly misting the tops once or twice a day if the weather is hot or very dry.
10. Once fully cured, trim any loose threads, lightly sand any sharp concrete ridges if needed, and place the finished weights wherever you need extra holding power outdoors.
Variations & Tips
Lighter-duty version: Fill each tote only halfway if you need weights for tablecloths, small covers, or lightweight patio items rather than canopy legs or larger tarps.
Extra-heavy version: Use larger canvas utility totes and increase the concrete amount, but test that the handles and stitching are strong enough before relying on them for lifting.
Handle tip: I like to keep the handles clean and fully exposed, because it makes these much easier to move around the yard without scraping my fingers under the base.
Weather tip: Fast-setting concrete firms up quickly, but full strength takes longer; if rain is expected in the first day, move the bags under cover so the tops do not wash out.
Surface texture: The canvas imprint is part of the charm here, but if you prefer a neater look, smooth only the top and let the sides keep their natural woven texture.
Placement idea: These work well beside tent legs, at the corners of outdoor rugs, or as low-profile anchors for seasonal decorations that like to tip in Midwestern wind.