
This oversized paint palette door hanger is one of those projects that looks playful and over-the-top in the best way, but it’s actually very straightforward to build. By arranging 12 colorful plastic cereal bowls on a large flat wooden serving tray, you get a bold back-to-school decoration that reads instantly from the curb and brings a cheerful art-room feel right to your front door.
I love projects like this because they lean on simple materials and strong color rather than complicated construction. If you enjoy seasonal decorating, classroom-inspired crafts, or making statement pieces from everyday items, this is an easy weekend project that delivers a lot of impact without asking for advanced DIY skills.
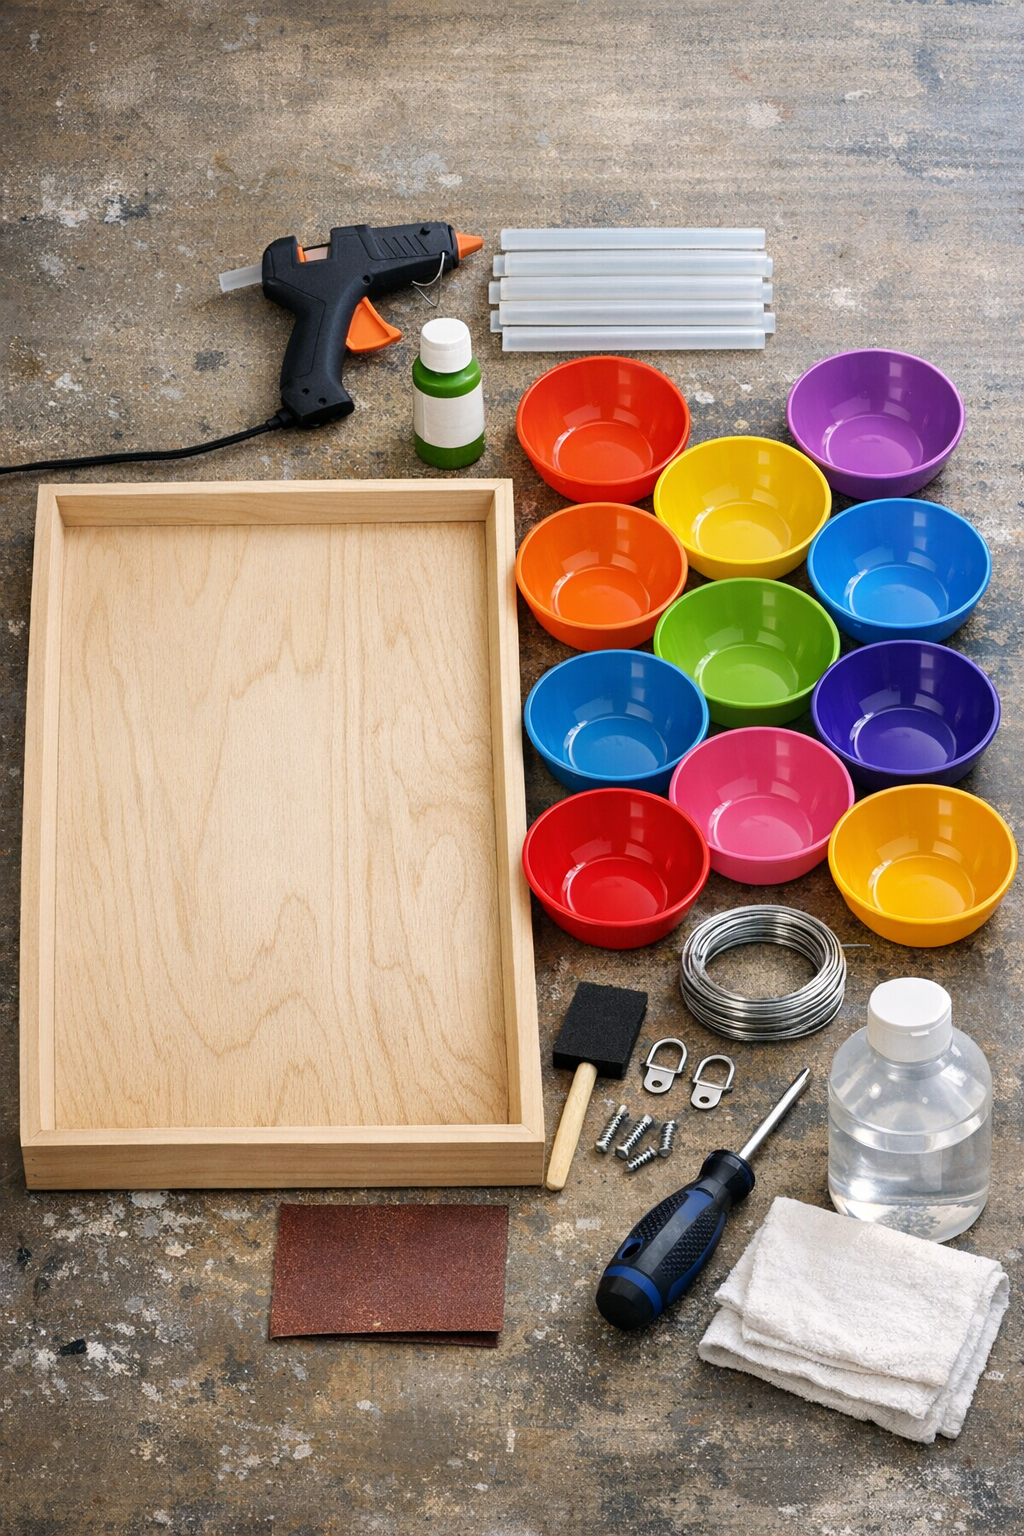
Materials
Instructions
1. Lightly sand the front and edges of the wooden serving tray with 120-grit sandpaper, then smooth it with 220-grit so the surface is clean and ready for glue and paint.
2. Wipe the tray thoroughly with rubbing alcohol and a clean cloth, and clean the bottoms of all 12 plastic bowls as well to remove dust and oils.
3. If you want a more finished look, paint the outer edge and handles of the tray with exterior or multi-surface acrylic paint, then let it dry completely before assembling.
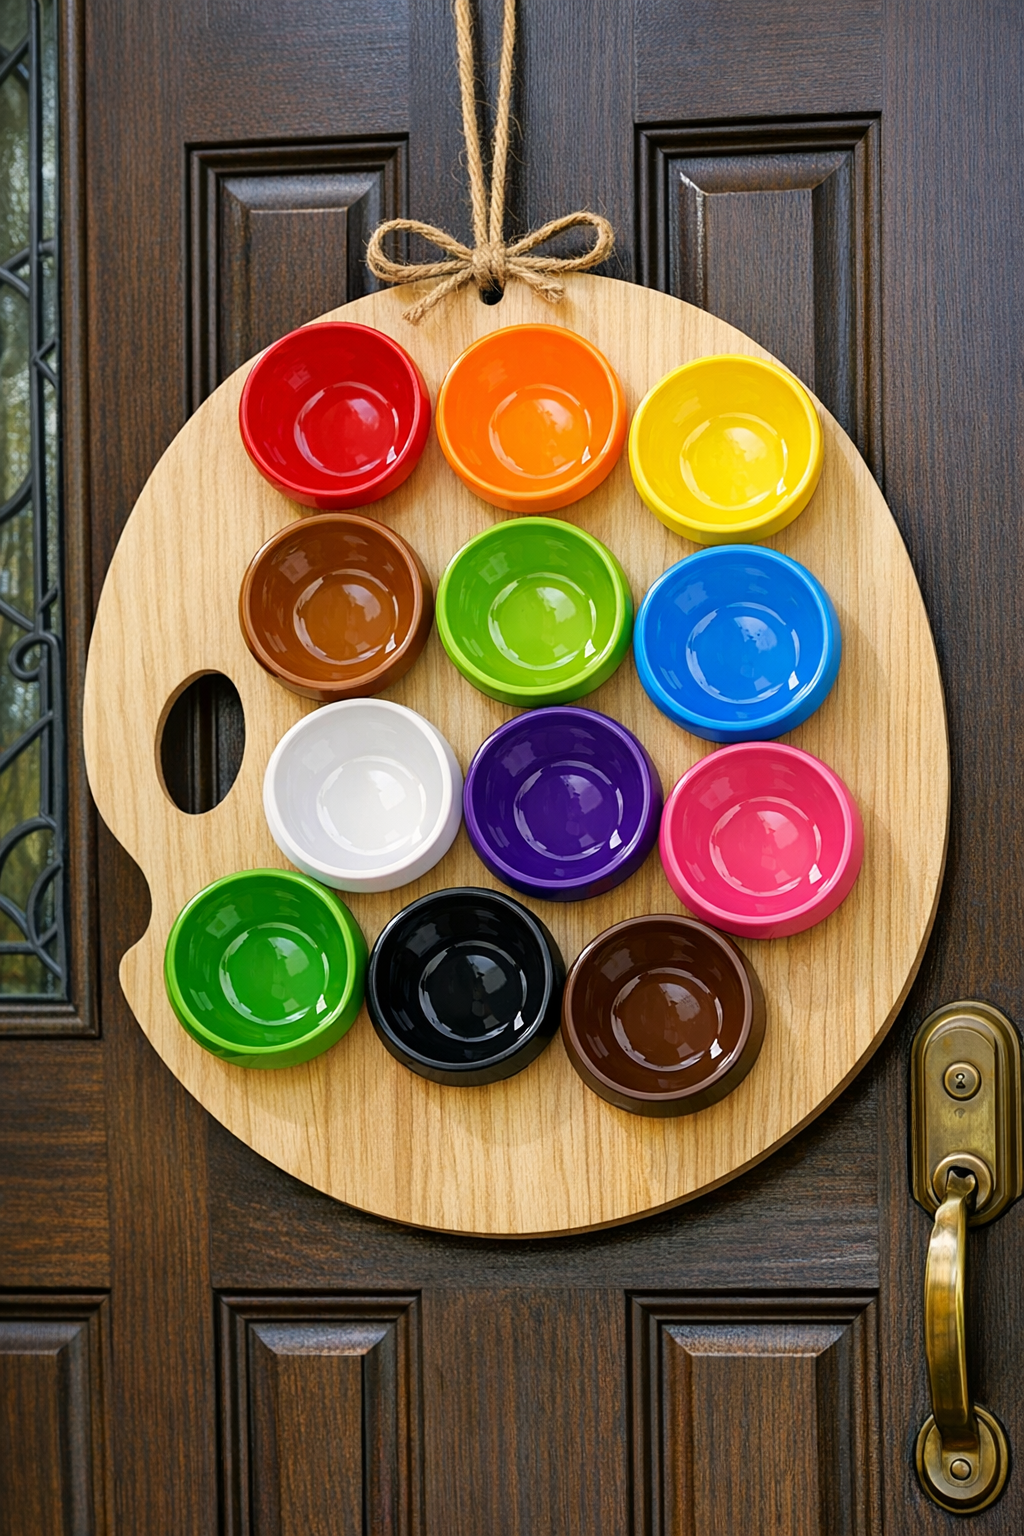
4. Set the tray horizontally and arrange the 12 bowls on the front to create a painter’s palette shape, keeping the bowls close together but not hanging over the edges.
5. Leave an open curved space on one side of the tray to suggest the thumb hole of a paint palette, and trace a small circle or oval in that open area using a cup as a guide if you want a visual placement mark.
6. Measure the spacing between bowls and tray edges, and adjust until the arrangement looks balanced from a few feet away since the symmetry matters more than exact measurements.
7. Starting with the center bowls, lift one bowl at a time and apply a generous ring of hot glue to the bottom rim, then press it firmly onto the tray for 20 to 30 seconds.
8. Continue gluing the remaining bowls one by one, checking alignment as you go so the color placement stays even and the open thumb-hole area remains visible.
9. Let the glued tray sit flat for at least 30 minutes so the adhesive can cool and harden fully before you move it.
10. Turn the tray over and attach 2 D-rings with 4 short screws near the upper back corners, then twist the 18-inch wire between them with enough slack for hanging.
11. If your tray is lightweight and already has sturdy handles, you can skip the wire and use the built-in handle openings as the hanger point instead.
12. Stand the piece upright and make any final touch-ups, such as removing stray glue strings or adding a ribbon or faux greenery accent at the top for extra back-to-school charm.
Variations & Tips
Color order: Arrange the bowls in rainbow order for a classroom look, or mix them randomly if you want the palette to feel more whimsical and less formal.
Better adhesion: If the plastic bowl bottoms are very slick, scuff just the glue area lightly with 220-grit sandpaper before gluing to help the hot glue grab better.
Outdoor use: This project lasts longest on a covered porch or storm door area, since constant direct sun and rain can weaken hot glue over time.
Thumb-hole detail: To make the paint palette shape more obvious, keep that side of the tray less crowded and let the empty space read clearly from a distance.
Teacher gift version: Add a coordinated bow in primary colors and present it as a classroom door decoration for an art teacher, preschool teacher, or elementary school staff member.
Tray choice: A tray with a very shallow lip works best because the bowls sit flatter and the finished hanger won’t project quite as far from the door.
Alternative adhesive: For a stronger permanent bond, use a heavy-duty adhesive rated for plastic and wood in addition to hot glue, but allow for the longer curing time before hanging.
Seasonal twist: Swap bowl colors to match school colors, a fall palette, or even holiday shades if you want to reuse the same idea beyond back-to-school season.