
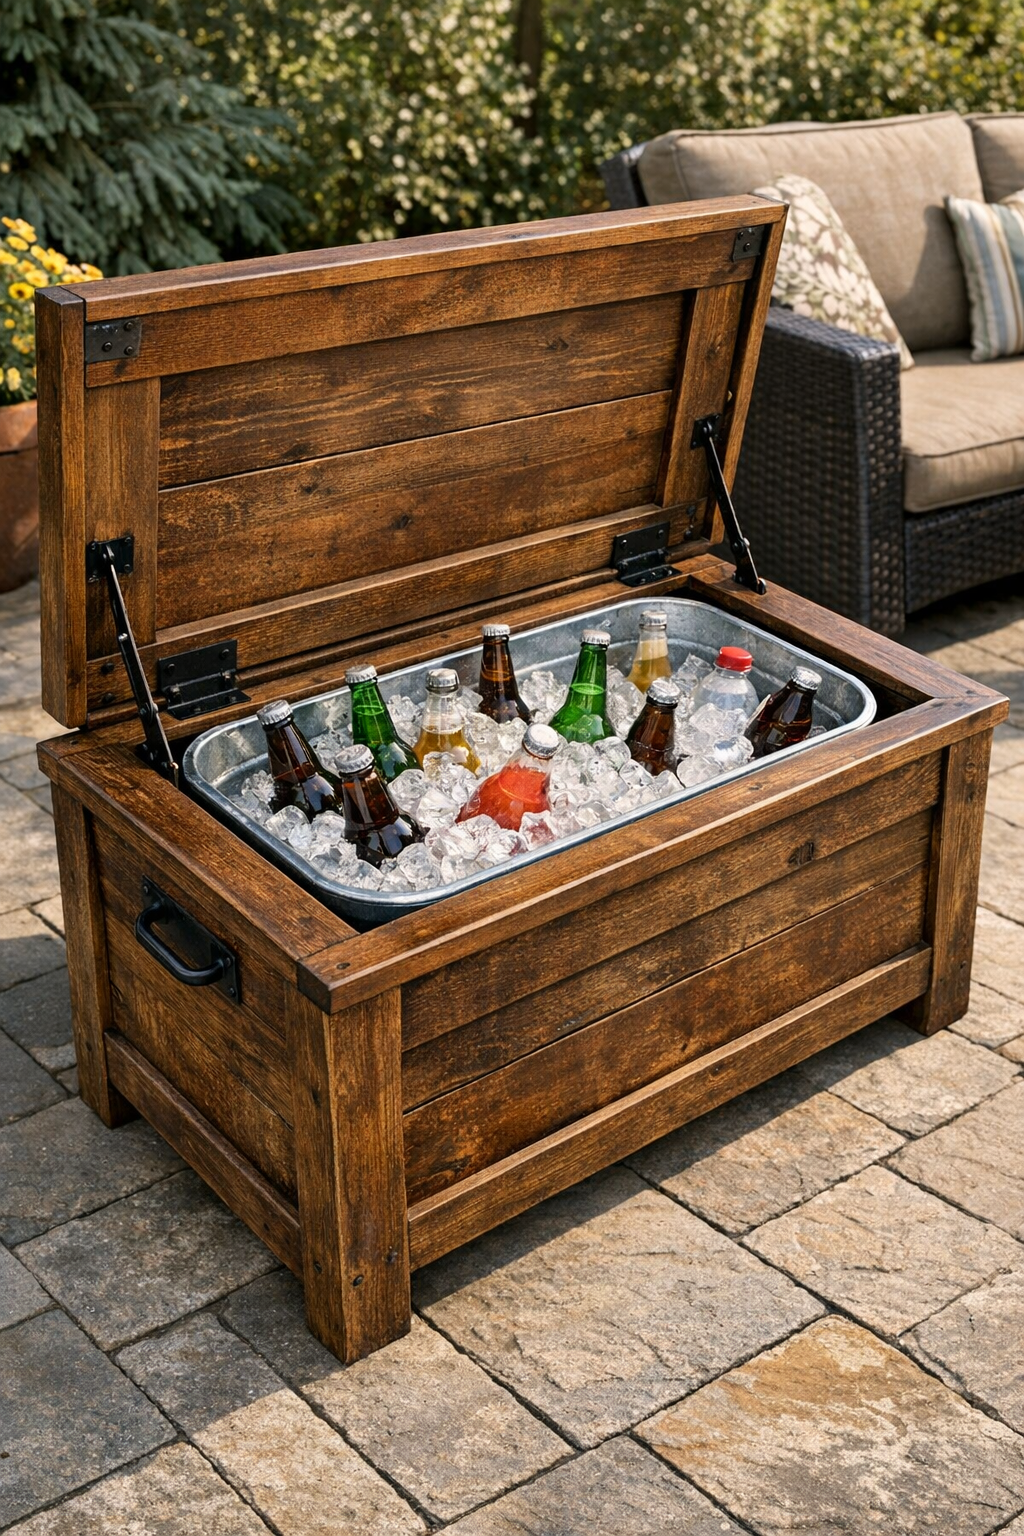
I love a project that earns its keep twice, and this outdoor bench cooler is exactly that. You start with an old weathered wooden storage chest, cut an opening through the hinged lid, and drop a galvanized tub inside so it becomes a built-in drink cooler right on the patio. It still has that warm, rustic look, but now it works hard during cookouts, birthday parties, and those last-minute family dinners that somehow turn into a full backyard gathering.
This is a wonderful weekend DIY if you want something practical without building a bench completely from scratch. I especially like it for families who entertain often, because it keeps cold drinks easy to reach and frees up table space for food. Around my house, anything that helps people serve themselves while I finish bringing out the burgers is a real win.
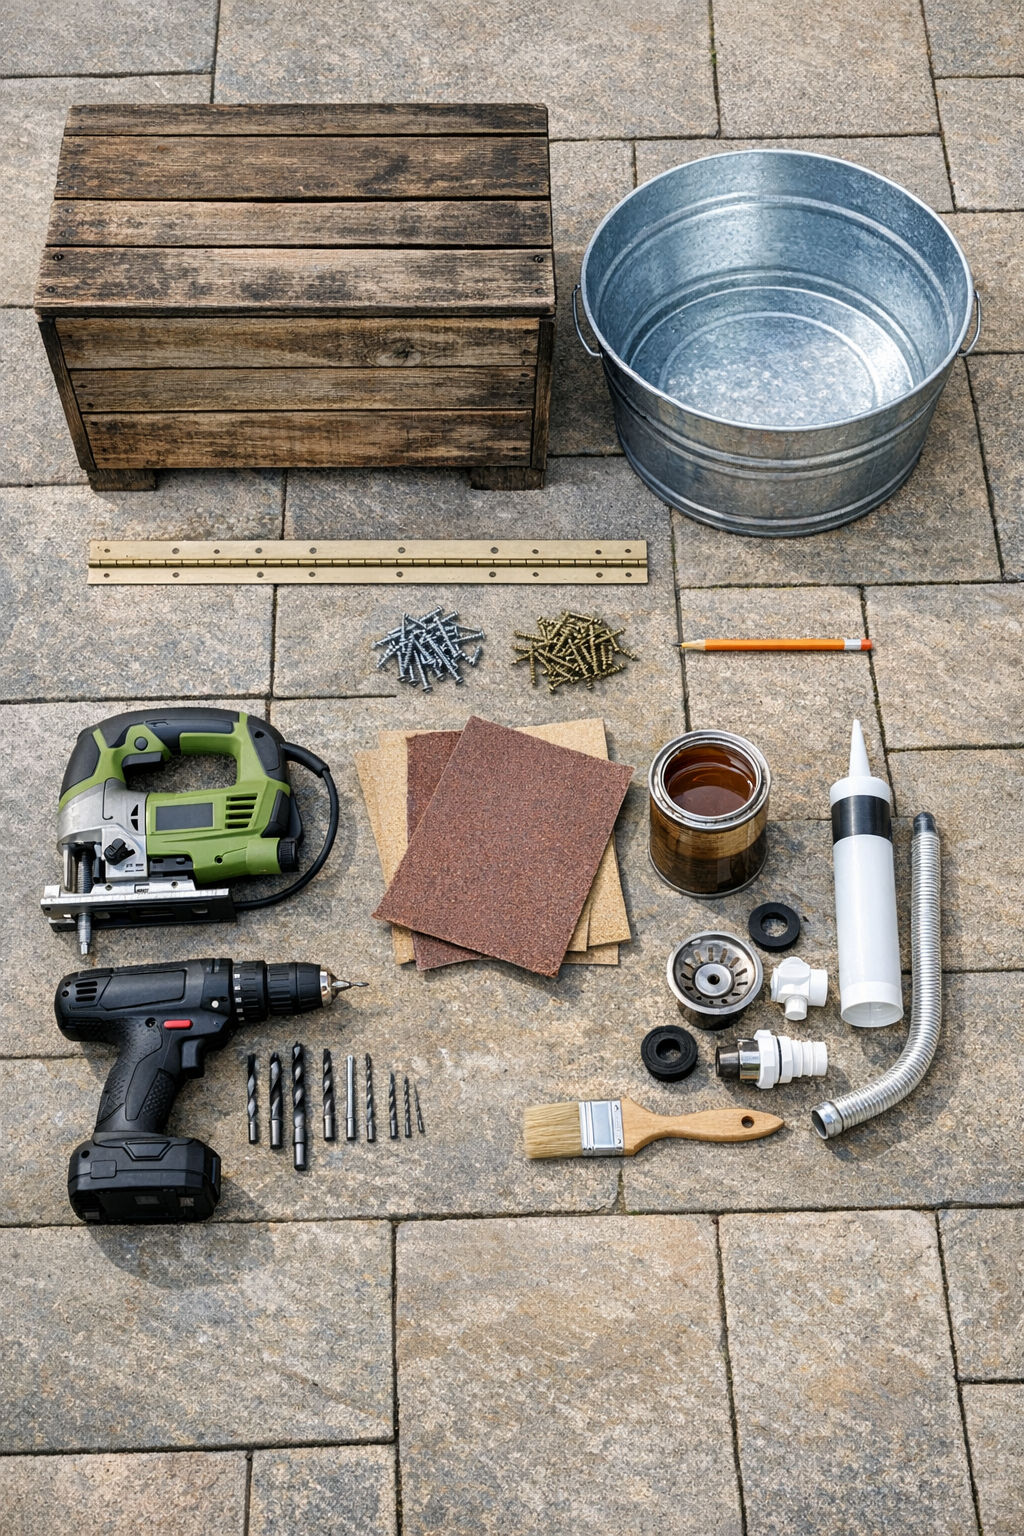
Materials
Instructions
1. Set the wooden chest on a flat surface and check that it is sturdy, level, and free of major rot. Tighten any loose hardware and remove any splinters or peeling finish so you are starting with a solid base.
2. Measure the galvanized tub at its widest points, then mark a centered opening on the chest lid that is about 1/2 inch smaller on all sides than the tub rim. This lip is what will hold the tub in place once it is dropped in.
3. Drill a starter hole inside one corner of the marked outline, then use a jigsaw to cut along the lines slowly and evenly. Save the cutout piece until you confirm the tub fit, since it can help with future adjustments.
4. Sand the cut edges with 120-grit paper, then smooth them again with 220-grit paper so the opening is safe to touch and less likely to splinter outdoors. Wipe away the dust with a clean dry cloth.
5. Lower the galvanized tub into the opening to test the fit, making sure the rim rests evenly on the lid without wobbling. Trim the opening a little at a time if needed rather than forcing the tub.
6. Open the chest lid and mark where the bottom of the tub sits inside the box. Attach the two 1 x 2 support cleats at that height along the inside walls with 1 1/4 inch screws, then add corner brackets if the chest needs extra support for the tub’s weight when filled with ice and drinks.
7. If you want drainage, mark the tub’s drain point and drill a matching hole through the chest floor or a low side panel. Install the drain assembly through the tub, seal it with silicone caulk, and attach the flexible hose so meltwater can empty into a bucket or drain away safely.
8. Apply exterior-grade silicone caulk where needed around the drain and any exposed fastener holes inside the chest. Let the caulk cure fully according to the package directions before adding ice.
9. Sand the outside of the chest lightly and brush on exterior sealer or outdoor polyurethane, paying special attention to the new cut edges. Add a coat of touch-up stain or paint first if the fresh wood needs to blend in with the weathered finish.
10. Raise the chest slightly with rubber feet or paver pads to keep the wood off damp patio surfaces, then set the tub in place for good. Fill it with ice and drinks, close the lid around the tub opening as designed, and give everything a final wipe-down before your first gathering.
Variations & Tips
Kid-friendly drink station: I like to stock one side with juice boxes, canned sparkling water, or small bottled water so younger guests can grab their own drinks without digging through the main party cooler.
Add a bottom drain bucket: If your patio does not have a good runoff area, let the drain hose empty into a hidden bucket underneath. It makes cleanup much easier and keeps puddles from forming near the bench.
Use a removable tub: Choose a tub with sturdy side handles if you want to lift it out for deep cleaning or seasonal storage. That is especially handy after big family cookouts when everything needs a quick scrub.
Make it more comfortable: If the chest top still has usable seating space around the tub opening, add an outdoor cushion to one side. It turns the cooler into a true multipurpose bench for smaller patios.
Protect the wood well: Any fresh cut edge is where outdoor projects tend to fail first, so do not skip the sealer. I usually add an extra coat there because Midwest weather can be hard on exposed wood.
Choose easy-to-reach drinks: For entertaining, shorter cans and bottles chill nicely without sticking up too high. That makes the setup look tidier and keeps the lid area from feeling crowded.
Try a divided insert: If your chest is large enough, you can use two smaller galvanized tubs instead of one big one. I love that option for keeping sodas on one side and water on the other for picky guests and thirsty kids.