
These faux stone mosaic porch planters are one of those projects I love because they look far more expensive than they are. By coating dry pasta shells in a textured gray stone finish and gluing them onto basic black nursery pots, you get a pair of planters with the look of hand-set pebble or stone tile for a fraction of the cost.
I’m always interested in clever material swaps, and this one has the same appeal as a good pantry substitution in cooking: humble ingredients, transformed with the right technique. If you want a weekend porch upgrade that’s budget-friendly, beginner-friendly, and surprisingly polished, this is a very satisfying project.
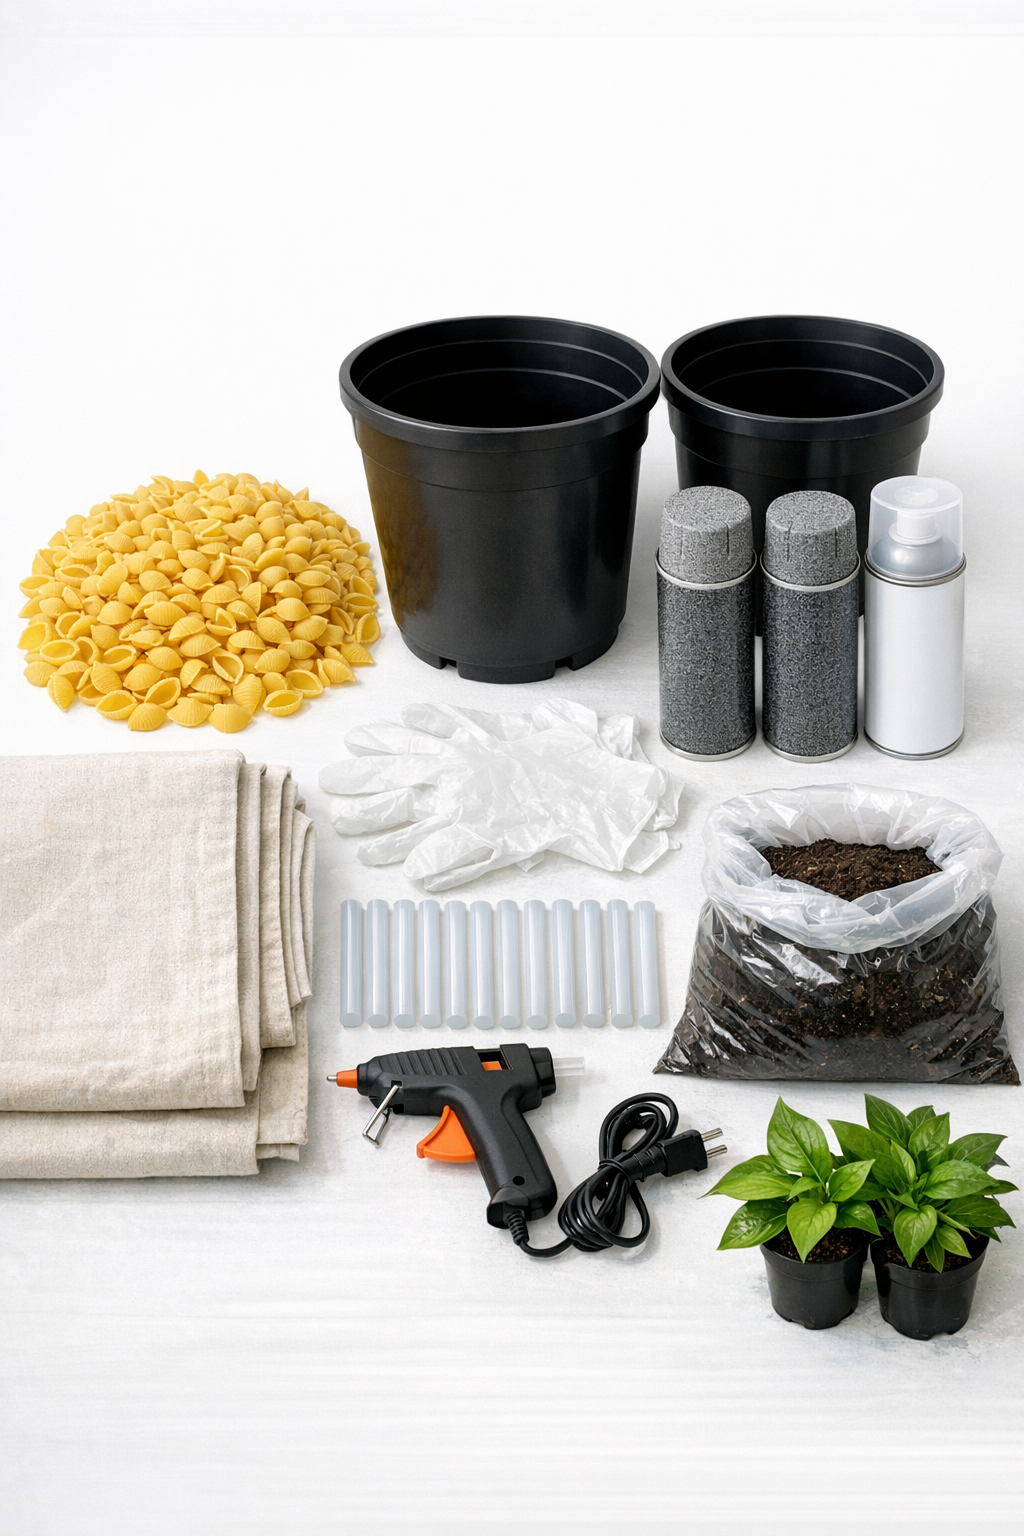
Materials
Instructions
1. Wipe down the outside of both nursery pots with a dry cloth so the glue will stick to a clean surface, and set up a well-ventilated spray area with your drop cloth.
2. Spread the 300 dry pasta shells in a single layer on cardboard or the drop cloth, keeping them close but not overlapping.
3. Spray the shells with the textured gray stone paint in light, even passes from about 10 to 12 inches away, then let them dry according to the can directions.
4. Turn the shells over and spray the other side the same way so you get full coverage, then allow them to dry completely before handling.
5. Plan your layout on one pot by dry-fitting a ring of painted shells around the base, adjusting spacing so the shells sit closely like a mosaic.
6. Apply a small bead of hot glue to the back of each shell and press it onto the pot, working in one horizontal row at a time around the pot.
7. Continue gluing shells upward in staggered rows, offsetting the seams slightly so the surface looks more like hand-laid stone and less like a strict grid.
8. Fill any obvious gaps with extra shells, rotating them as needed to create a more natural stone pattern and to hide as much black plastic as possible.
9. Repeat the same gluing process on the second pot, checking every few rows that the shell coverage looks balanced from all sides.
10. Let both pots cool and rest for 20 to 30 minutes so the glue fully sets before moving them.
11. Spray the outside of each finished pot with a light coat of clear matte outdoor sealer and let it dry completely to help protect the painted finish.
12. Add your plants to the pots, either by dropping in nursery containers or by filling with potting soil and planting directly, then place the pair on your porch.
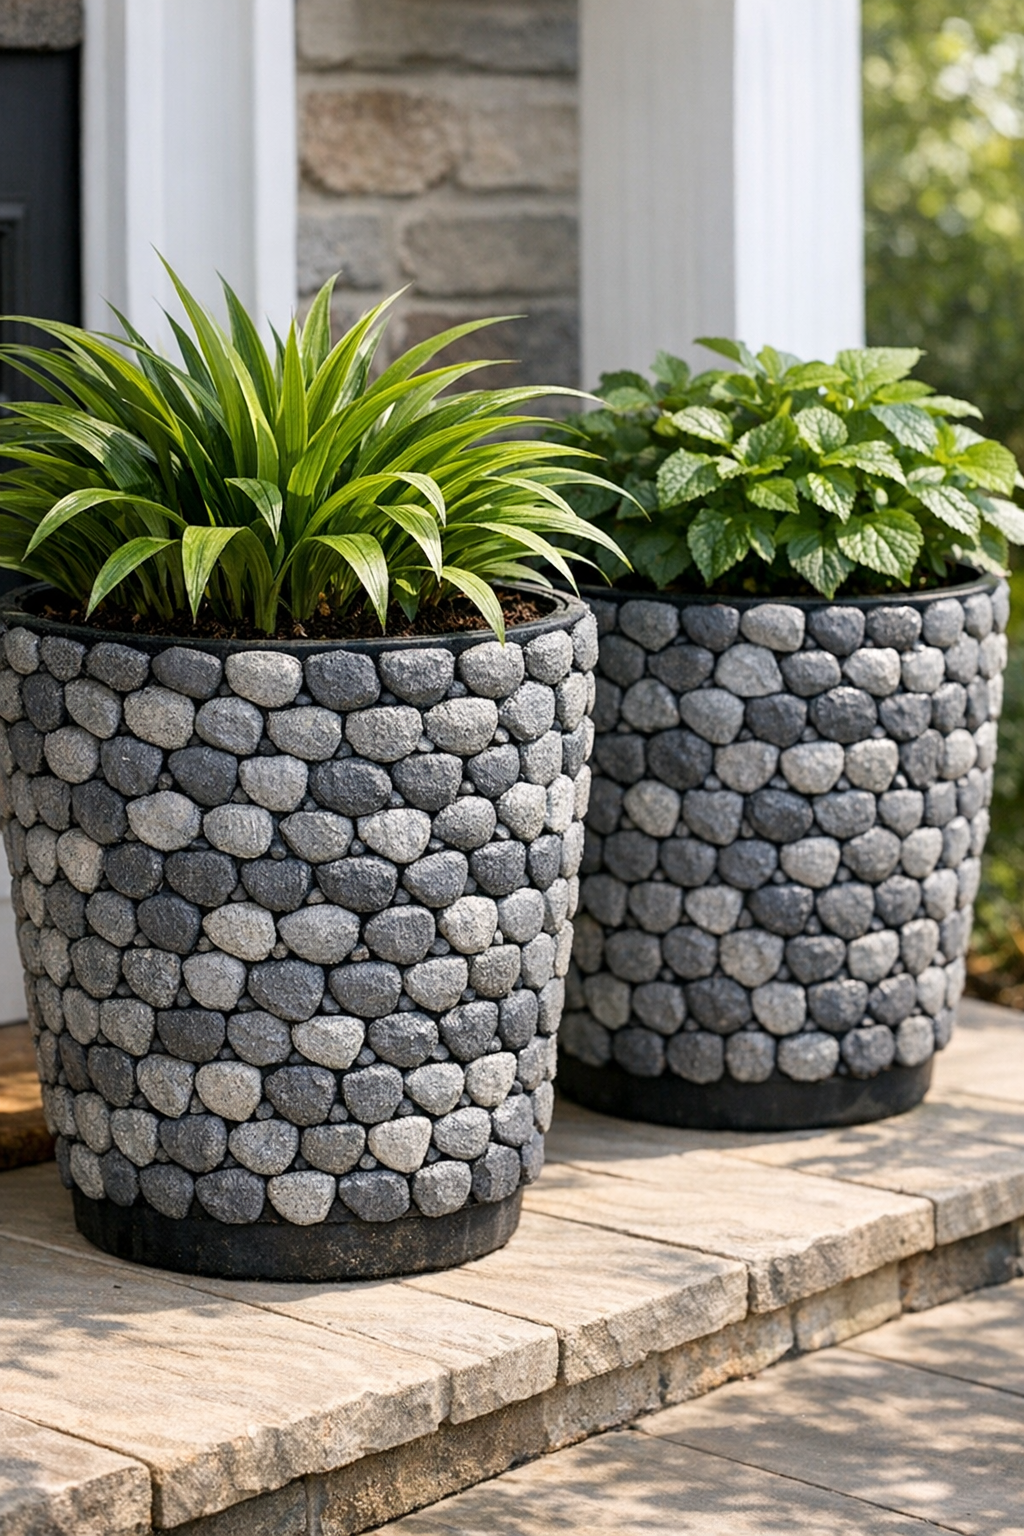
Variations & Tips
Use the right pasta shape: Shell pasta works especially well because the curved shape overlaps nicely and mimics irregular stone. If you experiment, choose sturdy shapes with some surface area, such as orecchiette or wagon wheels.
Work in sections: I find it much easier to glue one band at a time rather than hopping around the pot. That keeps the rows visually even and prevents awkward gaps near the top.
Choose plants with contrast: Silvery foliage, trailing ivy, or upright grasses look especially attractive against the cool gray faux-stone finish. It’s a little like plating food: color contrast makes the whole presentation more striking.
Keep them decorative: Because the shell layer is a glued embellishment, these planters are best used in covered porch conditions rather than fully exposed all season in harsh rain or snow.
Try a different finish: Charcoal, sandstone, or warm taupe textured spray paint will change the whole look. If your home exterior is brick or beige siding, a warmer stone tone may blend more naturally.
Protect drainage: Make sure you don’t glue shells over the drainage holes at the bottom of the pots. Good drainage matters just as much in container gardening as proper heat control does in cooking.
Buy extra shells: A few pasta pieces may crack during painting or gluing, so having a small buffer beyond 300 shells is helpful. I’d rather have a handful left over than come up short on the final row.