
There is something mighty satisfying about taking an ordinary plastic milk crate and turning it into something that looks charming enough to carry out to the porch for a late summer picnic. This project uses chunky watermelon red yarn worked through every opening of the crate, then finishes with a simple bamboo cutting board lid, giving you a caddy that feels equal parts practical and pretty. It reminds me of the kind of make-do creativity I grew up around, where sturdy everyday things were dressed up and given a second life instead of tossed aside.
If you crochet comfortably and do not mind a little handwork around a rigid frame, this is a very approachable project. I especially like it for holding plates, napkins, jars, or picnic fixings, but it is just as useful indoors for yarn, cookbooks, or pantry odds and ends. The beauty here is in the contrast: humble crate, soft bold yarn, and a smooth wooden lid that makes the whole piece look thoughtfully finished.
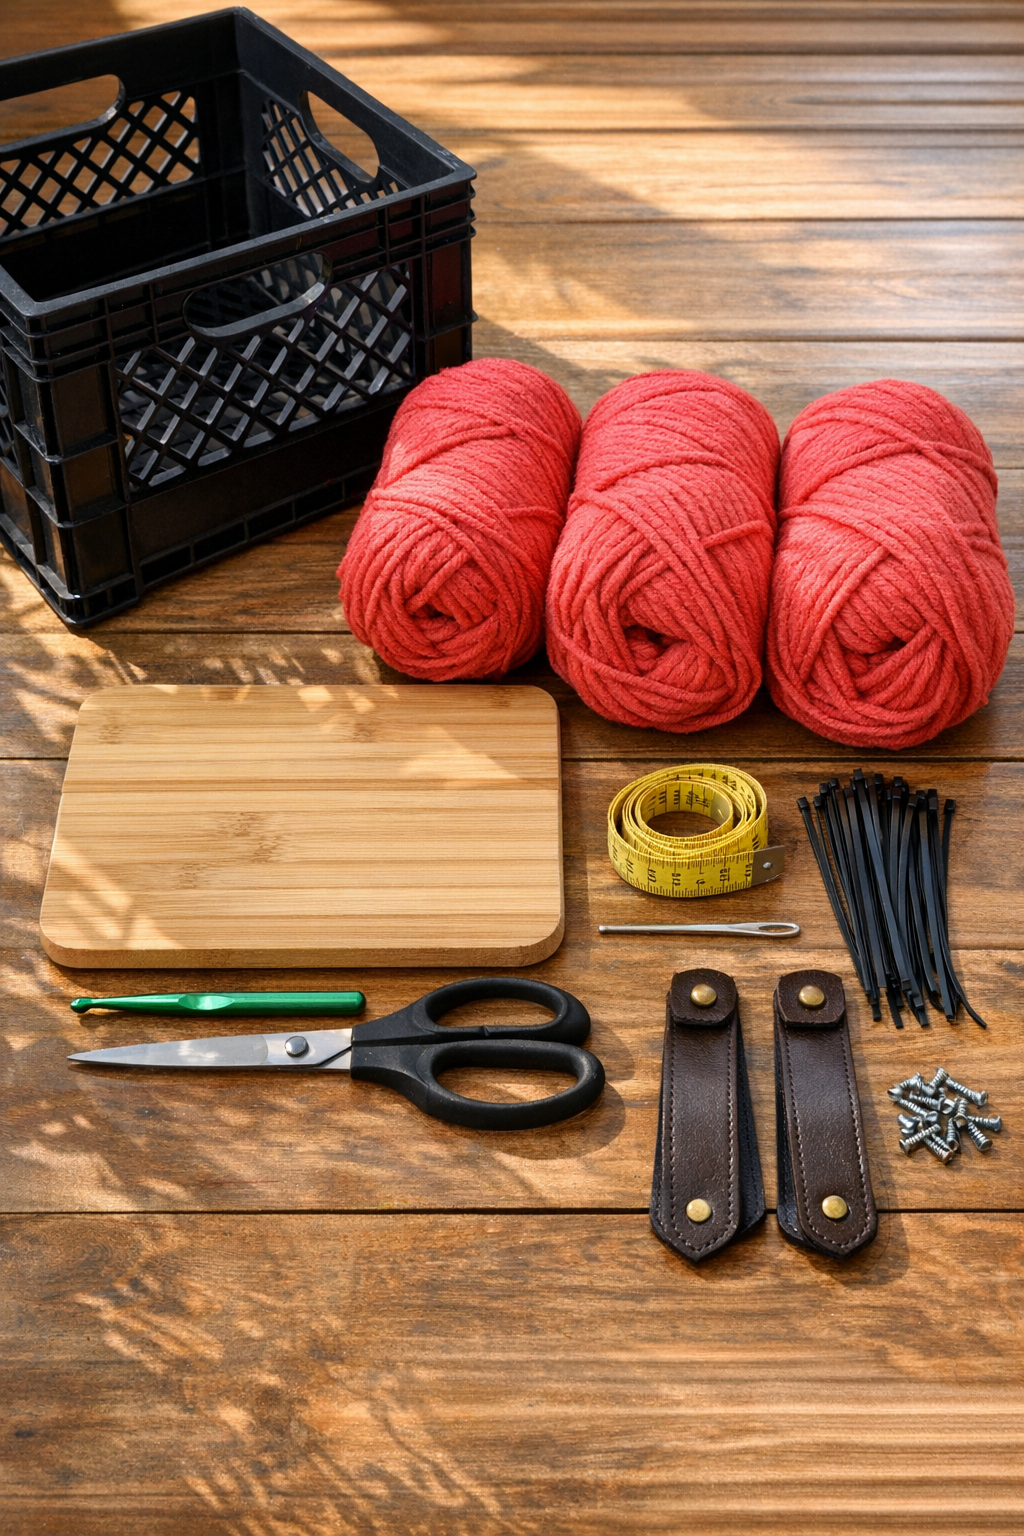
Materials
Instructions
1. Clean the milk crate well with warm soapy water and let it dry completely. Check for any rough plastic edges and trim or sand them smooth so the yarn will not snag.
2. Lightly sand the edges of the bamboo cutting board, then center it on top of the crate to see how much overhang you want on each side. I like a small even border so the lid looks tidy and sits securely.
3. Mark two handle positions on opposite sides of the crate, keeping them centered and level. If your leather handles need screw holes, mark matching holes on the crate and pre-drill them now.
4. Tie the yarn securely to one lower corner inside the crate, leaving a 6-inch tail to weave in later. Begin threading the yarn in and out of every hole around the bottom row, pulling it snug but not tight enough to warp the plastic.
5. Continue weaving the yarn through each row of holes, working all the way around the crate and then moving upward row by row. Keep the spacing even so the plastic grid fills in with a full, cushioned look.
6. When you reach a corner, wrap the yarn around the corner post once before entering the next side. This keeps the edges looking finished and prevents thin spots where the crate frame shows through most.
7. Join a new skein whenever needed by knotting it discreetly on the inside of the crate and weaving the tails back through several stitches. If you prefer, overlap the yarn ends and crochet over them for a neater finish.
8. After all side holes are covered, use the crochet hook to add a simple single crochet edging around the top rim, working into openings in the crate as anchor points. This softens the top edge and makes the whole piece look intentional instead of merely wrapped.
9. Weave in all yarn tails on the inside and trim any excess. Turn the crate in the light and check for bare gaps, then fill any thin areas by threading a short extra length through the visible openings.
10. Attach the leather handles to the two marked sides using screws and finishing washers, placing the washers on the outside for a polished look. Tighten them firmly, but do not crush the plastic.
11. Set the bamboo cutting board on top of the crate and decide whether you want it hinged on one side or fully removable. For a simple removable lid, loop two zip ties through the back top holes of the crate and around the board as flexible keepers, leaving enough slack for the lid to lift.
12. Open and close the lid a few times to make sure it moves easily and sits flat. Fill the caddy with picnic supplies, then give the yarn a final smoothing by hand so the sides look even and handsome.
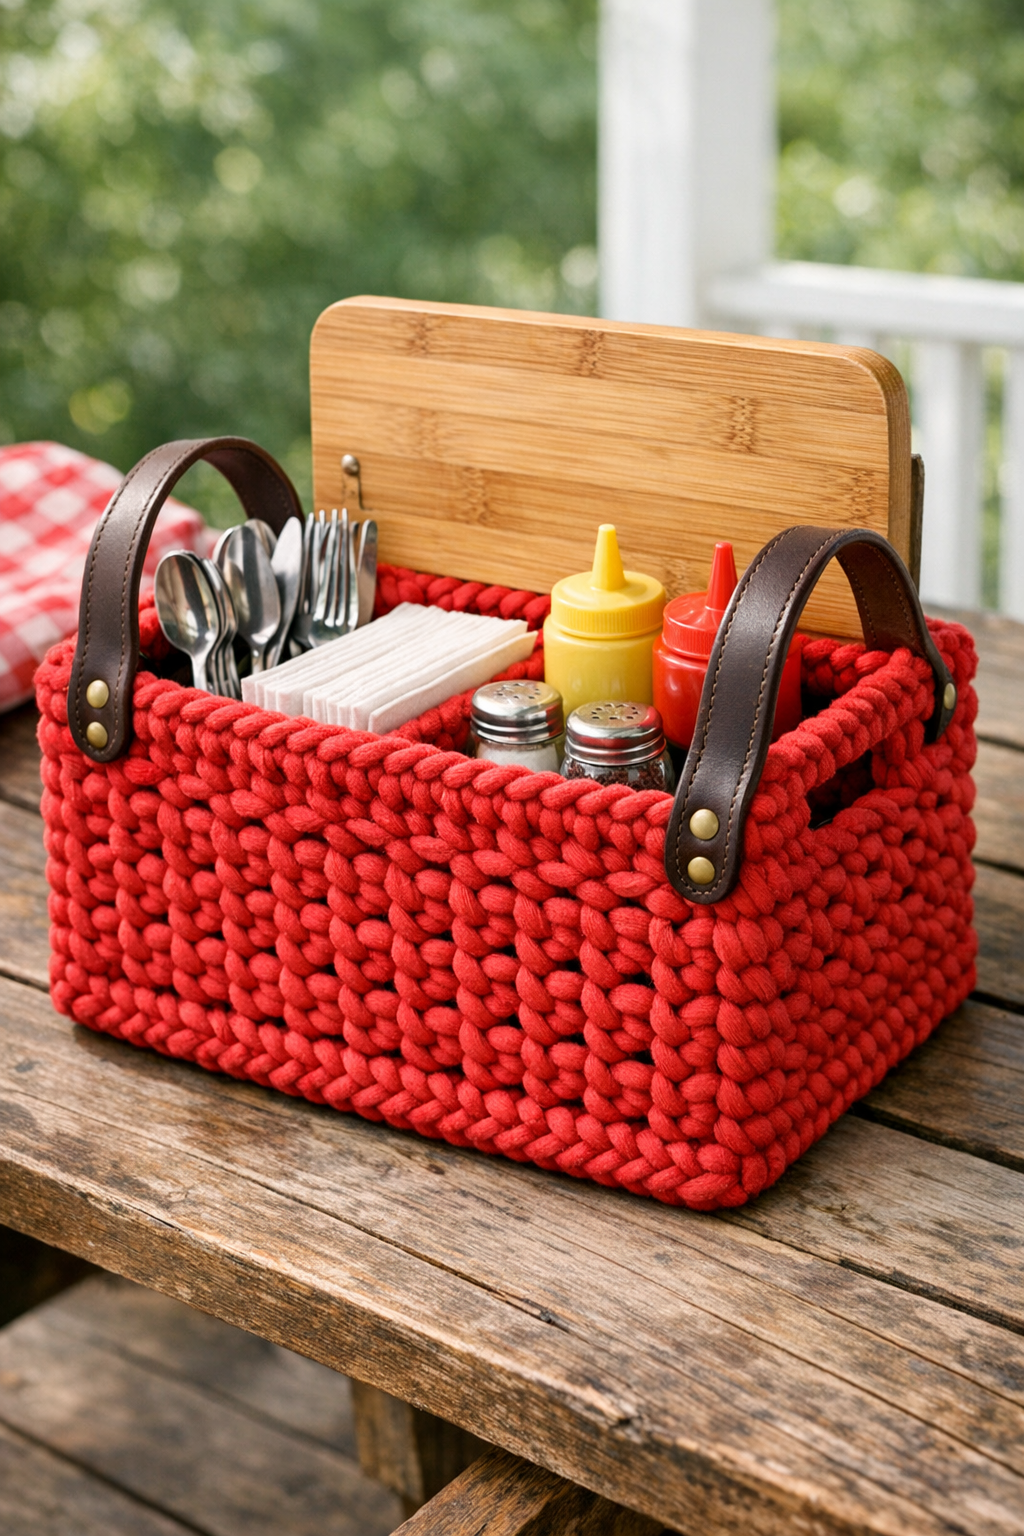
Variations & Tips
Color choice: Watermelon red gives this caddy such a cheerful late-summer look, but strawberry pink, barn red, sunflower yellow, or a cream-and-red stripe would be lovely too. I always think seasonal colors make a practical project feel more festive.
Yarn substitution: If bulky acrylic yarn is what you have on hand, it will work fine and is easy to wipe clean. Cotton yarn looks beautiful as well, but it may stretch a bit more over time if you load the crate heavily.
Lid option: A removable lid is simplest, but you can also attach one side with small hinges if you want a more permanent top. Just be sure the screws are short enough not to split the bamboo board.
Outdoor use: If you plan to carry this outside often, choose yarn that can handle a little sun and moisture, and store the caddy indoors when not in use. Even sturdy materials last longer when they are not left out in the weather.
Best uses: I like this for napkins, plates, mason jars, and snacks for a porch supper, but it also works beautifully for crochet supplies, pantry produce, or tea towels in the kitchen. A good basket, after all, tends to find its purpose once it is made.
Neater finish: Keep your yarn tension steady as you weave through each hole, and step back every few rows to check that the coverage looks even. That little pause saves a lot of fiddling later.