
There’s something especially satisfying about taking one of the handiest things in the yard and giving it a proper home. This garden hose storage project turns an ordinary wooden whiskey barrel planter into a tidy, decorative spot to coil up a green hose right by the garage, and it keeps that awkward tangle from becoming an everyday eyesore. Around here, anything that makes the outdoor chores easier and the place look a little prettier is worth doing.
I’ve always believed the best yard projects are the ones that feel practical first but still have a bit of charm to them. If you like simple weekend builds, don’t want to fuss with complicated carpentry, and appreciate a good old-fashioned reuse idea, this one is for you. It’s a straightforward project with a painted barrel, a drainage-friendly setup, and enough room to tuck away a standard garden hose neatly inside.
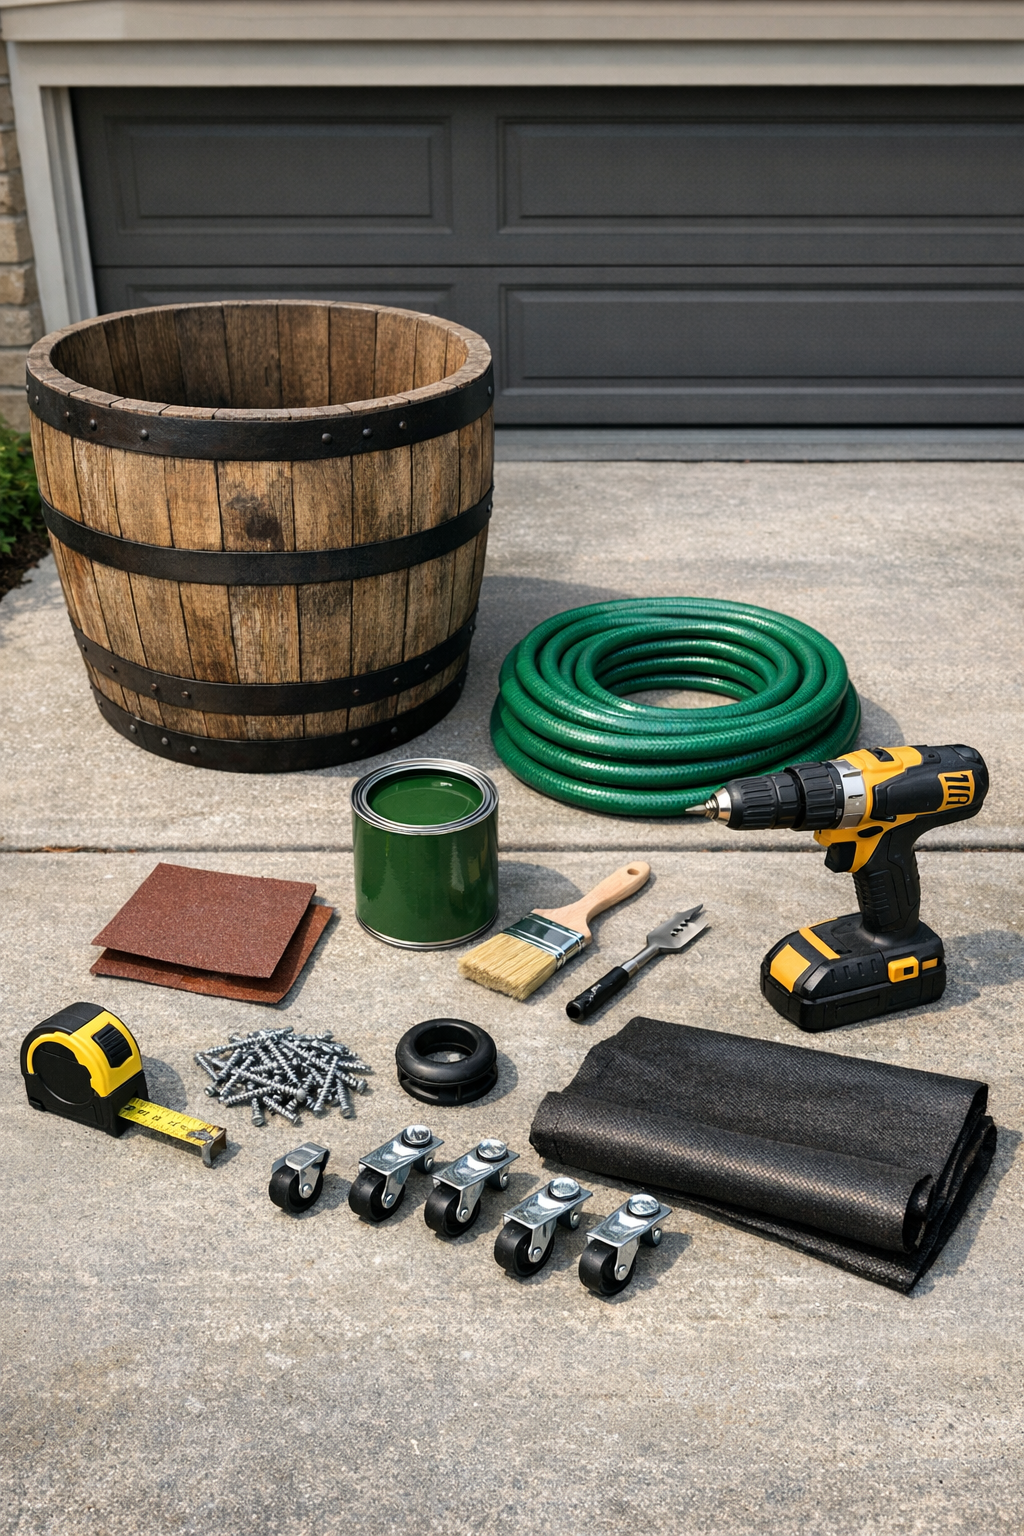
Materials
Instructions
1. Set the whiskey barrel planter on a drop cloth and check that it sits level and feels solid. If there are any loose bands or splintered areas, tighten or sand them before you begin.
2. Lightly sand the outside of the barrel and the rim with 120-grit sandpaper so the paint will adhere well. Wipe away the dust with a dry cloth or brush.
3. Apply primer to the outside if the wood is bare, weathered, or uneven in color, and let it dry fully. If your barrel is already sealed and smooth, you can move straight to paint.
4. Paint the outside of the barrel and the top rim with exterior paint, using the smaller brush around the metal bands and tight spots. Let the first coat dry, then add a second coat for good coverage and durability.
5. Measure about 3 to 4 inches up from the bottom side of the barrel and mark the spot where the hose will feed through. Place the hole toward the back or side that will face the water spigot so the hose path stays neat.
6. Drill a 1 1/2-inch hole at the mark, then smooth the cut edge with the sanding sponge. Press in the rubber grommet or attach the hose guide so the hose won’t rub against rough wood.
7. If you want the barrel to roll out for cleaning or easier access, turn it carefully on its side and screw on the four swivel casters evenly across the bottom. Set it upright again and make sure it rolls smoothly without wobbling.
8. Lay the landscape fabric inside the barrel over the bottom to help keep dirt, wood chips, and debris from catching on the hose. Trim it if needed so it sits flat and does not bunch up the sides.
9. Add a coat of exterior sealer over the painted surface if you want extra weather protection, especially if the barrel will sit in full sun or driving rain. Let it cure according to the product directions before loading in the hose.
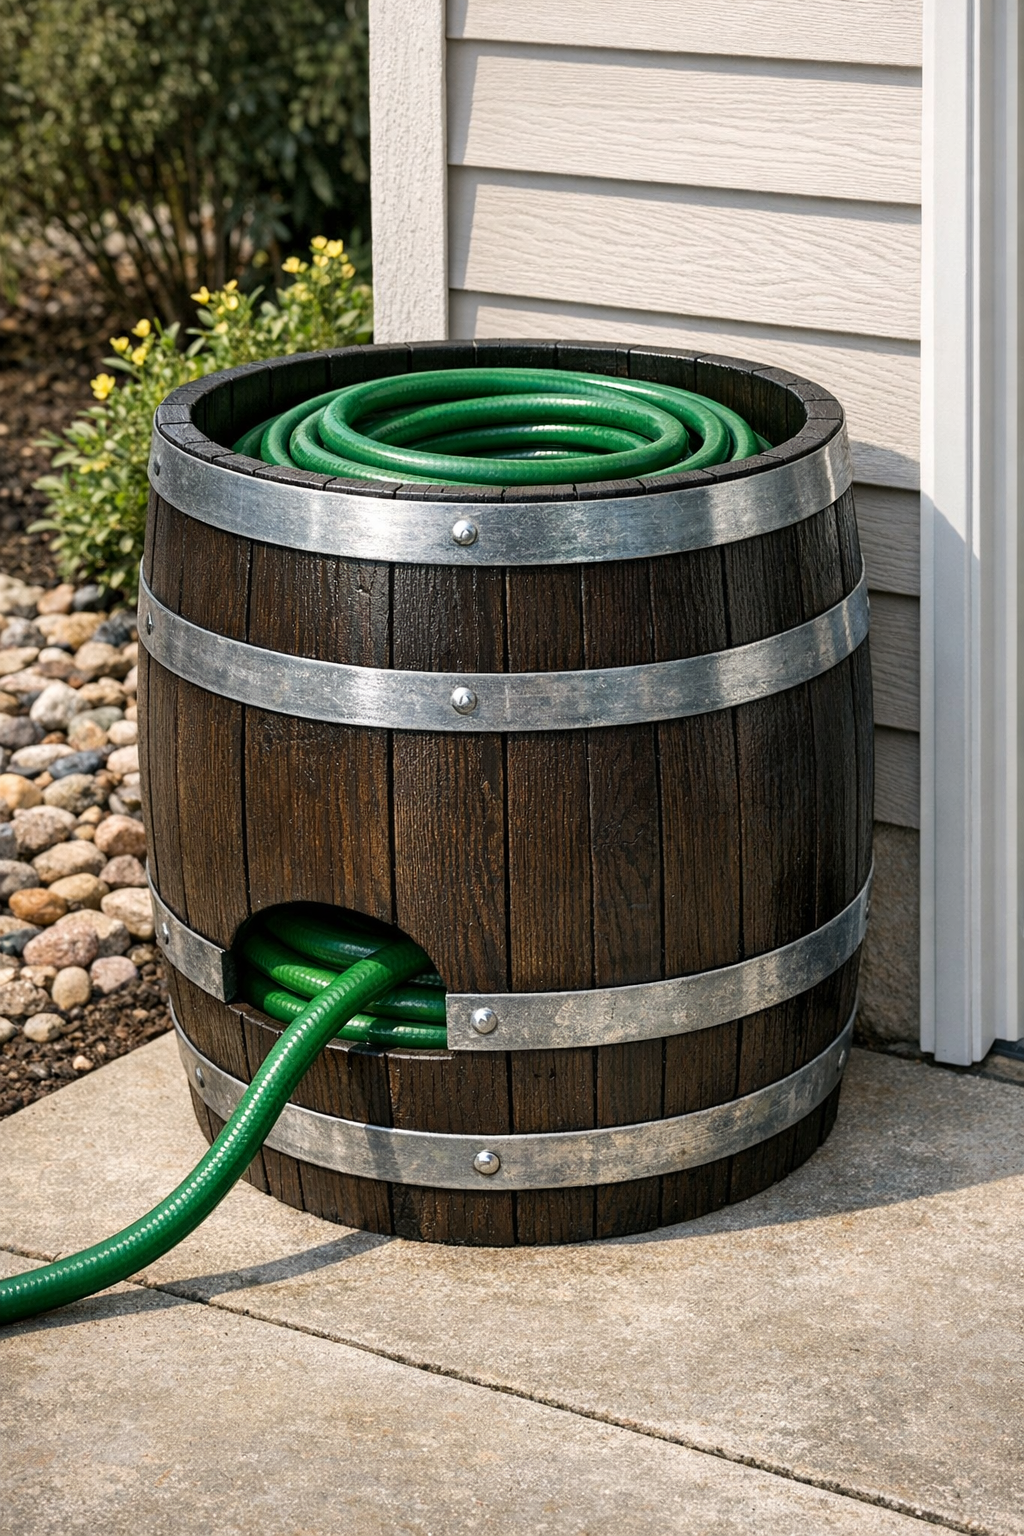
10. Place the barrel near the garage or beside the spigot, then feed the hose end through the side opening from the inside out. Connect that end to the water source if this is where the hose will live permanently.
11. Coil the rest of the hose loosely inside the barrel in even circles, starting at the bottom and stacking upward. Don’t wind it too tightly, or it will kink and be harder to pull out later.
12. Leave the spray nozzle or loose working end resting over the rim or tucked just inside the top for a cleaner look. Give the hose a gentle pull to test that it feeds smoothly and settles back into the barrel without snagging.
Variations & Tips
Classic farmhouse finish: Use a soft white, muted gray, or deep barn red paint if you want that old Midwestern porch look. I’m partial to simple colors that age gracefully and don’t shout at you from across the yard.
Natural wood option: Skip the paint and use only an exterior clear sealer if your barrel has attractive wood grain. That gives it more of a rustic feed-store feel while still protecting it from the weather.
Add drainage: If rain can fall directly into the barrel, drill 3 to 4 small drainage holes in the bottom, about 1/4 inch wide each. Standing water makes wood wear out faster and can leave the hose musty.
Better hose flow: A hose guide or smooth rubber grommet is worth the trouble. It prevents scuffing and makes pulling the hose out for watering much easier in daily use.
Right-size your barrel: A 75-foot hose fits comfortably in a half barrel, but a 100-foot hose may need a slightly wider or taller container. If you’re using a heavier rubber hose, always size up rather than forcing it.
Placement tip: Keep the barrel close to the spigot and on level ground so the hose feeds in a straight path. That one small choice makes the whole setup work better and keeps the barrel from shifting.
Kid-friendly yard cleanup: This project is handy if grandkids or family members help with watering, because the hose has an obvious place to go when they’re done. In my experience, putting things away is much more likely when the storage spot is simple and close by.