
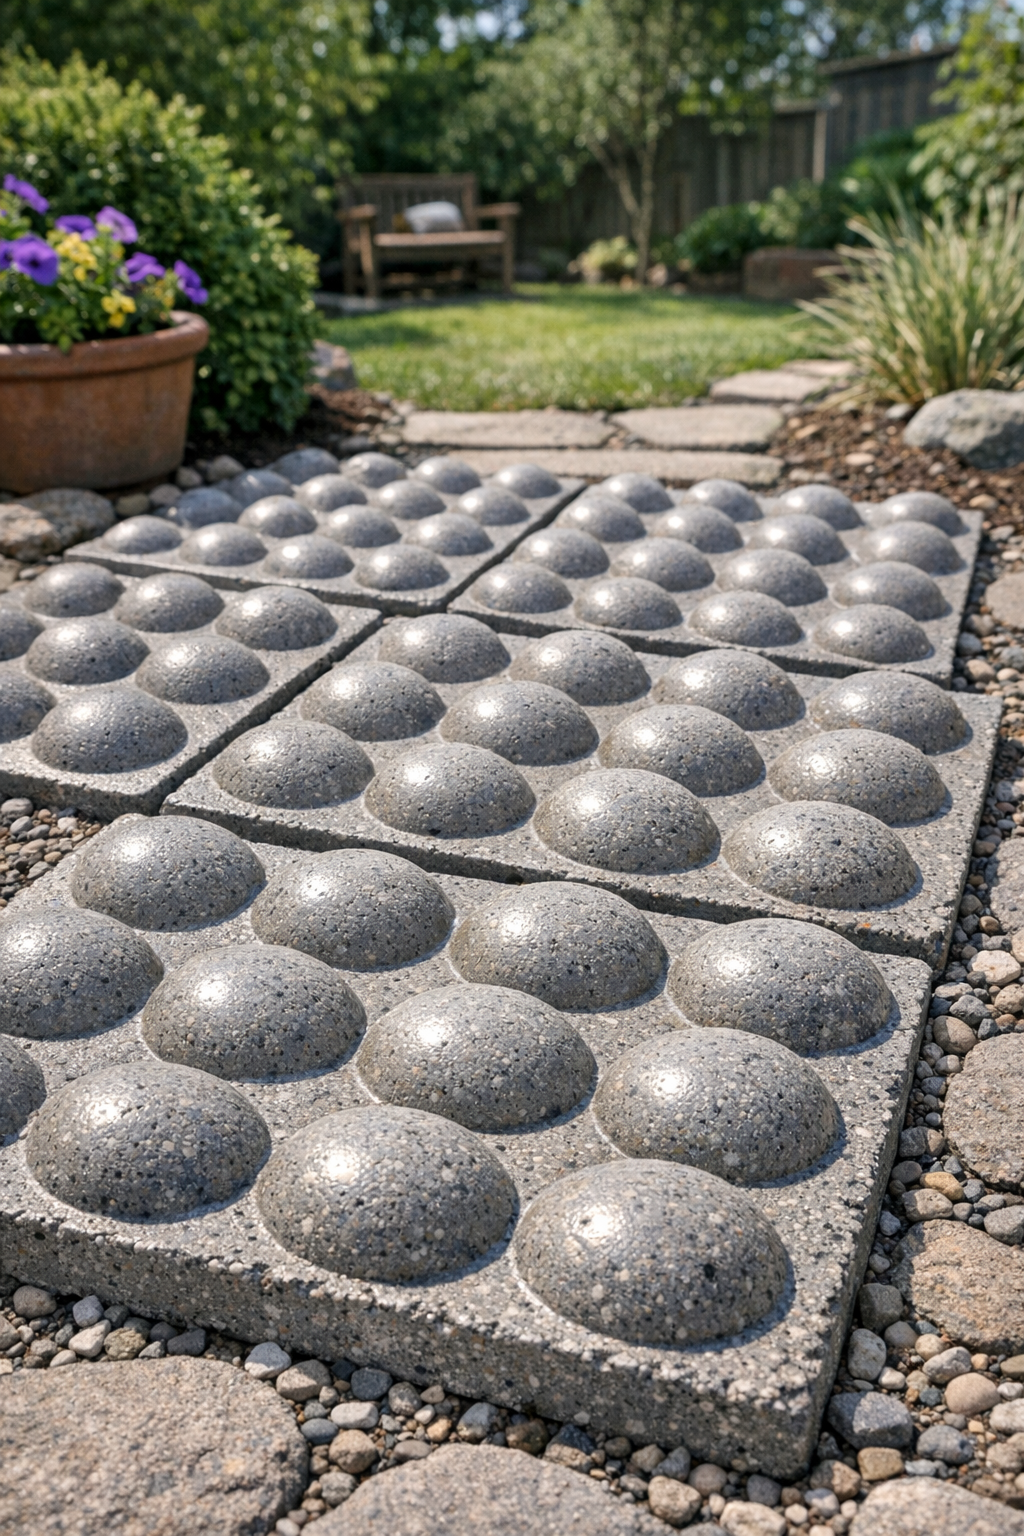
If you have a couple of empty plastic egg cartons and a bag of cement mix sitting around, you can turn them into surprisingly sturdy little patio stones with a fun dimpled texture. I love projects like this because they feel a bit magical at the end — something headed for the recycle bin suddenly becomes a mold for garden décor that looks much more expensive than it is.
This is a great weekend project for anyone who wants to dress up a garden path, tuck a few stepping stones between raised beds, or make a simple handmade gift for a backyard-loving friend. I especially like this one because it is inexpensive, easy to repeat in batches, and forgiving enough for beginners.
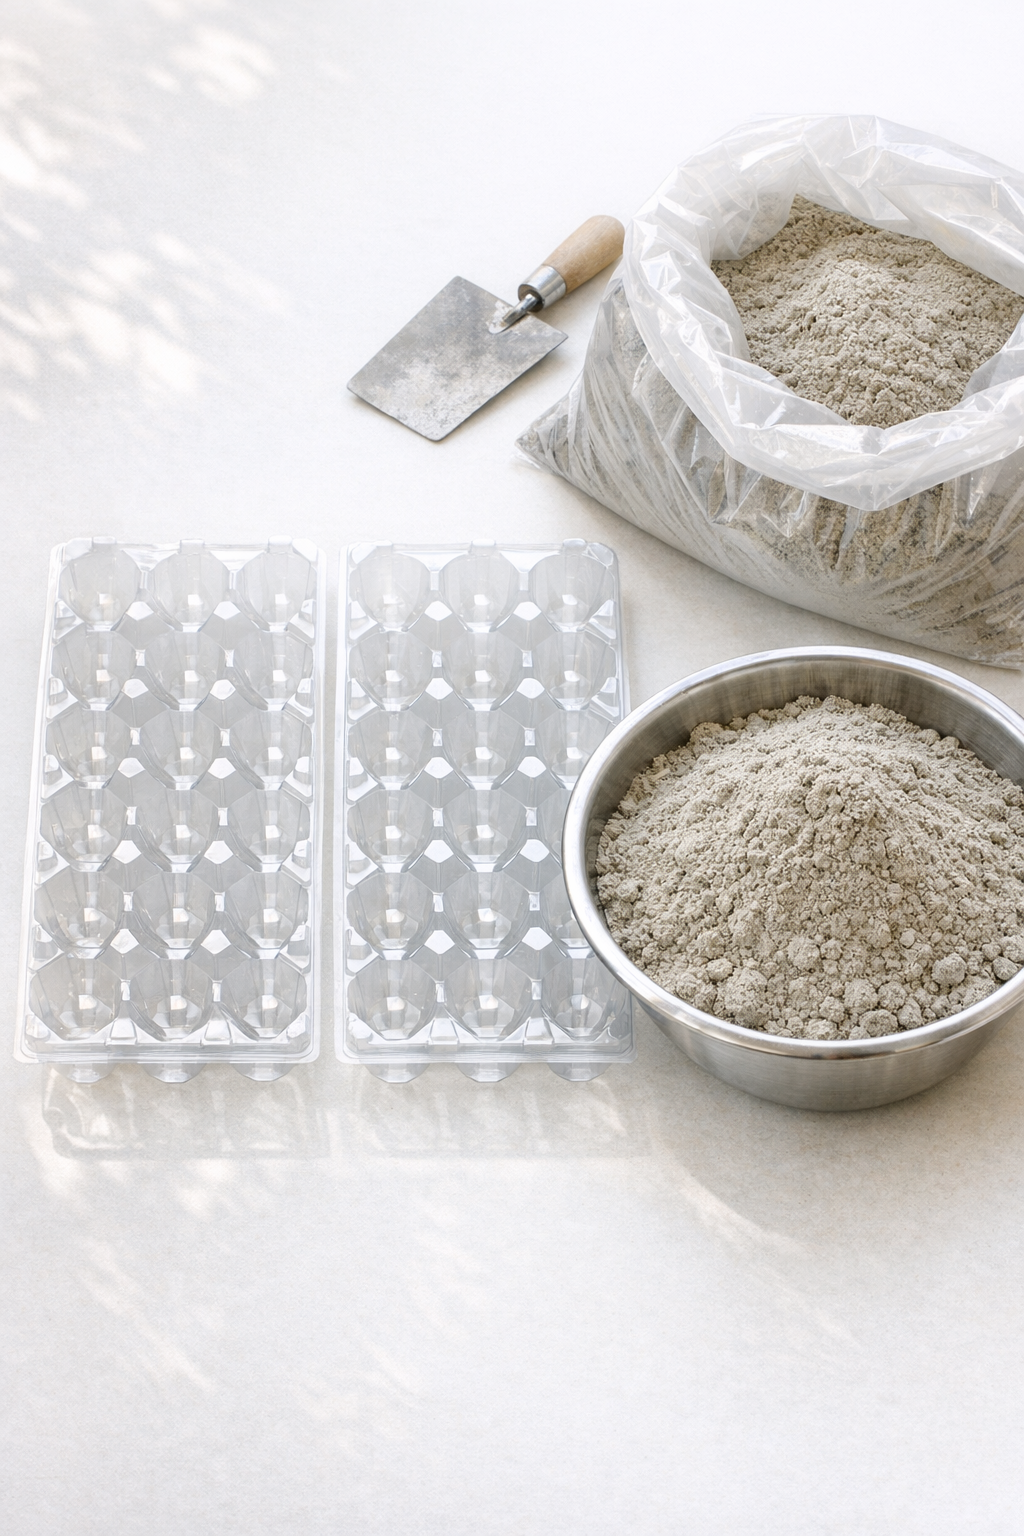
Materials
Instructions
1. Wash the plastic egg cartons well and let them dry completely. Check that each carton closes evenly and does not have cracks that would let wet cement leak out.
2. Set the cartons on a flat, protected surface outdoors or in a garage, then lightly coat the inside bottom half of each carton with nonstick spray. Press a piece of plastic wrap loosely into each bottom half so the cement will release more easily later.
3. Mix the cement with water in a bucket or bowl until it is very thick, like stiff brownie batter. Stir slowly and thoroughly so there are no dry pockets left in the mix.
4. Spoon the cement into each lined egg carton bottom, filling all the cups and the spaces between them to create one solid stone. Tap the carton gently on the table several times to settle the mix and release trapped air.
5. Smooth the top surface with the back of a spoon or a small scrap of cardboard so the finished stone will sit flat on the ground. If needed, add a little more cement to low spots and smooth again.
6. Leave the filled cartons undisturbed for 24 to 48 hours, or until the cement is hard all the way through. If the weather is hot and dry, loosely cover them with plastic so they cure slowly and stay stronger.
7. Peel back the plastic carton and liner carefully to release each stone. Let the stones continue curing in a shaded dry spot for another 3 to 5 days before placing them on the patio or in the garden.
Variations & Tips
For a darker stone look: Use a cement mix that cures to a deeper gray, or brush the finished stones clean and seal them with an outdoor concrete sealer to enrich the color.
For picky decorators: If your family likes things a little less rustic, press the cement more evenly and smooth the back very carefully so the stones look tidier and sit flatter in a formal path.
For extra strength: Make the stones a bit thicker rather than wider if you want them to handle more weight. Thin pieces are more likely to crack when moved.
For easier release: Do not skip the plastic liner if your cartons have lots of ridges. I have learned the hard way that a little prep saves a lot of chipped edges later.
For placement: These work best as decorative stepping stones in mulch, gravel, or between garden beds rather than in a main walkway that gets heavy daily traffic.
For batch making: Save several cartons and mix one larger batch of cement at once. I like doing a few together so the path looks intentional, and it is a fun way to fill in a bare backyard corner on a budget.