
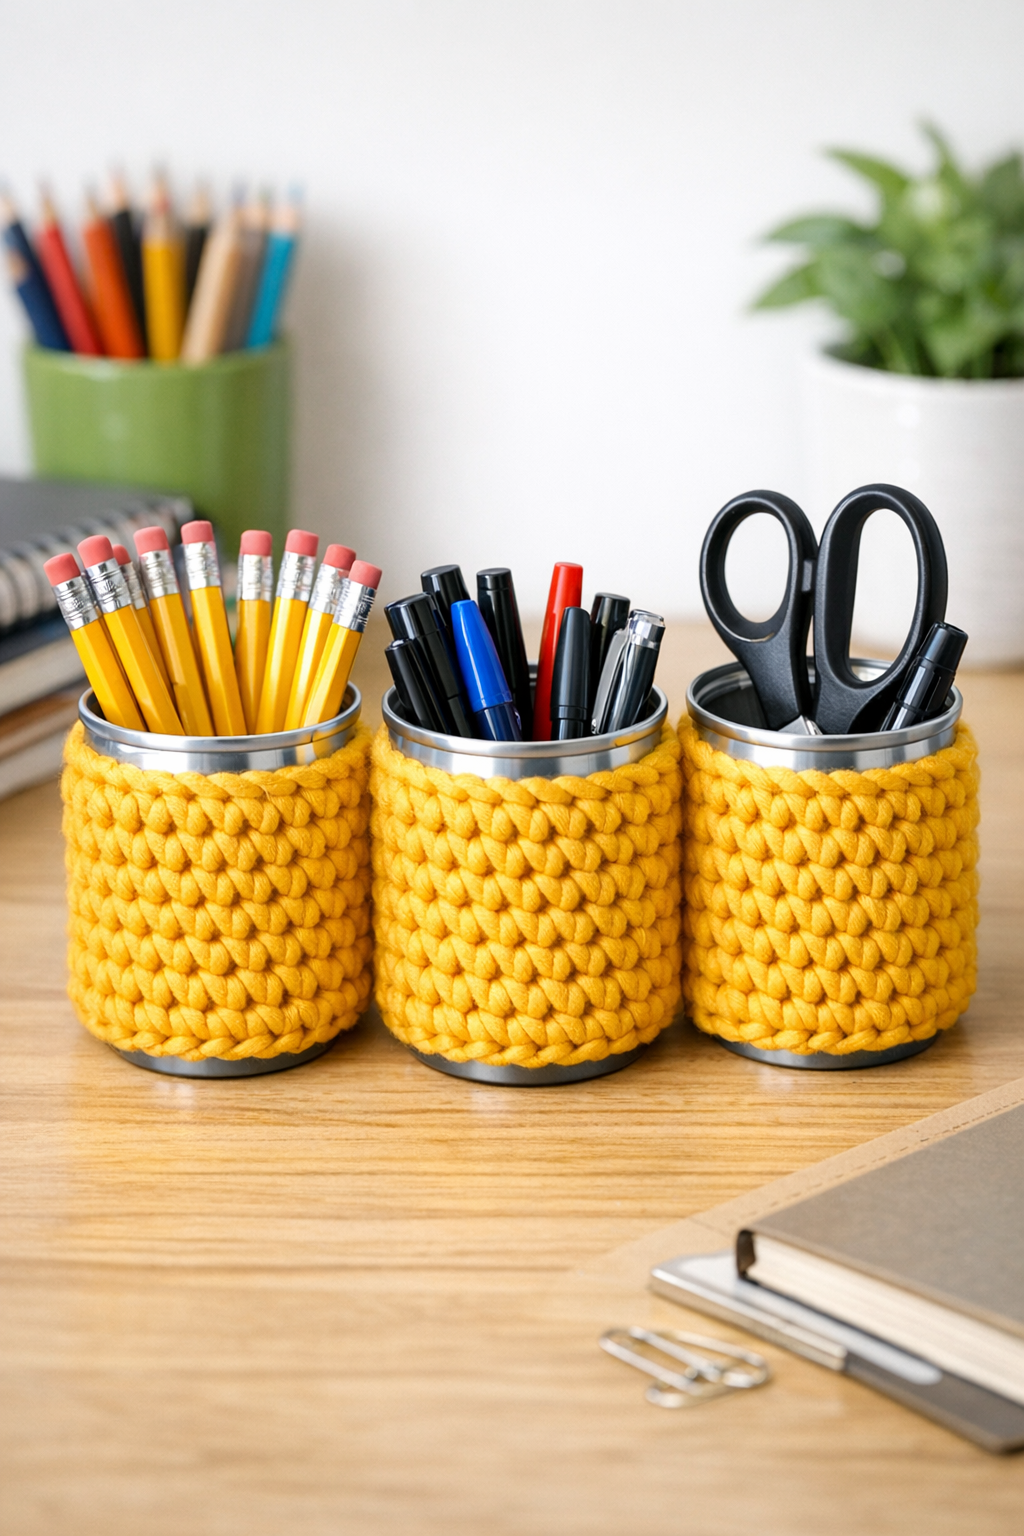
I love a project that turns something destined for the recycling bin into something polished enough to leave out on a desk, and this crochet pencil cup set does exactly that. By crocheting chunky school bus yellow yarn around empty aluminum soda cans, you get sturdy little organizers that are practical for back-to-school season, craft rooms, homework stations, or even a cheerful kitchen desk corner.
What makes this project especially satisfying is that the can provides the structure, while the crochet softens the look and adds that handmade finish that reads far more boutique than budget. If you know a few basic crochet stitches and don’t mind a little prep work with the cans, this is a very approachable upcycling project with a genuinely useful result.
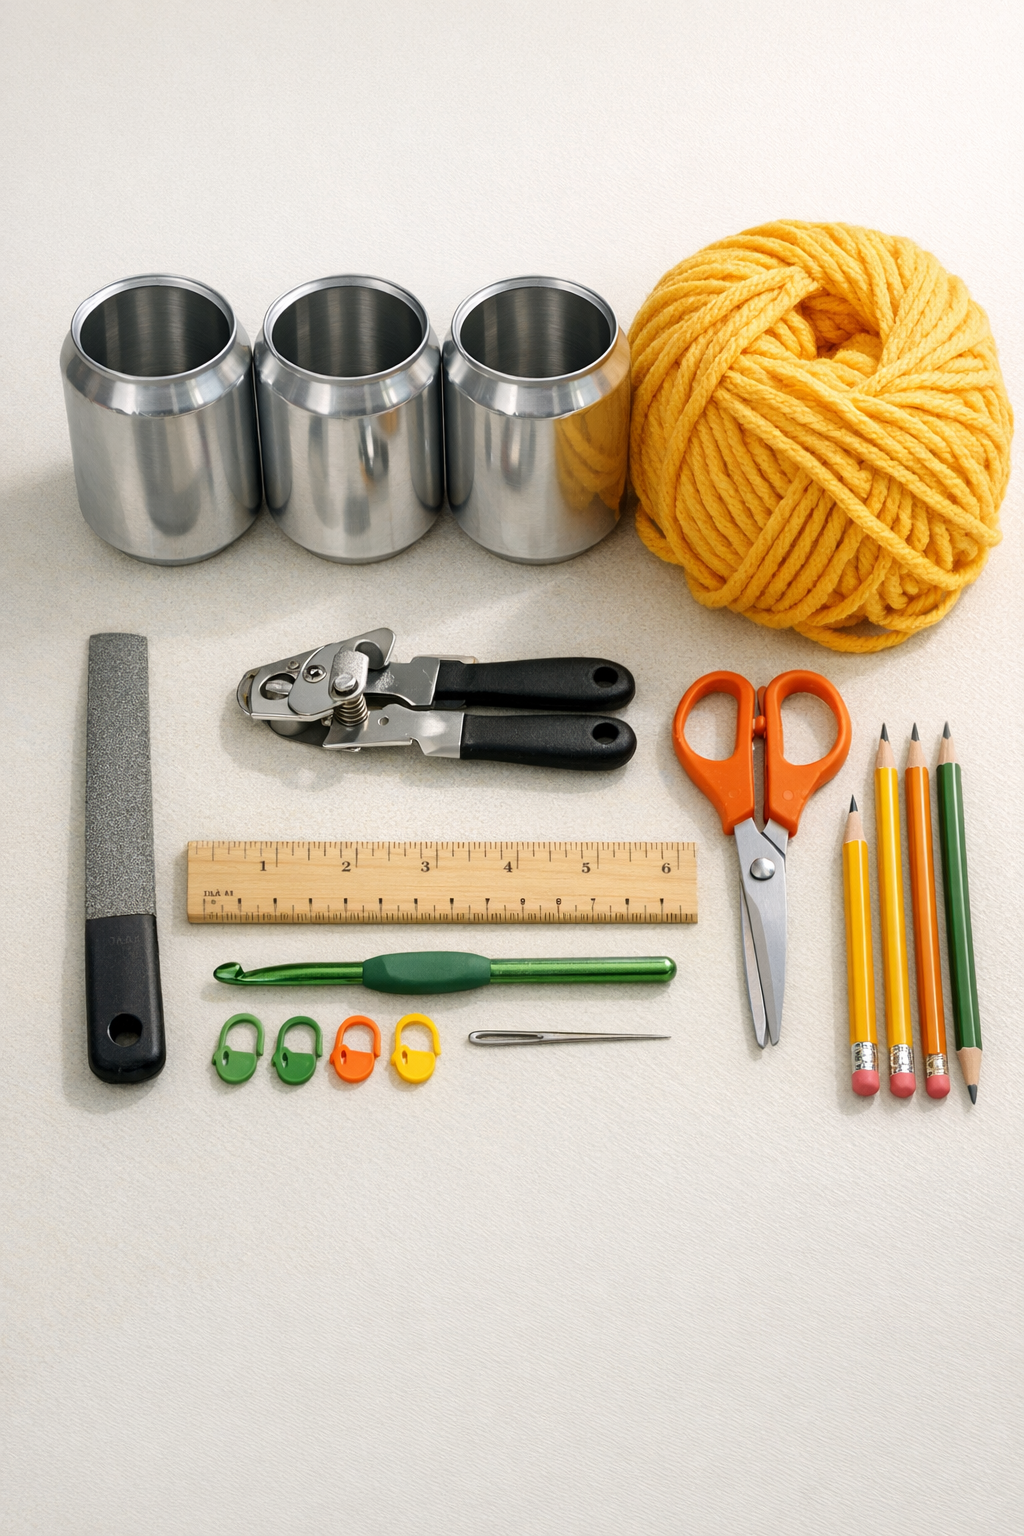
Materials
Instructions
1. Wash the soda cans thoroughly, remove any residue, and let them dry completely. Peel off loose label film if needed so the yarn sits against a clean surface.
2. Remove the top from each can with a smooth-edge can opener or carefully with a regular can opener. File the cut rim until it feels completely smooth to the touch, because this edge needs to be safe for hands and gentle on the yarn.
3. Measure the height of one can and the circumference around the middle. For a standard soda can, plan on a crocheted rectangle roughly 4 3/4 inches tall and long enough to wrap snugly around the can.
4. Chain 13 to start your first panel, then single crochet in the second chain from the hook and across for 12 stitches. Chain 1, turn, and continue single crochet rows until the piece reaches the can height.
5. Test-wrap the panel around the can with the rows running vertically. If needed, add or remove a row so the rectangle fits closely without buckling; I like it slightly snug because chunky yarn relaxes a bit with handling.
6. Hold the panel around the can and use slip stitches or whipstitches to join the short ends together into a sleeve. Weave in the yarn tail securely so the seam stays neat and flat.
7. Slide the crocheted sleeve over the can, aligning the top edge just below the smoothed rim. If you want extra hold, add a very thin line of clear-drying craft glue under the seam area only.
8. Join yarn at the bottom edge of the sleeve and work single crochet evenly around the can edge, placing stitches through the crochet fabric and around the can base edge as needed to anchor it. Decrease gradually over the next few rounds until the bottom opening nearly closes.
9. Cut the yarn, thread the tail onto a yarn needle, and draw it through the remaining bottom stitches to close the center. Knot securely on the underside and weave the tail through several stitches.
10. Repeat the same process for the other two cans so you have a coordinated set. To make the set more useful, vary the heights slightly by folding one sleeve edge down or crocheting one panel a row shorter.
11. If you want a cleaner interior finish, tuck a felt circle into the bottom of each cup. This is a small touch, but I find it helps pencils sit more quietly and gives the project a more finished feel.
Variations & Tips
Add a stripe: Work one or two rows in white, black, or apple red to give the cups a school-themed look without changing the basic construction.
Use half double crochet: If you prefer a slightly quicker fabric, half double crochet works beautifully here and gives the sleeve a bit more coverage with fewer rows.
Check the rim twice: The most important prep step is smoothing the cut edge thoroughly. I run my fingertip and a scrap of yarn around the rim before assembling anything, because if the yarn snags, it needs more filing.
Make a matching desk set: This same method works for a taller utensil can, a small planter cover for faux plants, or a crochet-covered brush holder for a craft table.
Keep the fit snug: Crochet stretches, especially with chunky yarn, so the panel should fit firmly around the can at first. If it slides on too easily before use, it may loosen further over time.
Choose the right yarn: A smooth chunky yarn shows stitch definition and makes the project look crisp. Very fuzzy yarn can be charming, but it tends to obscure the texture and can make the cups look bulkier than intended.