
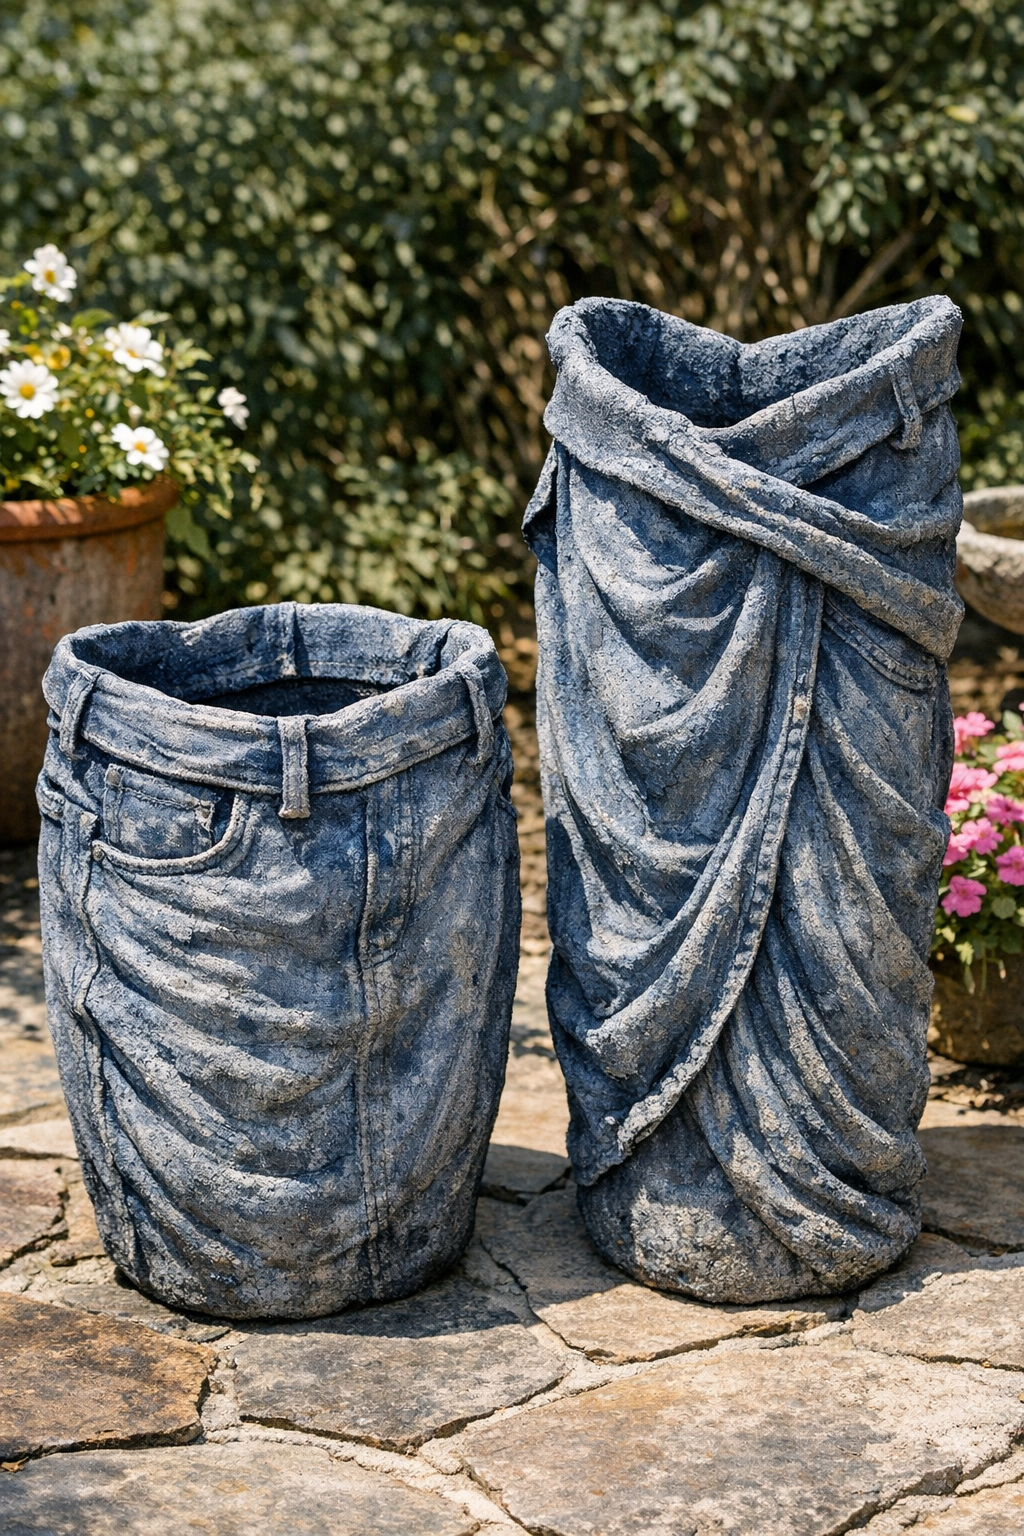
I love a project that uses something headed for the donate pile and turns it into something that looks surprisingly high-end in the yard. These draped cement planters made from old denim jeans are one of those crafts that feel a little odd while you’re making them, and then completely make sense the second they dry. You end up with sturdy, sculptural vessels that look like fabric frozen in motion, and they’re especially fun if you like rustic garden décor with a little personality.
This version makes two heavy yard vessels, which is ideal if you want a matched pair by a front step or one on each side of a garden bed. I’m always trying to squeeze in projects on a busy weekend, so I appreciate that the hands-on part is simple: mix, soak, drape, and let time do the rest. If you’ve got a couple of ripped pairs of jeans and want an outdoor project that feels creative without being fussy, this one is very doable.
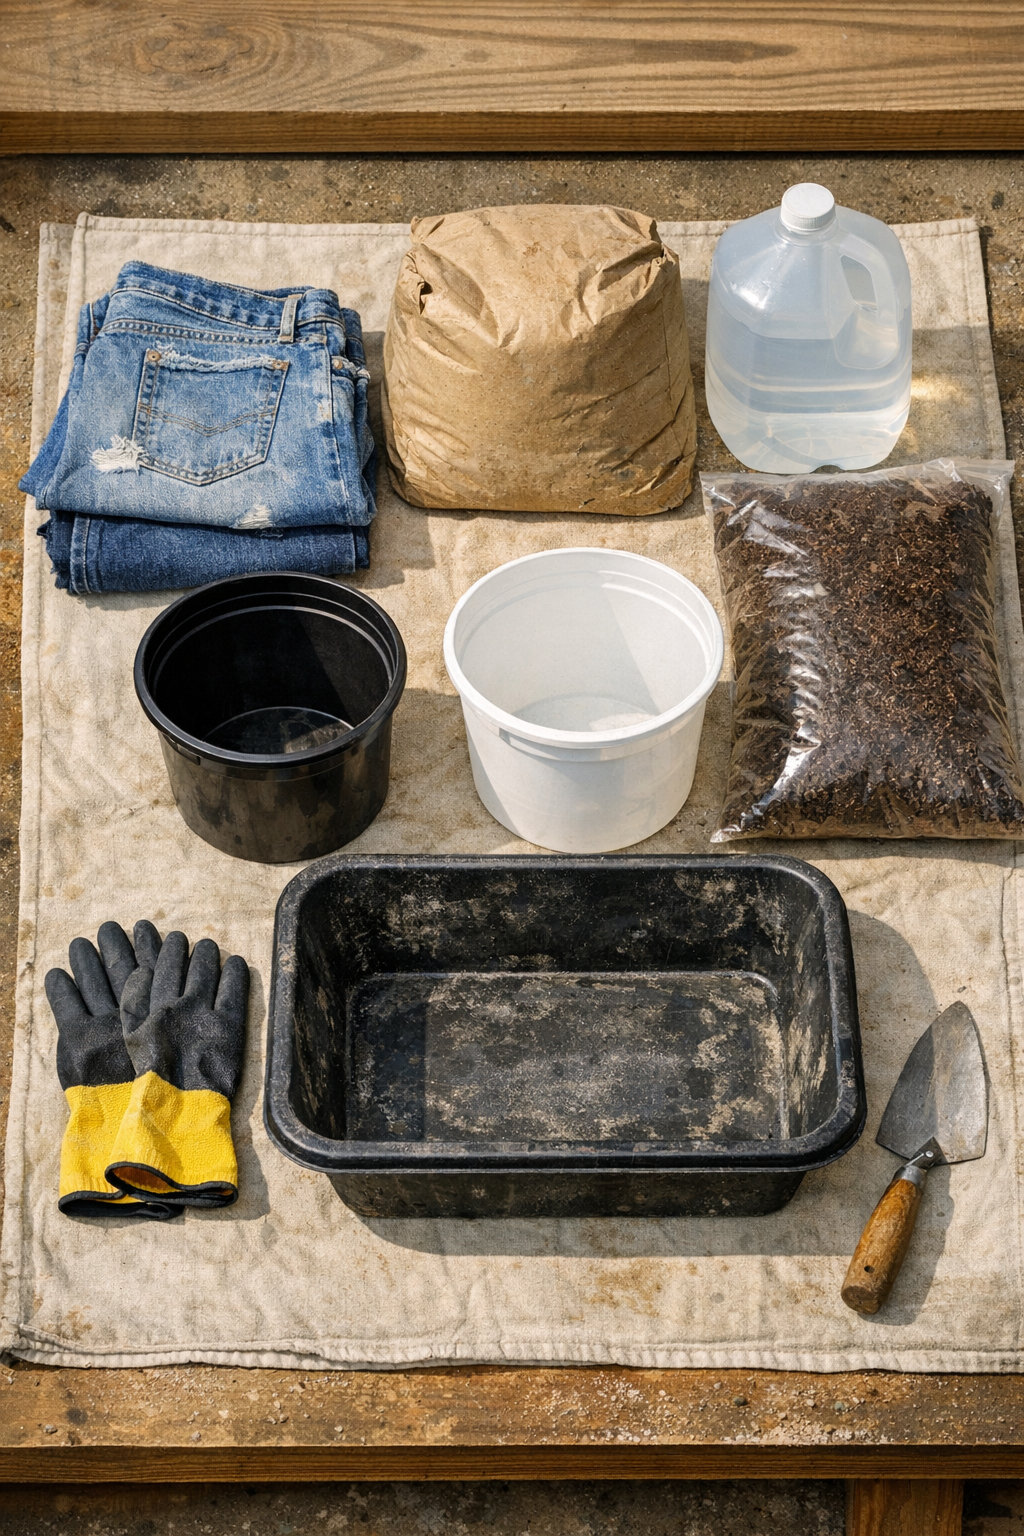
Materials
Instructions
1. Set up your workspace outdoors or in a well-ventilated garage, and spread out the tarp to protect the ground. Place the two buckets upside down on bricks or wood blocks so the denim can drape evenly past the edges.
2. Cut off the legs of each pair of jeans about 2 inches below the crotch seam so you’re left with the top seat portion and short leg sections. Trim away loose threads, but keep the shape rough and natural since that helps the finished vessels look more organic.
3. Lightly coat the outside of each bucket with cooking spray or petroleum jelly so the hardened cement shell releases more easily later. This small step saves a lot of tugging the next day.
4. In the mixing tub, combine the 50-pound bag of cement mix with the peat moss and stir it dry first until the color looks even. Add the water a little at a time and mix until you get a thick, smooth slurry about the consistency of pancake batter or thin oatmeal.
5. Put on gloves and press the first denim piece fully into the cement mixture, working it through the fabric until every section is saturated. Lift it out slowly and let the extra cement drip back into the tub for a few seconds.
6. Drape the saturated denim over the first upside-down bucket, centering the waistband area on top and arranging the folds with your hands. Gently shape the legs and edges so they fall in attractive ripples, because those folds will become the final sculpted form.
7. Repeat the soaking and draping process with the second denim piece over the second bucket. Compare both vessels from all sides and adjust the folds now while the cement is still wet.
8. If you notice any thin spots, pat on extra cement mixture with your gloved hand or a trowel, especially around the rim and lower folds. Aim for an even coating without filling in all the denim texture.
9. Let the pieces dry undisturbed for 24 to 48 hours, depending on temperature and humidity, until they feel hard all the way through. I usually resist the urge to move them too early, because that’s when cracks or flat spots happen.
10. Carefully lift each hardened vessel off its bucket mold and set it upright. If you want to use them as planters, add a few small drainage holes with a masonry bit once fully cured, then place a layer of gravel in the bottom before adding soil and plants.
Variations & Tips
Different mold shapes: Use large bowls, nursery pots, or square containers instead of buckets if you want shorter, wider, or more architectural vessels.
Texture control: For a more rugged look, leave frayed edges and ripped areas visible. For a cleaner finish, trim the denim evenly before soaking.
Color option: Once the vessels are fully cured, dry-brush them with exterior paint in stone, charcoal, or aged white if you want them to blend with other garden pots.
Best plant choices: These work especially well with trailing flowers, succulents, or ornamental grasses that soften the strong cement shape.
Curing tip: If the weather is hot and dry, lightly mist the vessels during the first day so they cure more evenly and are less likely to crack.
Weight reminder: These get heavy fast, so build them close to where you plan to display them. I learned that the hard way after making a pair for my back patio and then deciding they actually belonged by the front walk.