
An outdoor utensil caddy like this is one of those small projects that makes patio meals feel much more put together. I like having forks, knives, napkins, and straws in one place, and mounting galvanized buckets onto a lazy Susan base means everything spins right to where you need it. The drainage holes are especially useful outdoors, since a little rain or a just-rinsed utensil won’t leave water pooling at the bottom.
This is a straightforward build for anyone who wants a functional patio organizer without fussing with complicated joinery. If you’re comfortable measuring, drilling metal carefully, and fastening hardware, you can make this in an afternoon and end up with something sturdy enough for everyday summer use.
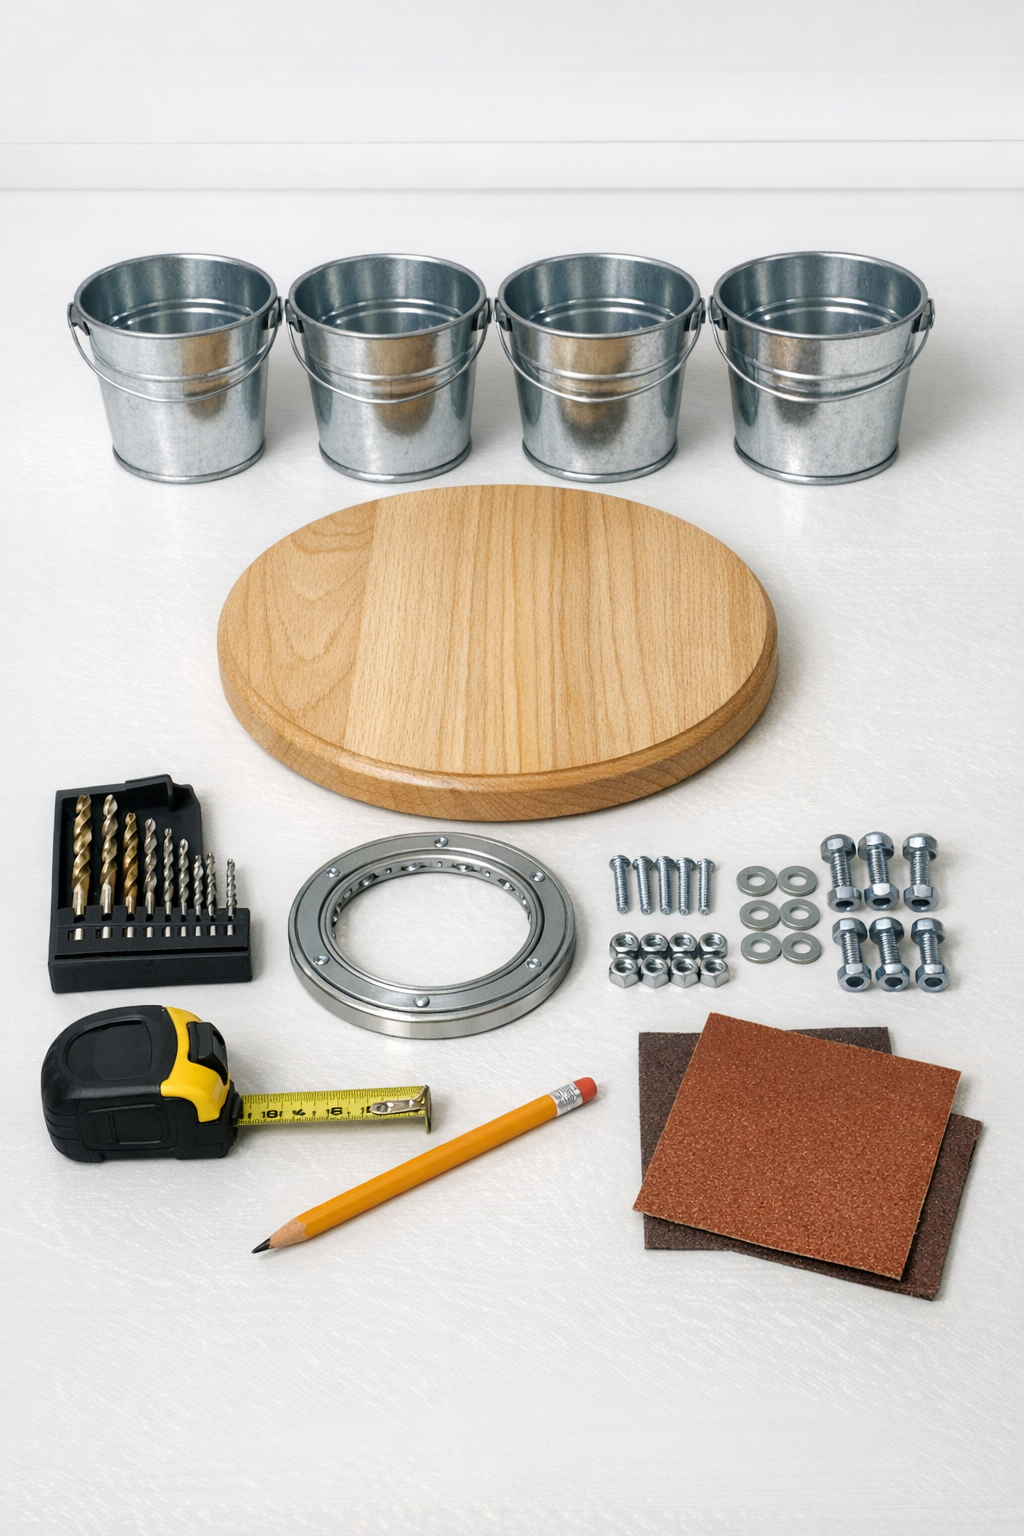
Materials
4 small galvanized steel buckets, 5 to 6 inches tall and 5 inches across
Instructions
1. Sand the round wood base first with 120-grit and then with 220-grit sandpaper until the edges and surfaces feel smooth. Wipe away all dust so the finish goes on cleanly.
2. Apply two light coats of exterior-grade clear sealer to the wood base, letting it dry between coats according to the label. This extra step is worth it on a patio, especially in the Midwest where damp air has a way of finding unfinished wood.
3. Find the center of the wood base and position the lazy Susan bearing there. Mark the screw holes, then predrill shallow pilot holes if needed and attach the bearing with the #8 x 1/2 inch wood screws.
4. Turn the base right side up and arrange the four buckets evenly around the outer edge, leaving equal spacing between them. Trace each bucket’s mounting points by marking two opposite spots near the lower side of each bucket, about 1 inch up from the bottom.
5. Place painter’s tape over each drill location on the buckets to help keep the bit from skating on the metal. Drill two mounting holes in each bucket, then drill 3 to 5 small drainage holes in the bottom of each one.
6. Smooth any rough edges around the drilled holes with sandpaper or a deburring tool so the metal is safe to handle. I never skip this, because even a tiny burr on thin metal can be surprisingly sharp.
7. Set the buckets back onto the base in their marked positions and transfer the hole locations to the wood. Drill matching holes through the wood base for each bucket.
8. Bolt each bucket to the wood base using 8-32 x 1/2 inch machine bolts with a washer on each bolt and a lock nut underneath. Tighten them until snug, but don’t over-tighten and dent the buckets.
9. Flip the project over and add the adhesive rubber feet to the underside so the base sits nicely and protects your table. Test the spin and make sure nothing rubs or catches.
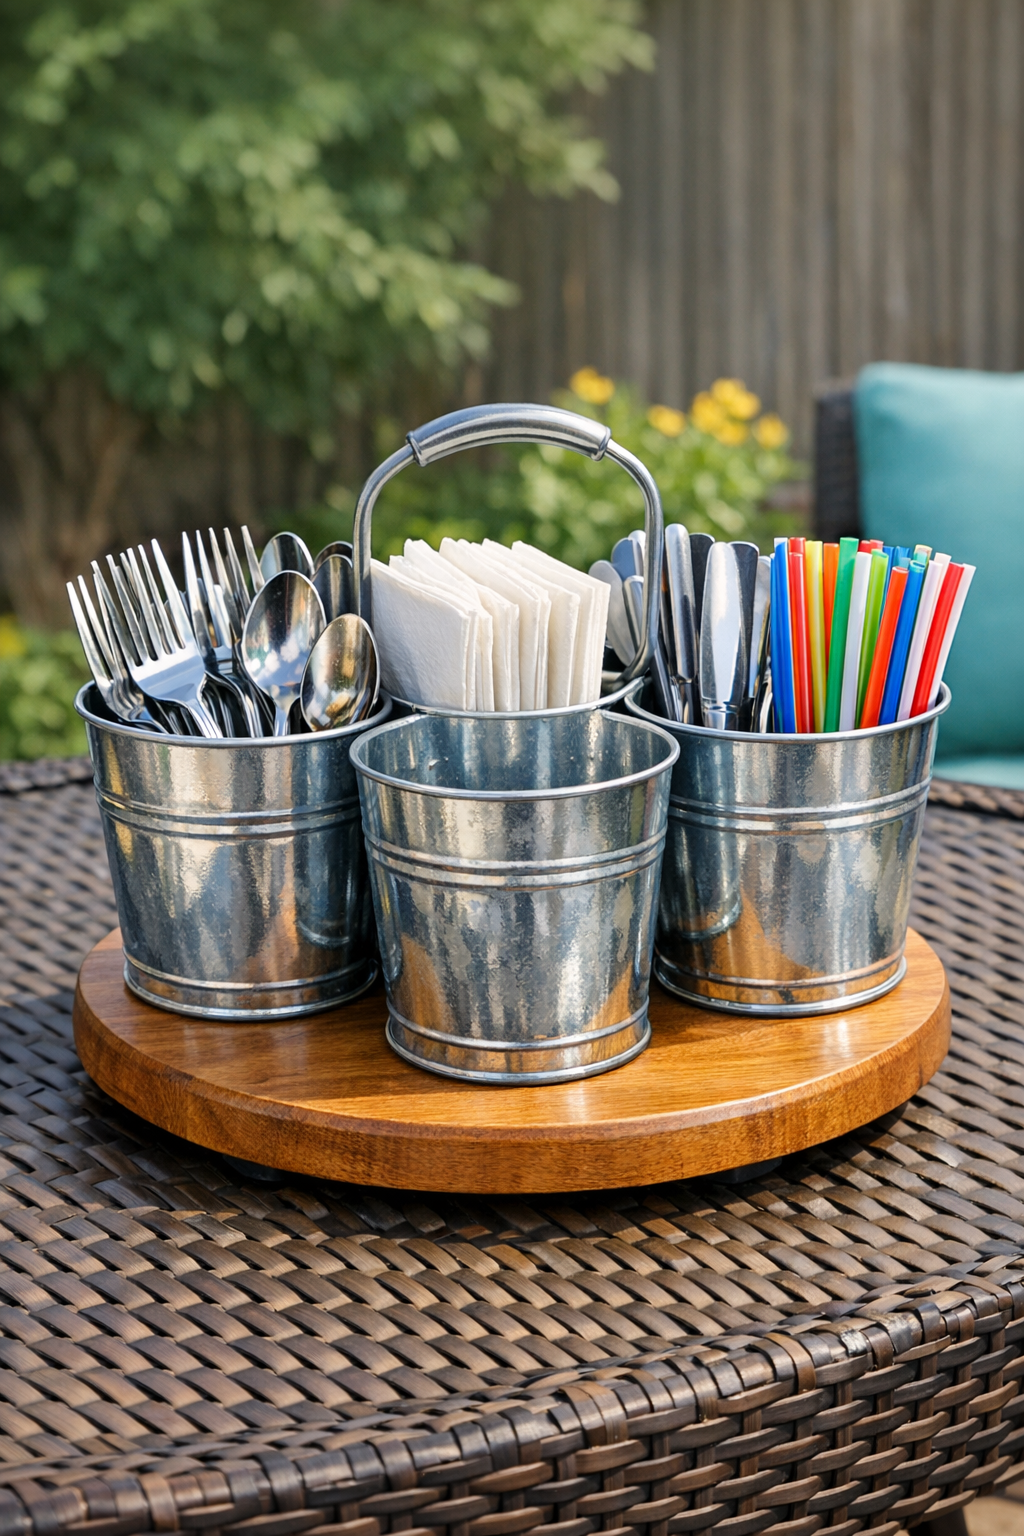
10. Load the buckets with utensils, napkins, condiment packets, or drink stirrers, and place the caddy at the center of your patio table. The finished piece should rotate smoothly and let everyone reach what they need without passing things around.
Variations & Tips
Add a center container: If your base is large enough, leave room in the middle for a mason jar or small planter pot to hold fresh herbs, flowers, or extra straws.
Use a painted base: Instead of clear sealer, paint the wood with exterior paint in a color that matches your patio cushions or tableware. Let it cure fully before assembling.
Choose stainless hardware: For outdoor projects, stainless bolts, nuts, and screws hold up much better than basic zinc-plated hardware. It costs a little more, but it saves you from rust stains later.
Size the buckets to your utensils: Shorter buckets work nicely for flatware, while slightly taller ones are better for grilling tools or rolled napkins. I like testing the fit with the actual items before drilling any holes.
Improve drainage: If your caddy will stay outside most of the season, add a few extra bottom holes and avoid storing paper napkins in the buckets during rainy weather.
Make cleaning easier: Drop in removable plastic cups or repurposed food containers inside the buckets if you want to wash the inserts instead of wiping out the metal each time.