
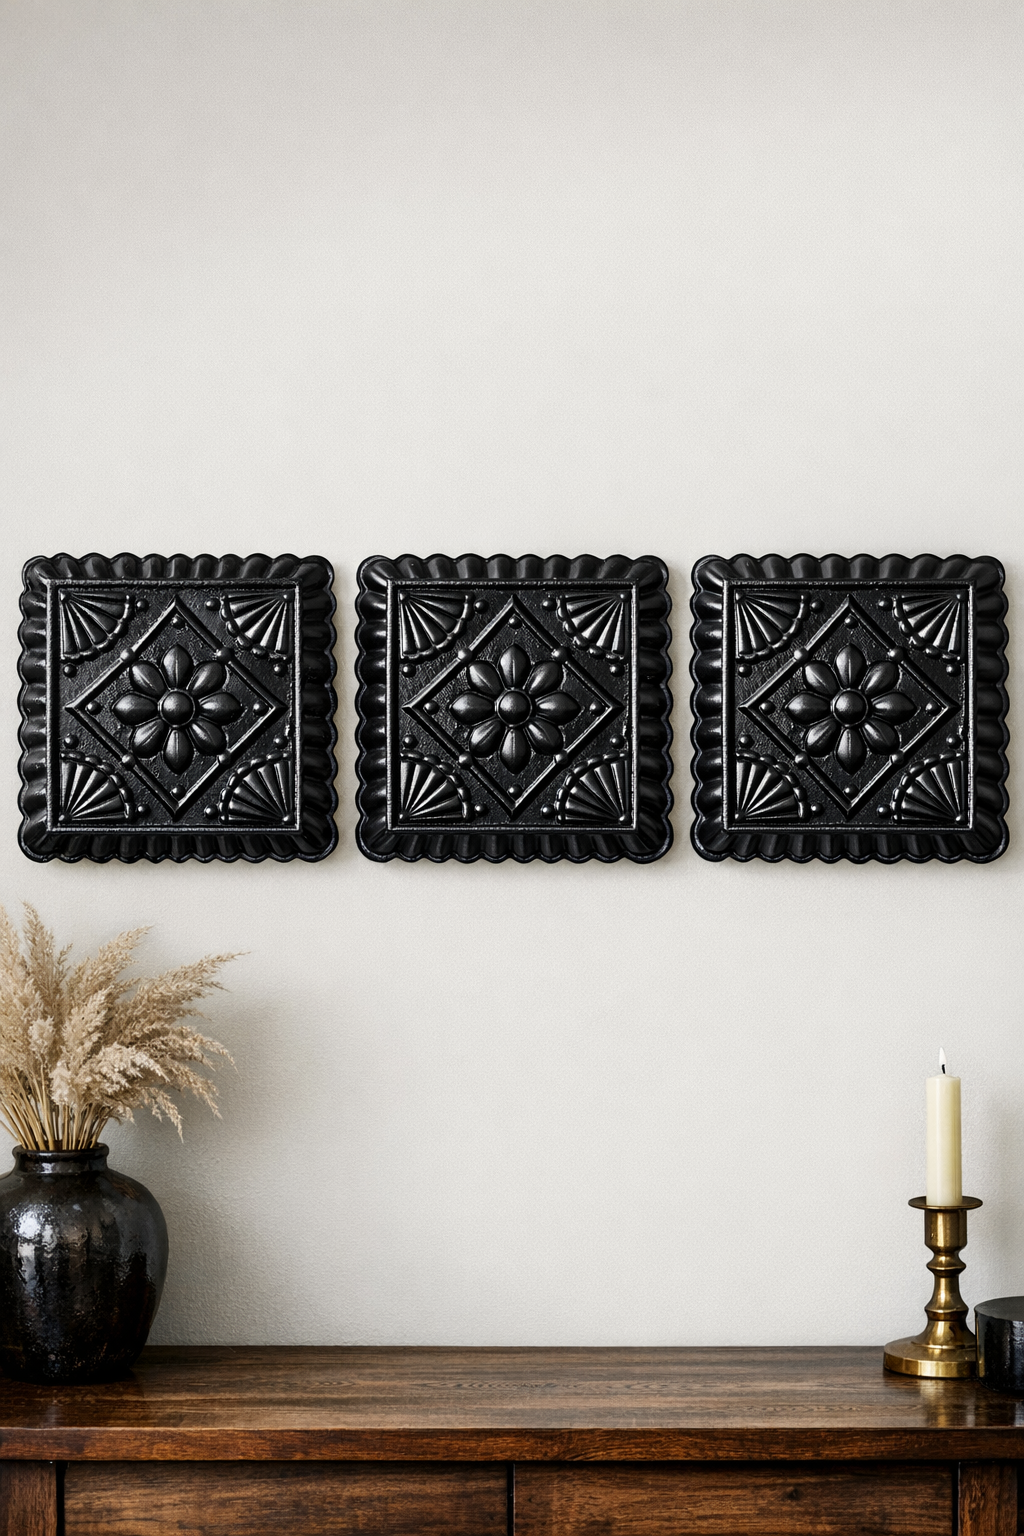
I love a decorating project that gives me the look of something architectural and old-world without the price tag or the weight, and these faux stamped tin wall panels do exactly that. By cutting up fluted aluminum baking pans and pairing them with two everyday household basics, you can make lightweight wall panels that mimic vintage pressed metal surprisingly well.
This is a good project for renters, budget decorators, and anyone who enjoys a clever upcycle with a dramatic payoff. The technique is simple, the materials are easy to find, and the finished panels work beautifully as a small accent over a coffee bar, in a hallway, or tucked into a gallery wall where you want a little shine and texture.
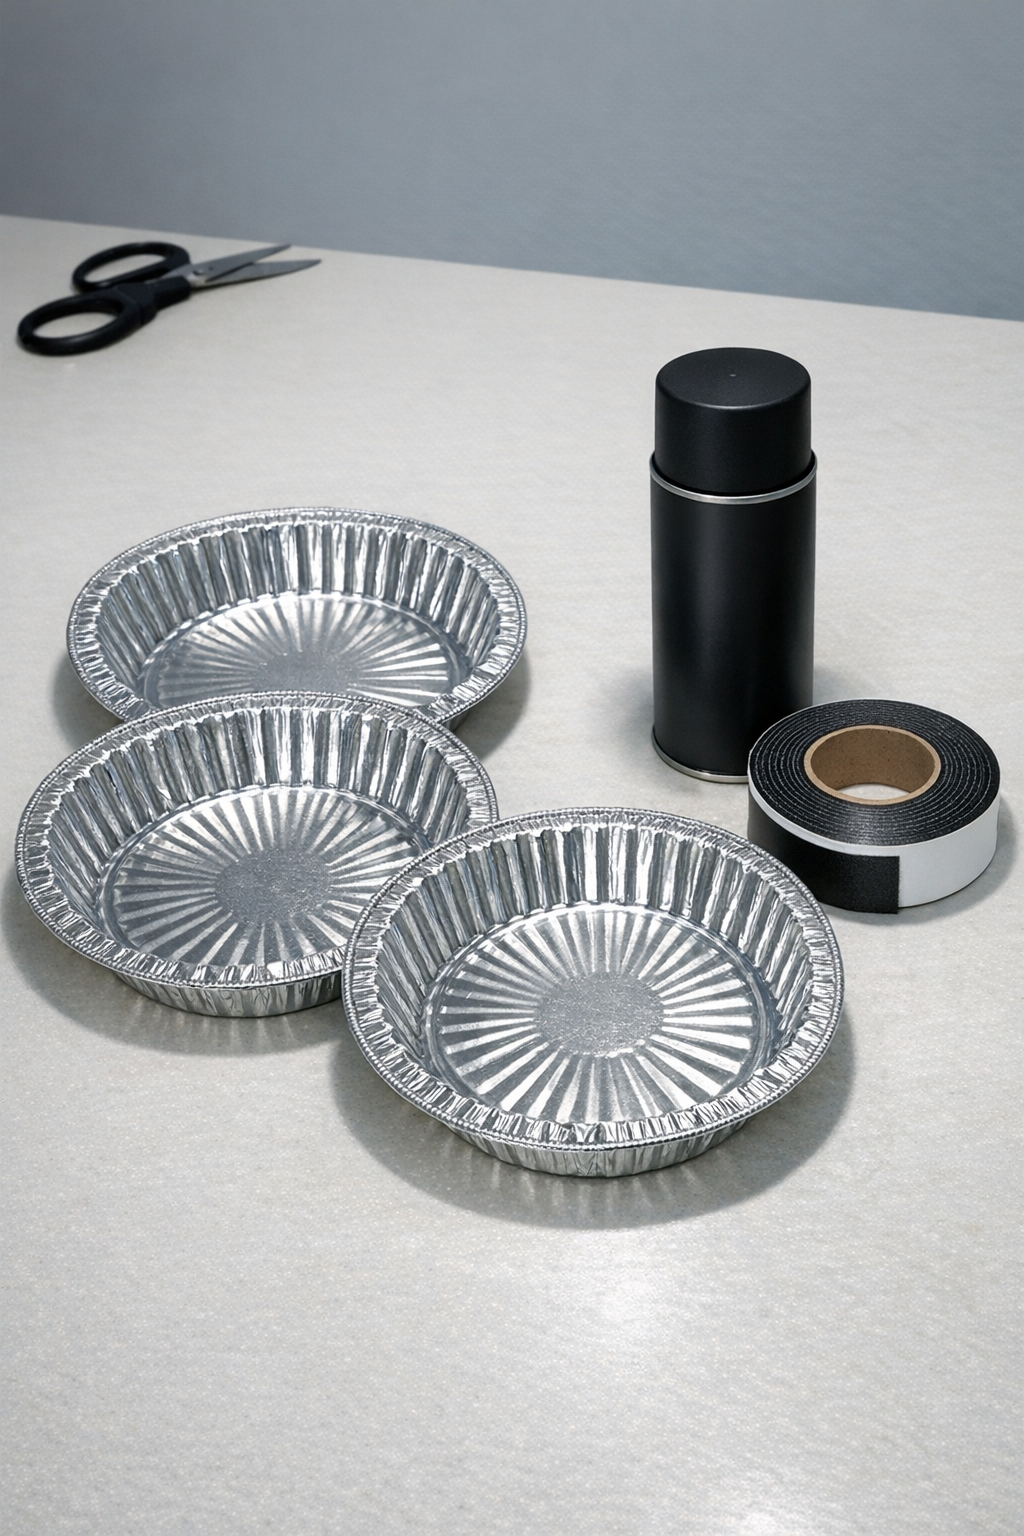
Materials
Instructions
1. Set up your work area with cardboard or a drop cloth in a well-ventilated space, then wash and dry the aluminum pans so the paint will stick cleanly.
2. If the pans feel slick, lightly scuff the raised surfaces with 220-grit sandpaper and wipe away any dust with a dry cloth.
3. Trim off the rolled top rim from each baking pan, then cut down one corner so you can open the pan and flatten it into a rectangular sheet.
4. Press each cut pan gently by hand to flatten it as much as possible, keeping the fluted pattern intact rather than forcing it perfectly smooth.
5. Spray a light first coat of matte black paint over all three aluminum sheets from about 8 to 10 inches away, then let them dry for 15 minutes.
6. Apply a second light coat for even coverage, then let the pieces dry completely for 30 to 45 minutes.
7. Once dry, flex each panel slightly to create a more relaxed, aged-metal look, but avoid deep bends or sharp creases.
8. Turn the panels over and apply strips of double-sided mounting tape around the edges and one strip through the center of each piece for support.
9. Mark your wall lightly with pencil so the three panels will hang evenly, leaving about 1 to 2 inches between each panel.
10. Peel the tape backing from the first panel, press it firmly onto the wall, and hold it in place for 30 seconds before repeating with the remaining two panels.
11. Step back and make any tiny alignment adjustments immediately, then press along all edges to secure the panels flat against the wall.
Variations & Tips
Antique silver finish: If you want the panels to read more like real tin, spray them silver first and then mist very lightly with black, wiping the high spots before the paint fully dries.
Smaller accent pieces: I sometimes cut one pan into two or three sections and mount them in a grid, which works well in narrow spaces like between shelves or above a light switch.
Safer cutting: Aluminum pan edges can be surprisingly sharp, so cut slowly and fold any jagged corners under before handling the pieces too much.
Better adhesion: Mounting tape works best on smooth, clean walls; if your wall is heavily textured, use removable adhesive strips rated for lightweight metal or display the panels inside a frame instead.
Layered look: For more dimension, overlap two flattened sections slightly before mounting them, almost like patched vintage ceiling tiles.
Placement tip: These panels catch light beautifully, so I like to hang them where a lamp or window can skim across the ridges and emphasize that stamped-metal effect.