
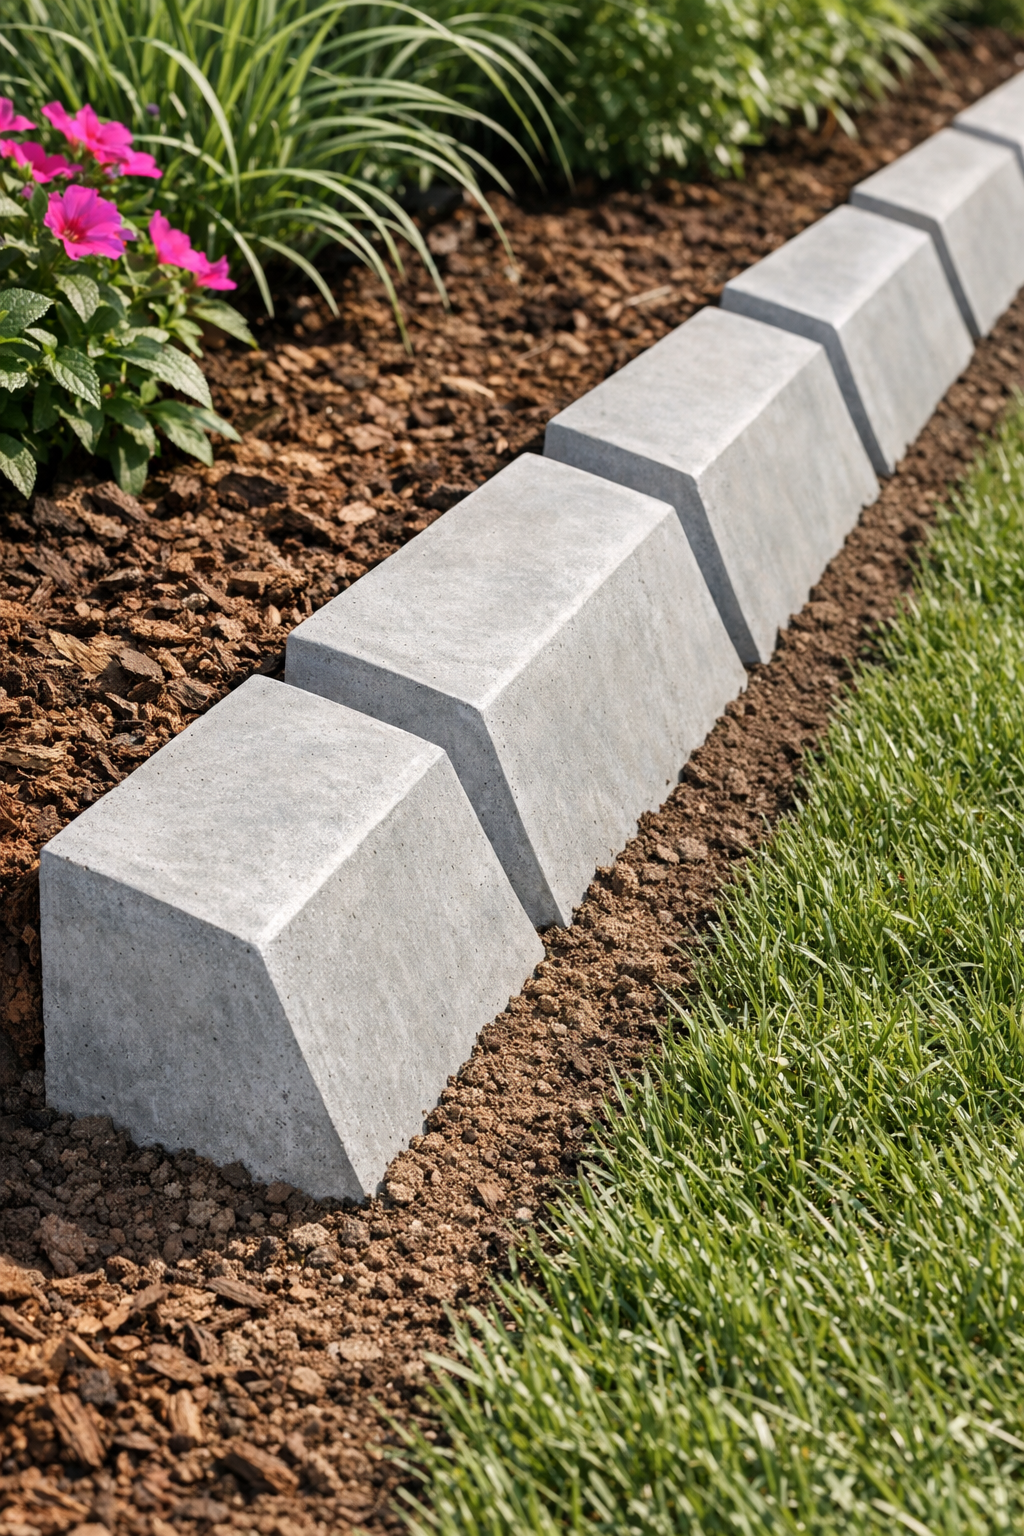
I love a project that turns humble materials into something that looks far more expensive than it is, and this angled landscape edging does exactly that. By folding scored corrugated plastic yard signs into simple forms and filling them with cement, you get sturdy, weighty edging pieces that sit beautifully along a bed, path, or patio border.
What makes this one especially satisfying is how accessible it is. If you have a few old corrugated plastic signs, a bag of cement mix, and a little patience for curing time, you can make crisp, modern edging with a nice slanted profile. I’m always drawn to practical projects like this one—the kind that solve a garden problem and still look polished when you’re done.
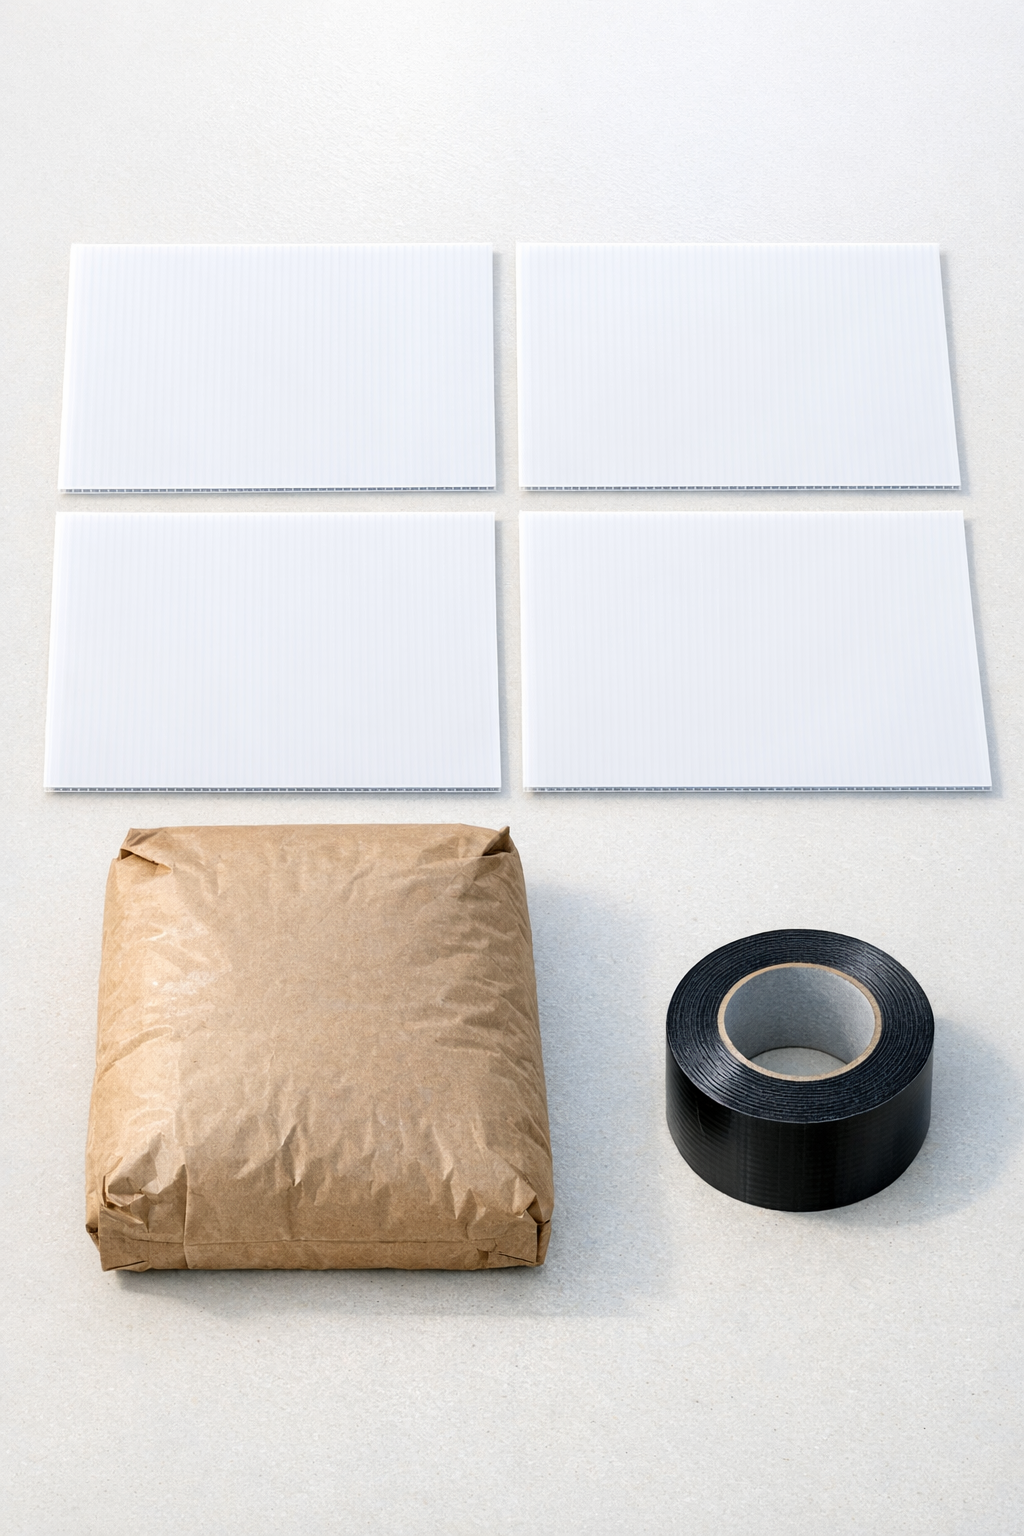
Materials
4 corrugated plastic yard signs, approximately 18 x 24 inches each
Instructions
1. Clean the corrugated plastic signs and remove any metal stakes, stickers, or loose dirt so the folded forms will sit flat and seal well.
2. Lay one sign with the flutes running side to side, then score a straight line lengthwise down the center of the face on one side only, cutting through the top layer but not all the way through.
3. Fold the sign along the scored line to create a long V-shaped channel with a steep angle, then tape both short ends closed so wet concrete cannot leak out.
4. Repeat with the remaining signs so you have four identical molds, and lightly coat the inside of each one with cooking spray or a thin film of oil for easier release later.
5. Set the molds on a flat protected surface, propping them gently with scrap wood, bricks, or rolled towels if needed so the angle stays consistent while filling.
6. Mix the concrete in a bucket or tub according to the bag directions, adding water gradually until it reaches a thick brownie-batter consistency that can be scooped without being runny.
7. Scoop the concrete into each V-shaped mold, filling to about 1/2 inch below the top edge, then tap the sides firmly to release trapped air and settle the mix.
8. Smooth the top with a small trowel, putty knife, or scrap wood so each edging piece has an even back edge that will sit steadily in the soil.
9. Let the pieces cure undisturbed for 24 to 48 hours, or until they are firm enough to handle without flexing or chipping at the edges.
10. Peel away the tape and plastic molds carefully, then let the concrete edging continue curing for another 3 to 5 days before installing for best strength.
11. Dig a shallow trench along the garden edge, set each angled concrete piece tightly side by side with the sloped face showing, and backfill with soil to lock them in place.
Variations & Tips
Make shorter sections: If you want easier handling, cut the plastic signs down and make edging pieces 12 to 18 inches long instead of full length. Shorter segments are simpler to unmold and fit curves better.
Add reinforcement: For pieces that will be moved often or installed in high-traffic areas, press a length of galvanized wire mesh or a few short pieces of metal hardware cloth into the center of the wet concrete.
Refine the finish: If you like a cleaner look, rub the cured pieces lightly with a sanding stone or concrete rubbing block to soften sharp edges. I do this when I want a more finished, store-bought appearance.
Control the angle: A wider fold creates a lower, broader wedge, while a tighter fold makes a taller, sharper profile. Test one mold first before filling the whole batch so you like the proportions.
Install on curves: For gently curved beds, use shorter pieces and leave a very small gap between sections. Once backfilled, the line still reads as continuous.
Mind the mix: Concrete that is too wet is the quickest way to get weak, crumbly edging. Keep it thick enough to hold shape in the mold, which is the same principle I rely on in the kitchen when I don’t want a batter to spread too far.