
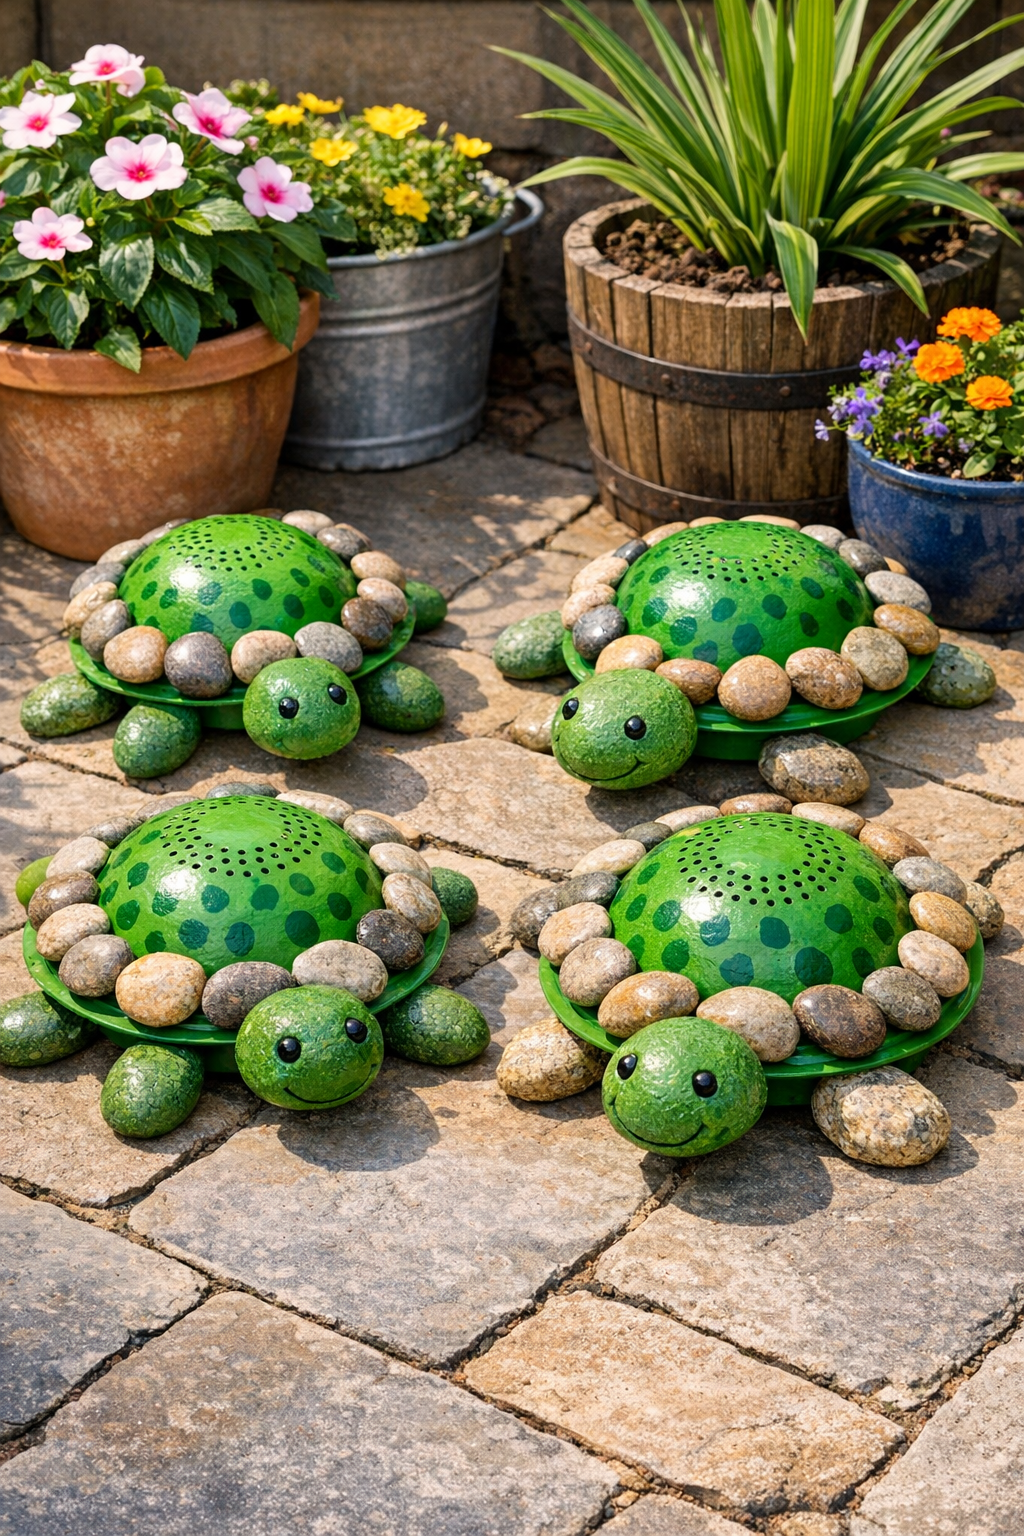
These oversized decorative turtles are one of those backyard projects I love because they ask for very little skill, use inexpensive materials, and make a patio corner look surprisingly playful and polished. In this version, I turn four cheap plastic kitchen colanders into turtle shells and pair each one with smooth river rocks to suggest the head and legs. The result is a set of sturdy garden accents that can sit among potted herbs, edge a walkway, or fill an awkward bare patch near the deck.
As someone who spends plenty of time thinking about presentation in the kitchen, I’m always amused when a humble kitchen item finds a second life outdoors. If you’re comfortable with basic painting and gluing, this is an easy afternoon project. It’s especially good for anyone who wants big visual impact without hauling lumber, mixing concrete, or fussing with power tools.
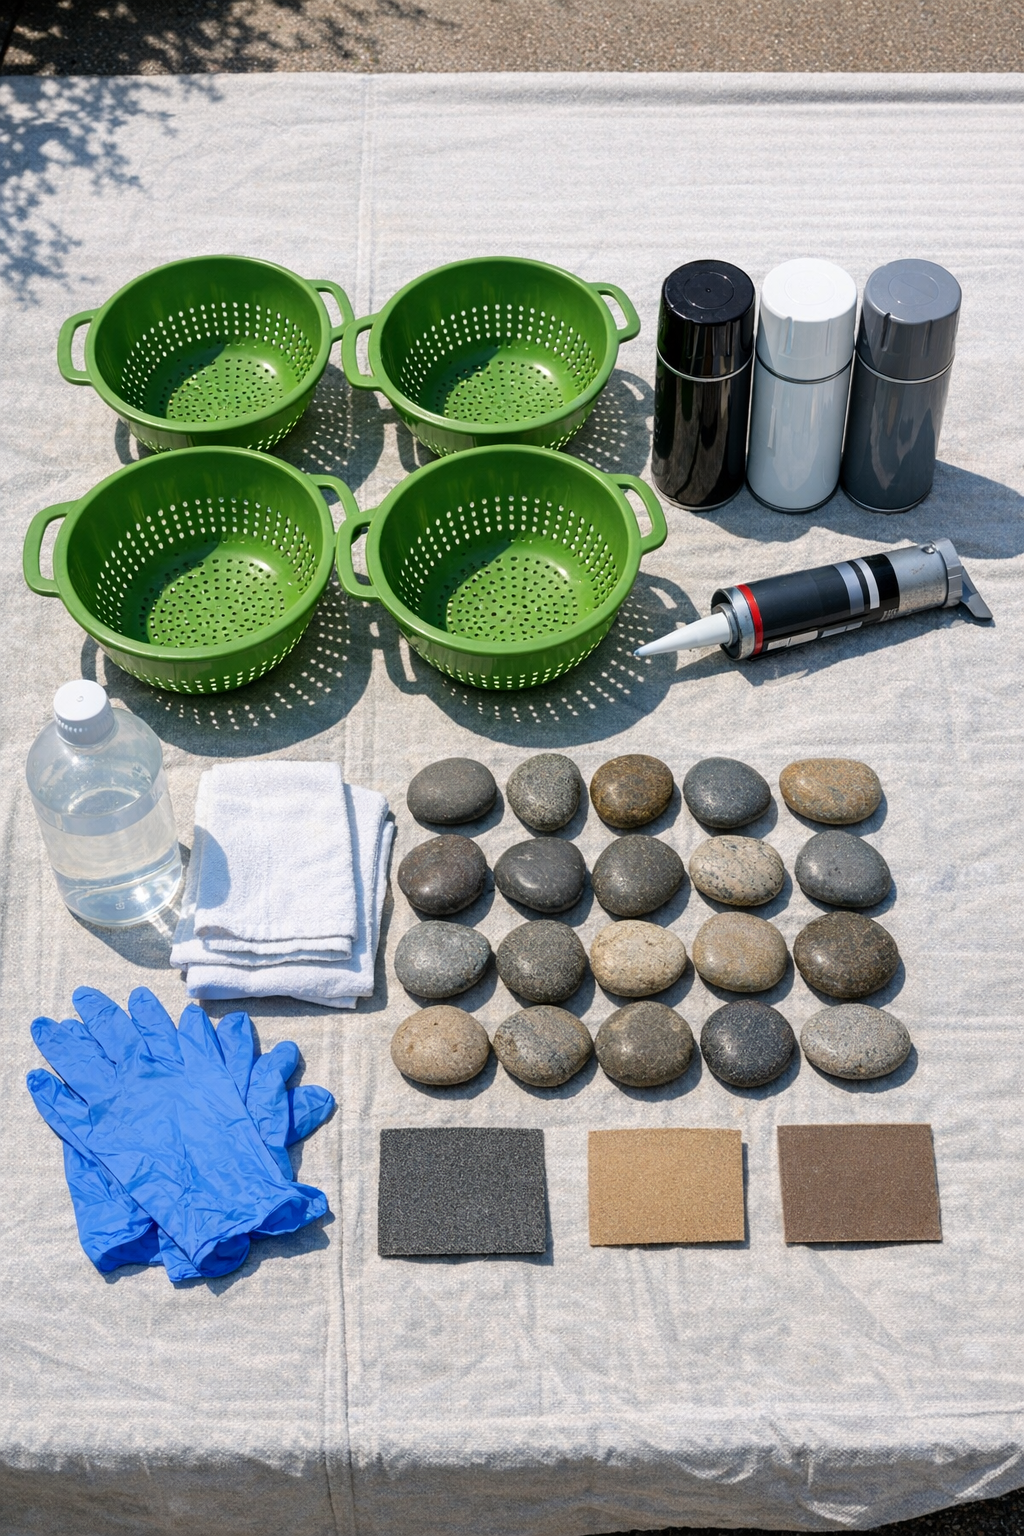
Materials
Instructions
1. Wash the four colanders with warm soapy water, rinse them well, and let them dry completely so paint and adhesive will bond properly.
2. Wipe each colander down with rubbing alcohol, then lightly scuff the outside surface with 220-grit sandpaper to give the spray paint a better grip.
3. Spread the tarp in a well-ventilated outdoor area and place the colanders upside down so the rounded backs will become the turtle shells.
4. Spray the outside of each colander with a light first coat of plastic-bonding paint, holding the can 8 to 10 inches away and moving in steady passes.
5. Let the first coat dry according to the can directions, then apply a second coat for fuller, more even coverage.
6. Once the color coat is dry, spray each colander with a clear outdoor sealer and allow it to cure fully so the finish holds up better on a patio or in the garden.
7. Sort the sixteen river rocks into four matching sets of four, choosing one slightly longer rock for a head and three similar rocks for the legs and tail area of each turtle.
8. Turn one colander upside down and dry-fit four rocks around the lower edge until the arrangement looks balanced and turtle-like from the side.
9. Apply a generous bead of exterior adhesive to the contact point on the first rock and press it firmly against the colander’s lower rim; repeat with the remaining three rocks.
10. Hold each rock in place for several seconds, then check that the turtle sits evenly and make small adjustments before the adhesive starts to set.
11. Repeat the layout and gluing process for the remaining three colanders until you have four complete decorative turtles.
12. Let the adhesive cure for the full time recommended on the package before moving the turtles to the yard, planter bed, or patio display area.
Variations & Tips
Shell color: If your colanders are already green, I still like adding a richer moss, olive, or sage topcoat because it makes the finished turtles look more intentional and less like repurposed kitchenware.
Adhesive choice: Use an adhesive rated for plastic and stone and safe for outdoor exposure. Hot glue is tempting for speed, but it usually will not hold up through heat, rain, and seasonal changes.
Rock selection: The smoother and flatter the river rocks, the easier they are to glue securely. I’d avoid sharply rounded stones because they shift more while curing.
Placement tip: These look best when they seem to “wander” naturally. I like grouping two near a planter and placing the other two a few feet away so the arrangement feels relaxed rather than too symmetrical.
Extra detail: If you want more shell definition, add subtle darker green striping or mottling after the base coat dries. A light hand works best here; think of it the way you’d finish a dish with garnish rather than bury it.
Weather care: In a harsh Midwest winter, I’d bring them into a shed or garage if possible. They’re decorative rather than structural, and a little seasonal protection helps the finish last much longer.
Kid-friendly version: If children are helping, let them choose the rock arrangement and shell colors, but keep the spray painting and adhesive work for adults or for a very well-supervised outdoor setup.