
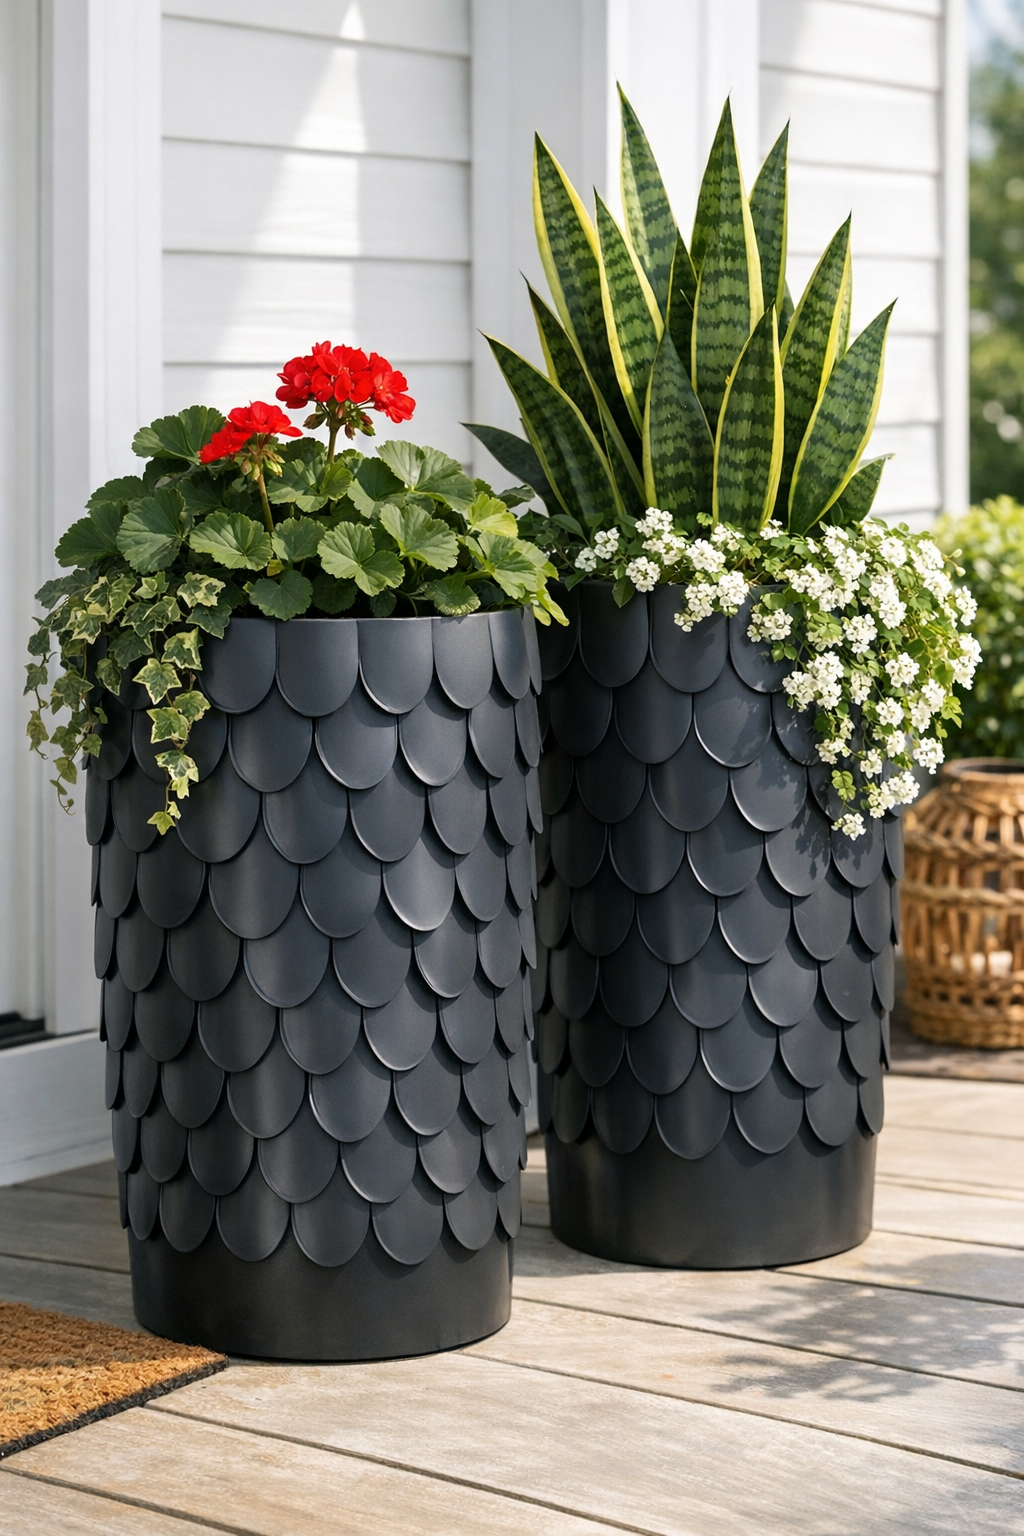
There’s something deeply satisfying about turning the most ordinary, almost throwaway material into something that looks tailored and architectural. For this project, I use inexpensive plastic soup spoons, matte charcoal spray paint, and two plain nursery pots to create a pair of modern scalloped porch planters with a lot more presence than their cost suggests. The finished texture reads a bit like layered tile or fish-scale cladding, and from a few steps back, most people would never guess they started as disposable spoons.
I especially like this kind of porch project because it gives you a dramatic result without requiring power tools or advanced building skills. If you’re comfortable spray-painting neatly and working in steady rows with glue, you can absolutely make these. It’s a good weekend project for anyone who wants a more custom look at the front door, on a balcony, or flanking a garage entry.
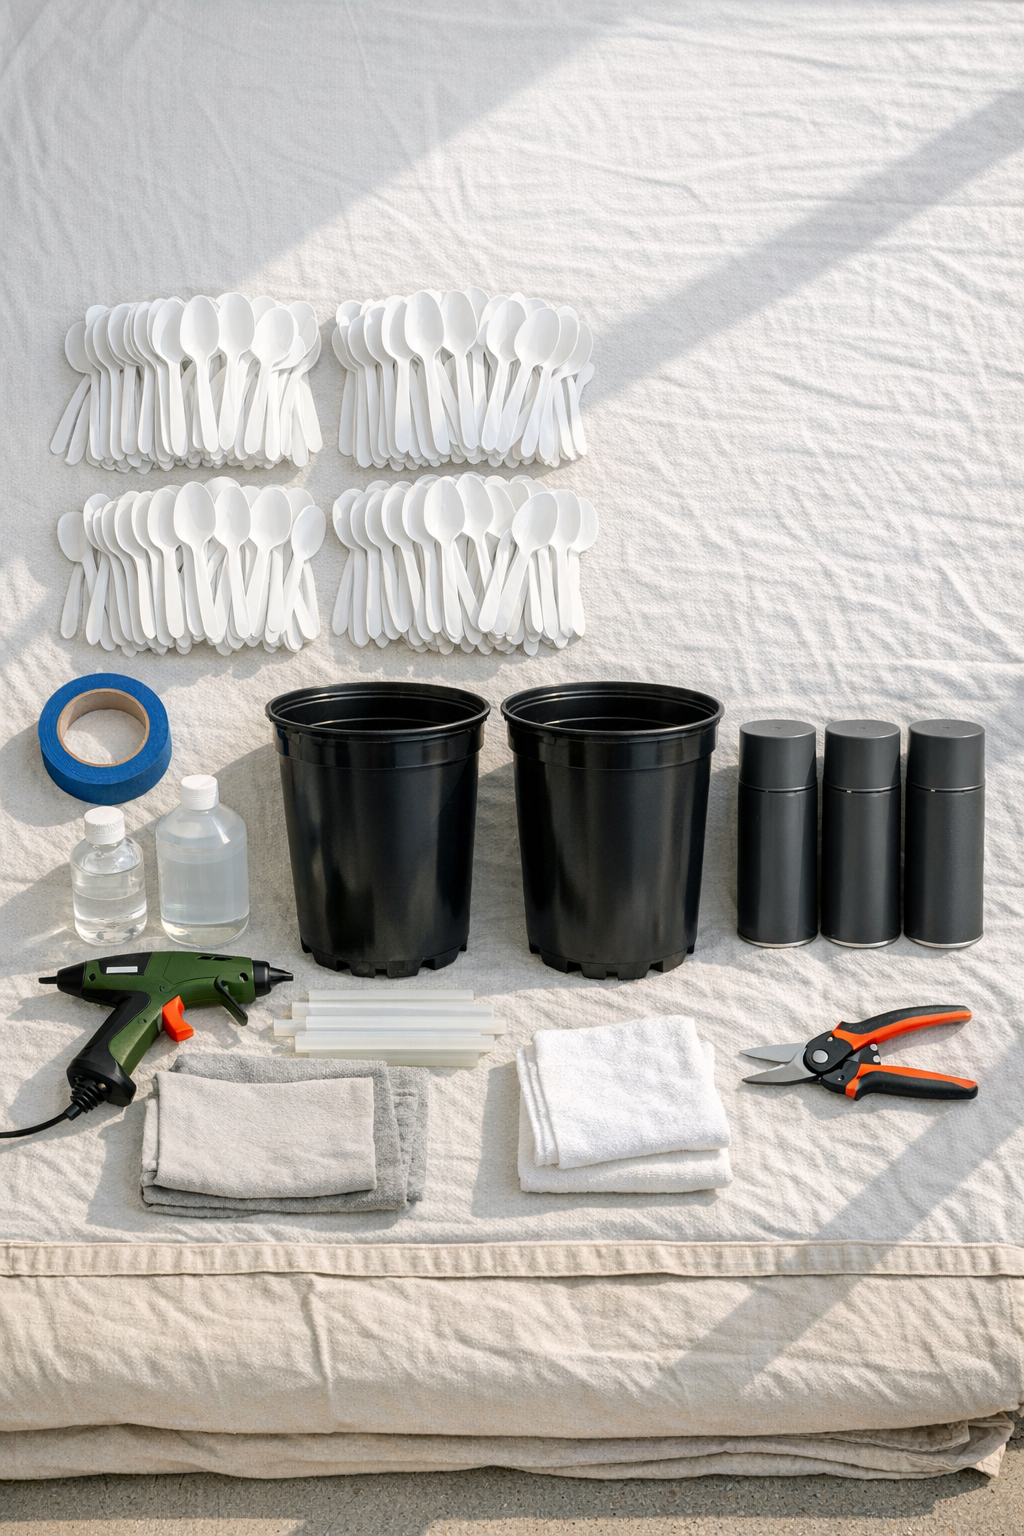
Materials
400 cheap plastic soup spoons, full-size, disposable
Instructions
1. Wash the nursery pots and all 400 plastic spoons with warm soapy water, then let them dry completely so paint and glue will adhere properly.
2. Wipe the outside of the pots and the backs of the spoon bowls with rubbing alcohol to remove any remaining residue or mold-release film.
3. Set up a spray-painting area outdoors or in a very well-ventilated space using a drop cloth or large cardboard sheet, and keep the spoons in a single layer for even coverage.
4. Spray-paint the spoons matte charcoal gray in light, even passes, coating the front, back, and handles; let them dry, then flip and touch up any thin spots.
5. If you want the pots to disappear visually beneath the spoon layer, lightly spray-paint the outside of the nursery pots in the same matte charcoal gray and let them dry fully.
6. Trim off the spoon handles with heavy scissors or pruning shears, cutting each handle close to the bowl so you’re left with a rounded scallop shape.
7. Mark a straight guideline around the bottom of each pot about 1 inch above the base, using painter’s tape as a visual reference for your first row.
8. Glue the first row of spoon heads around one pot, overlapping the edges slightly and keeping the rounded ends facing downward to form an even scalloped border.
9. Continue adding rows upward, offsetting each spoon head so the seams land between the pieces below, like shingles or fish scales.
10. Work in small sections so the glue stays workable, and check every few rows from a short distance to keep the pattern level all the way around.
11. Stop the top row about 1/2 inch below the rim, or cover the rim completely if you prefer a fully wrapped look; if needed, trim a few spoon heads slightly to fit the final gaps neatly.
12. Repeat the gluing process on the second pot, matching the row spacing and overlap so the pair looks intentional and balanced.
13. Let both planters cure fully according to your adhesive or glue instructions before moving or planting them.
14. Place your plants in the pots, either directly with potting soil or by dropping in a fitted nursery container, and fluff the top layer of soil for a clean finished look.
Variations & Tips
Adhesive choice: For a quick indoor assembly, high-temp hot glue is convenient, but for long-term outdoor use I prefer an exterior-grade adhesive rated for plastic, especially in a Midwest climate where temperature swings can be hard on shortcuts.
Color variation: Matte charcoal gray gives these planters a modern, stone-like look, but matte black, warm greige, or a soft olive can be beautiful if you want them to relate to your siding or front door.
Spoon count: Four hundred spoons is a smart starting estimate for two tall pots, but the exact number depends on pot size and how much overlap you use; I always buy one extra pack so I’m not rationing pieces near the top.
Paint finish: Several light coats will look cleaner than one heavy coat. In cooking, I’m always talking about building flavor in layers, and this project works much the same way; thin, patient layers give you the best final result.
Drainage tip: Make sure the original nursery pots still drain freely, and don’t glue over any bottom drainage holes. These are decorative upgrades, but the plants still need practical containers underneath.
Plant pairing: Upright grasses, ferns, snake plants, or trailing ivy all look striking against the repeating scalloped texture. I like choosing foliage with a distinct shape so the planter pattern doesn’t get visually lost.
Weather protection: If your porch gets intense sun or driving rain, a clear matte outdoor sealer can help the painted spoon surface hold its finish longer.
Best layout method: Before gluing, dry-fit a full row around the pot to see your spacing. That tiny bit of planning reminds me of mise en place in the kitchen: once everything is set up, the actual assembly goes much more smoothly.