
I love a project that gives a patio that little bit of magic without turning into a whole weekend of complicated power tools, and this outdoor chandelier does exactly that. The idea is simple: paint a few wooden embroidery hoops, stack and suspend them into a light fixture shape, then thread solar string lights through the frames so the whole piece glows at night. It looks much more expensive than it is, and because it runs on solar power, you do not have to fuss with wiring.
This is a great project if you want outdoor decor that feels cozy and polished but still approachable for a busy schedule. I’m always looking for ways to make our backyard feel finished before friends come over for dinner, and this is one of those DIYs that gives you a big visual payoff for a pretty manageable amount of work.
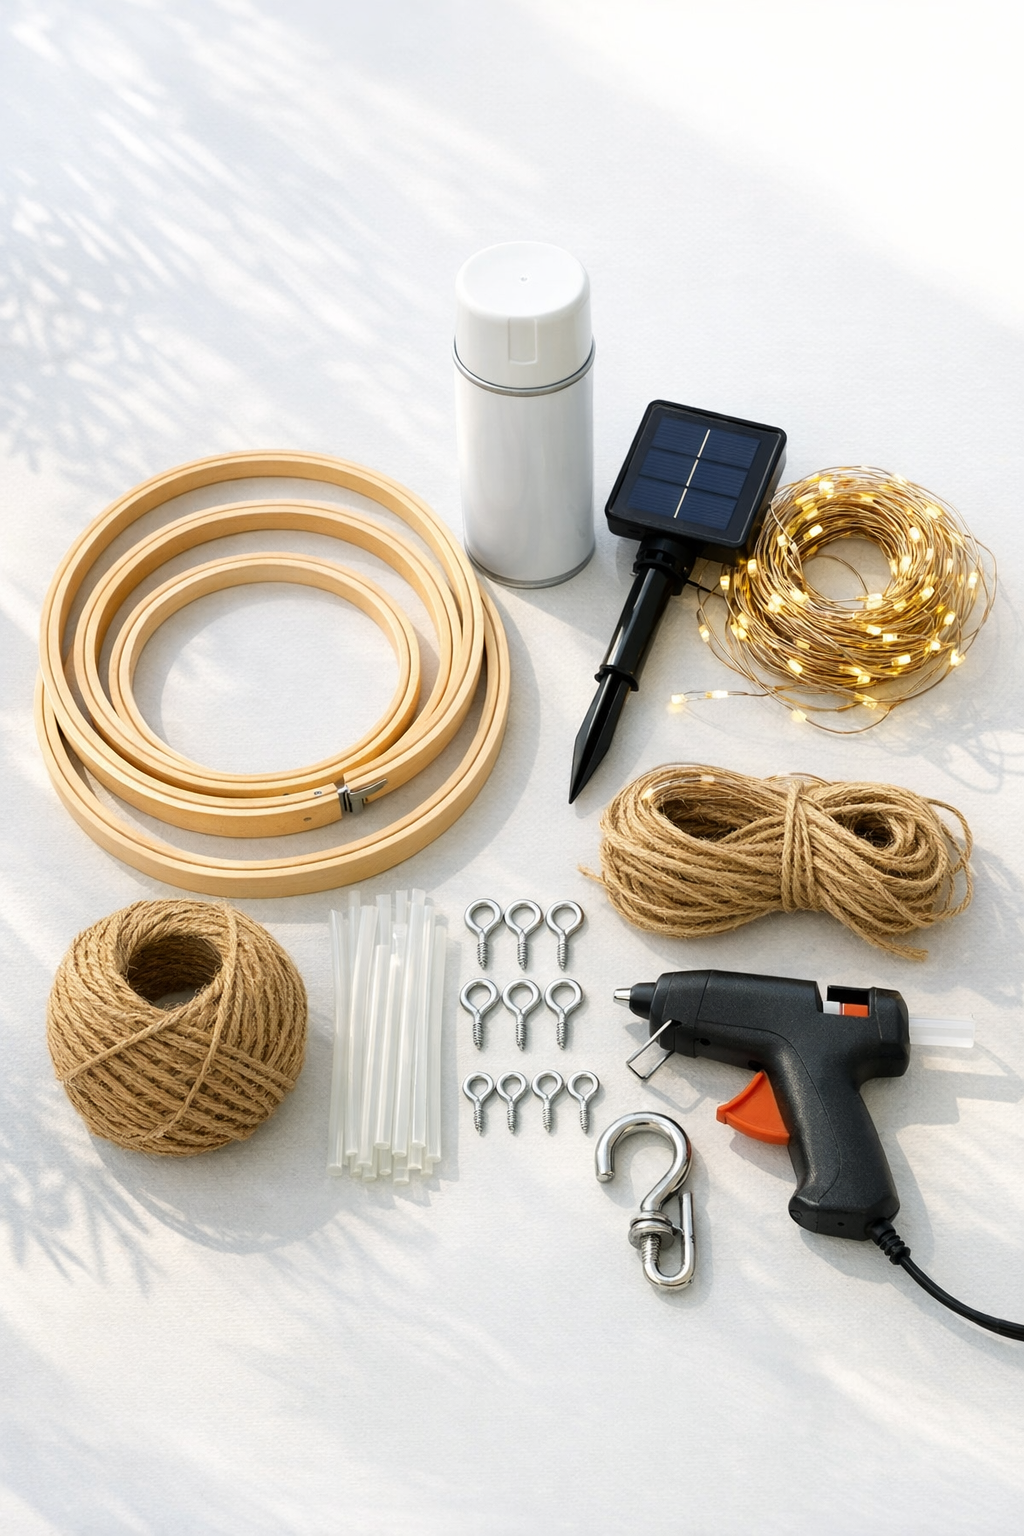
Materials
1 wooden embroidery hoop, 14 inches in diameter
Instructions
1. Separate the embroidery hoops if they have inner and outer rings, then choose one ring from each size for the chandelier. Wipe each hoop clean and spray with 2 light coats of outdoor paint, letting them dry fully between coats.
2. Lay the largest hoop flat, center the medium hoop inside it, and place the smallest hoop inside the medium one to create a tiered chandelier shape. Adjust the spacing until the circles look balanced from every angle.
3. Attach the medium hoop to the large hoop with 3 evenly spaced zip ties, then attach the small hoop to the medium hoop the same way. Pull the ties snug so the hoops stay centered, and trim the tails neatly.
4. Tie one 3-foot length of jute twine to the large hoop at three evenly spaced points around the top edge. Gather the loose ends together above the center and knot them securely, checking that the chandelier hangs level.
5. Twist a small screw eye hook into the top of each twine tie point on the large hoop if the wood is thick enough, or reinforce each twine knot with a dab of hot glue if needed. Let any glue cool completely before moving the frame.
6. Start at the solar panel end of the light strand and weave the wire over and under the hoops, wrapping it around each ring every few inches to distribute the lights evenly. Keep the solar panel and its lead wire unwrapped so it can reach sunlight once the chandelier is hung.
7. Use the remaining zip ties or small dots of hot glue to secure any loose sections of wire so the lights stay in place outdoors. Turn the frame as you work and fill sparse spots until the glow looks balanced all around.
8. Hang the chandelier from an outdoor ceiling hook or sturdy pergola beam, then position the solar panel in a sunny spot using its stake or clip. Test the lights at dusk and make any final adjustments to the twine so the fixture hangs straight.
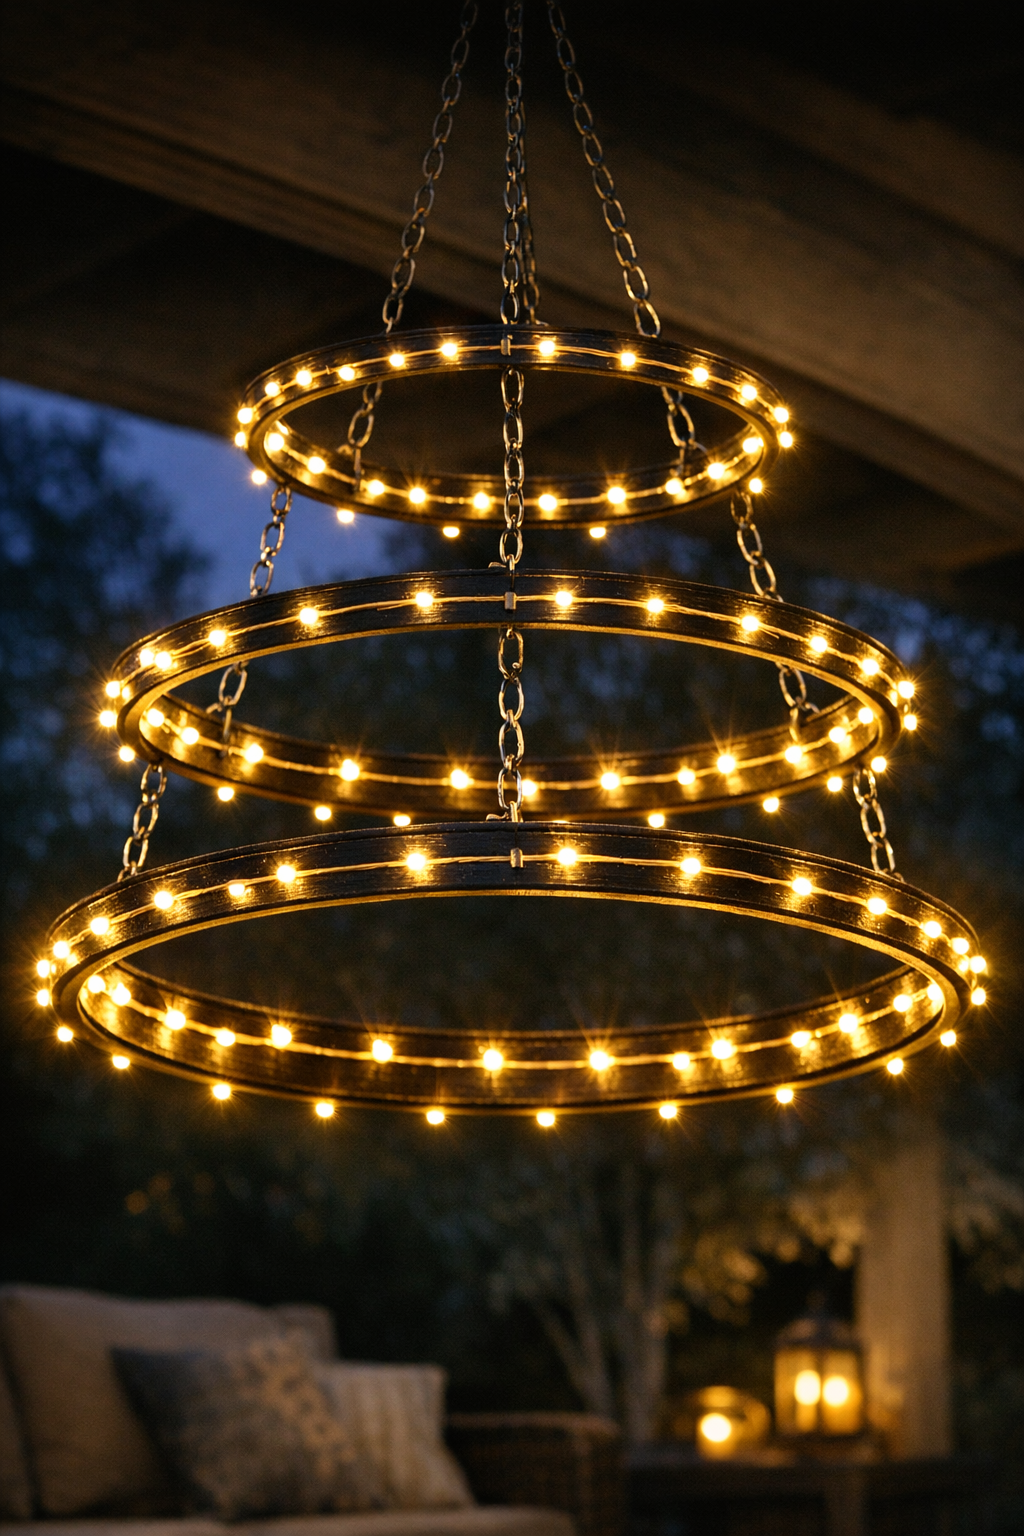
Variations & Tips
Color choice: I like matte white for a clean, airy look, but matte black is gorgeous on a modern patio and natural wood works well for a softer, rustic style.
Weather tip: If your chandelier will hang in a very exposed area, add a clear outdoor sealer over the painted hoops after the paint dries to help the finish last longer.
Light density: For a fuller sparkle, use 200 LED solar lights instead of 100, especially if you are using larger hoops or want a more dramatic evening glow.
Hanging help: Before you weave in the lights, test-hang the bare frame once. It is much easier to level the chandelier before the light strand is attached.
Style swap: You can replace jute twine with thin chain, clear fishing line, or ribbon depending on the look you want and the amount of weight your frame needs to support.
Entertaining shortcut: If you are making this before a party like I usually am, paint the hoops the night before so assembly the next day is basically just tying, wrapping, and hanging.