
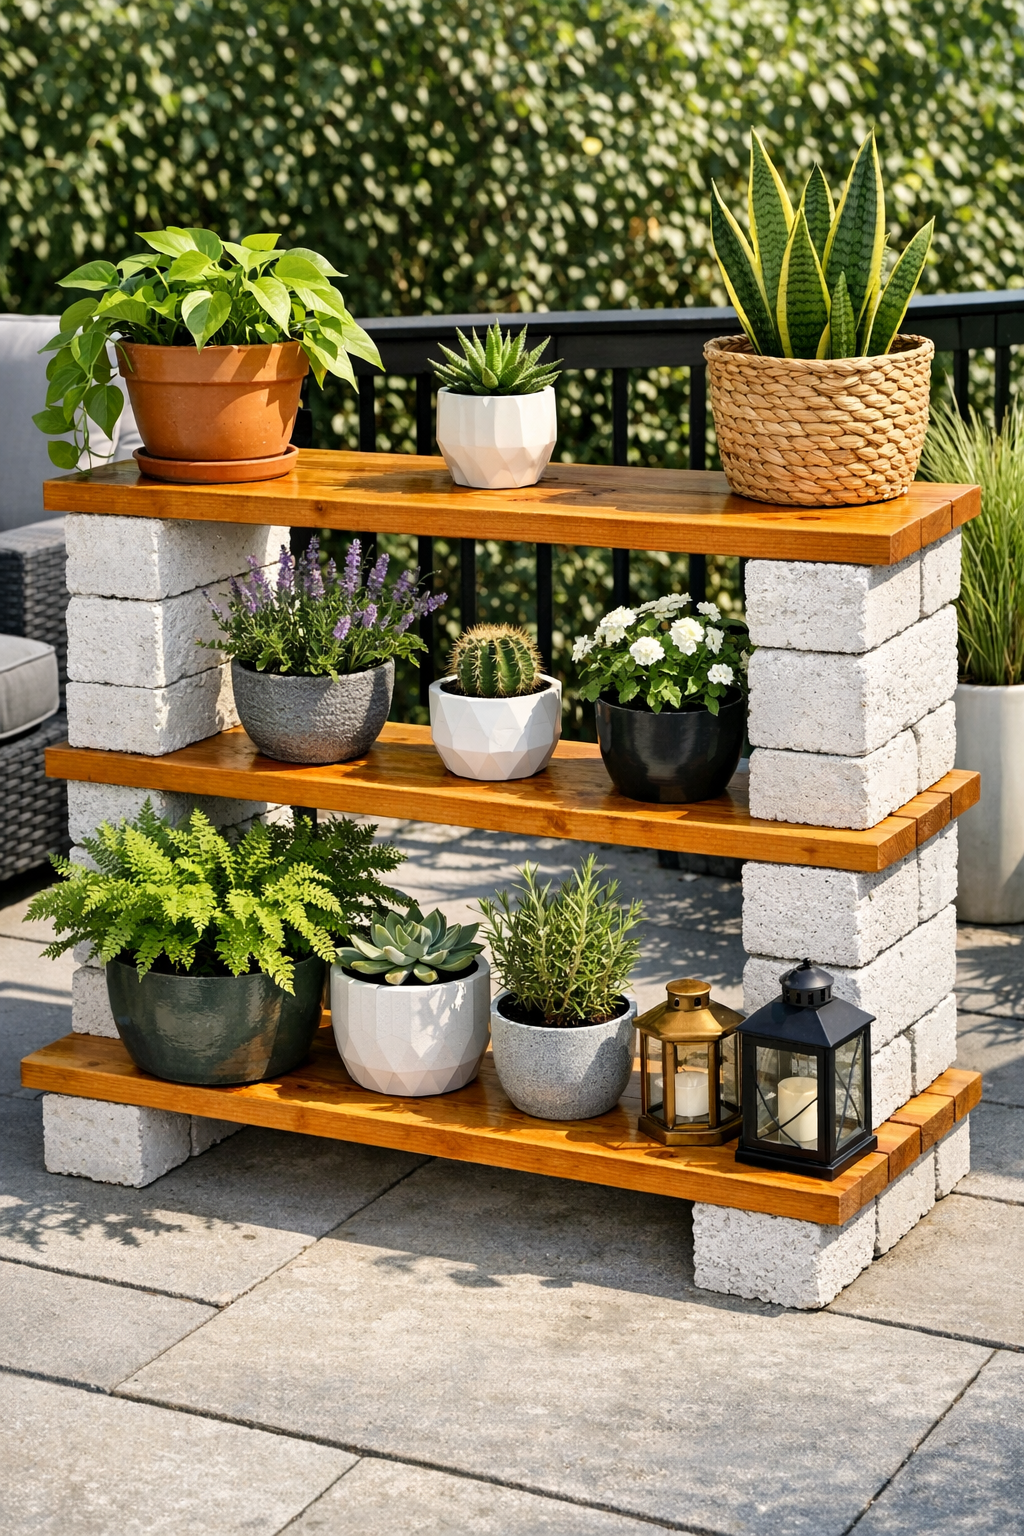
I love a project that gives me extra plant space without turning into a full weekend construction job, and this patio plant shelf is exactly that. By stacking concrete blocks and sliding stained wood planks through the openings, you get a sturdy, modern-looking shelf that feels custom but is surprisingly simple to build.
This is a great DIY for anyone who wants a prettier patio, balcony, or backyard corner without a lot of complicated tools. As someone who is usually squeezing projects in between work and figuring out dinner, I really appreciate builds like this one that are affordable, practical, and still make the whole space feel pulled together.
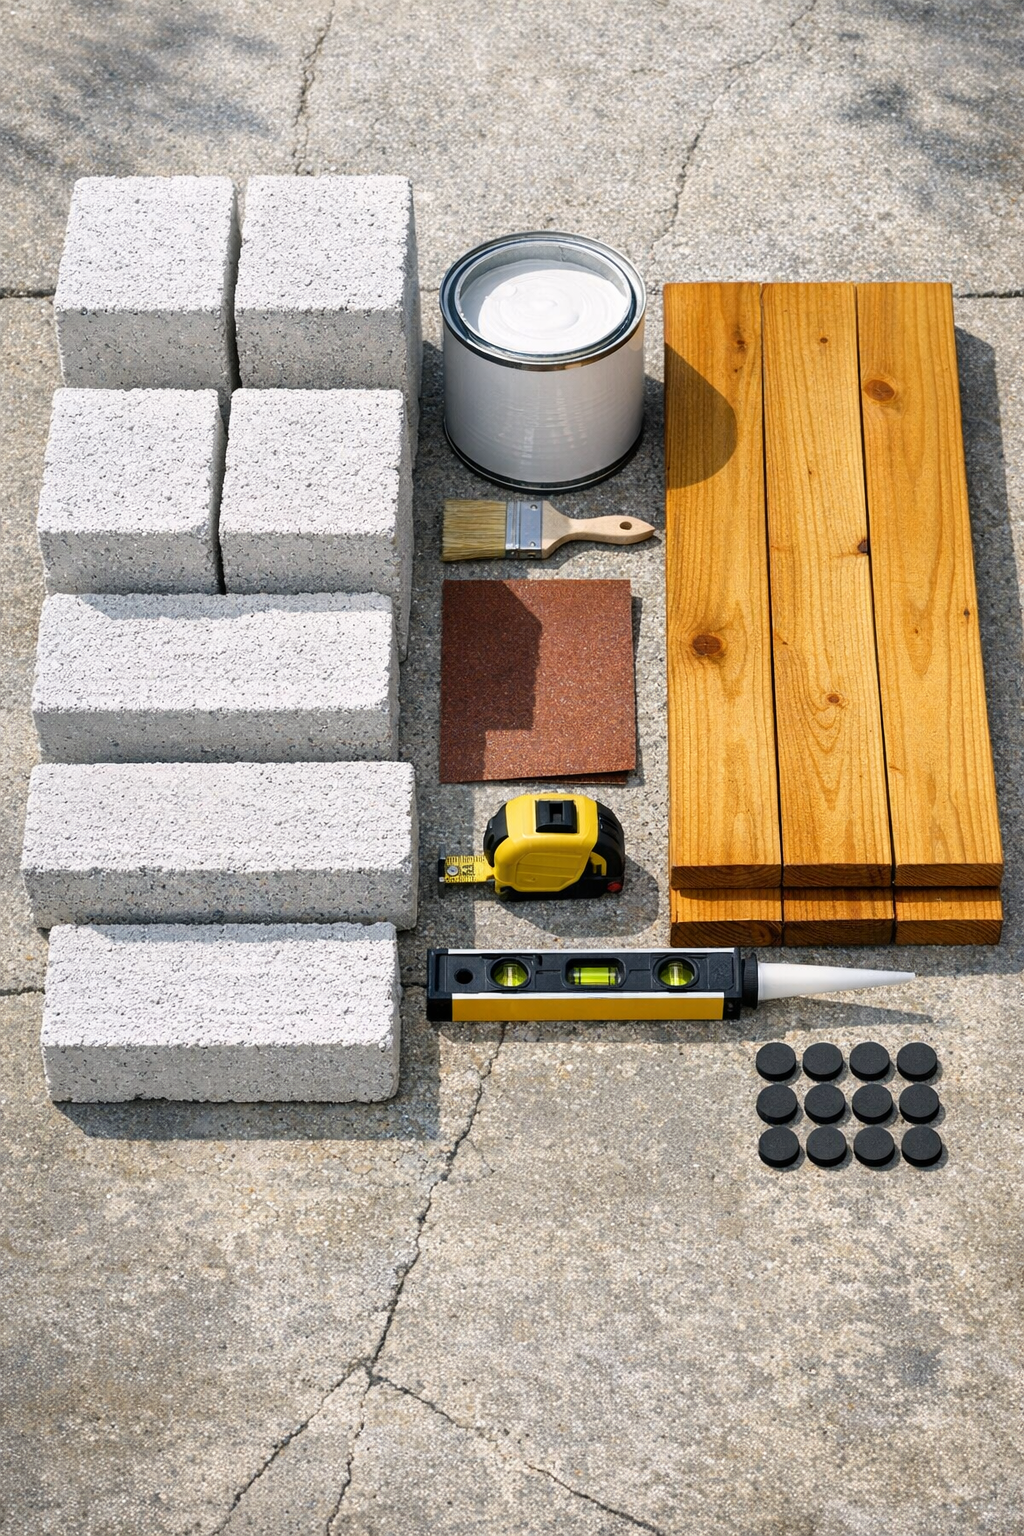
Materials
Instructions
1. Choose a flat patio spot that gives your plants enough light and leaves room to walk around the shelf comfortably. Sweep the area well so the blocks sit level and stable.
2. Sand all three pine boards with 120-grit sandpaper, then smooth them with 220-grit for a cleaner finish. Wipe away all dust with a dry rag so the stain goes on evenly.
3. Apply the honey stain to the boards with a rag or brush, working with the grain from end to end. Let the stain sit for 5 to 10 minutes, then wipe off the excess and allow the boards to dry fully according to the product directions.
4. Brush or roll a thin coat of clear exterior sealer onto the stained boards and let them dry completely. This extra step is worth it on a patio, especially if your shelves will catch rain or strong afternoon sun.
5. Mix the masonry paint with water at about a 2-to-1 ratio to create a soft whitewash. Apply it lightly to the concrete blocks with a brush or roller so some of the gray still shows through, then let the blocks dry.
6. Place rubber pads on the bottom of the first two blocks and set them on the patio with the openings facing sideways. Space them 32 inches apart so the first plank can rest securely through both blocks with a little overhang on each end.
7. Slide one stained plank through the top openings of the bottom pair of blocks and center it carefully. Check it with a level and adjust the block spacing until the board sits flat.
8. Add a small bead of landscape adhesive between the first and second layer of blocks, then stack two more blocks directly on top of the bottom pair. Keep the openings aligned sideways so the second shelf board can slide through the upper openings.
9. Slide the second plank through the second tier and center it the same way. Use the level again before the adhesive sets so the shelf stays neat and sturdy.
10. Repeat the adhesive and stacking process with the final two blocks to create the top supports, then place the third plank across the top surface of the blocks rather than through an opening. Center it so the overhang looks even on both ends.
11. Let the adhesive cure based on the package directions before adding weight. Once it is set, style the shelf with potted herbs, trailing plants, or a few lanterns for a finished patio corner.
Variations & Tips
For a longer shelf: Use 6-foot boards instead of 4-foot boards, but increase the distance between supports carefully and avoid overloading the center with very heavy pots.
For more color: Try charcoal, sage, or taupe masonry paint on the blocks instead of a whitewash. I like keeping the wood warm and natural so the whole piece still feels soft and inviting.
For renters: Skip the adhesive if you want the shelf to be fully reversible and easy to move later. Just make sure the blocks are stacked on a level surface and keep heavier plants on the lowest shelf.
For better weather resistance: Reapply exterior sealer to the wood every year or so if the shelf sits in direct sun and rain. It is one of those small maintenance tasks that saves you from rebuilding later.
Plant styling tip: Put trailing plants on the top shelf, medium pots in the middle, and the heaviest planters on the bottom. It looks balanced and makes watering a lot less awkward.
Safety tip: Test the shelf for wobble before decorating it fully, and never let kids climb or sit on it. Concrete blocks are sturdy, but this piece is meant for display and storage, not seating.