
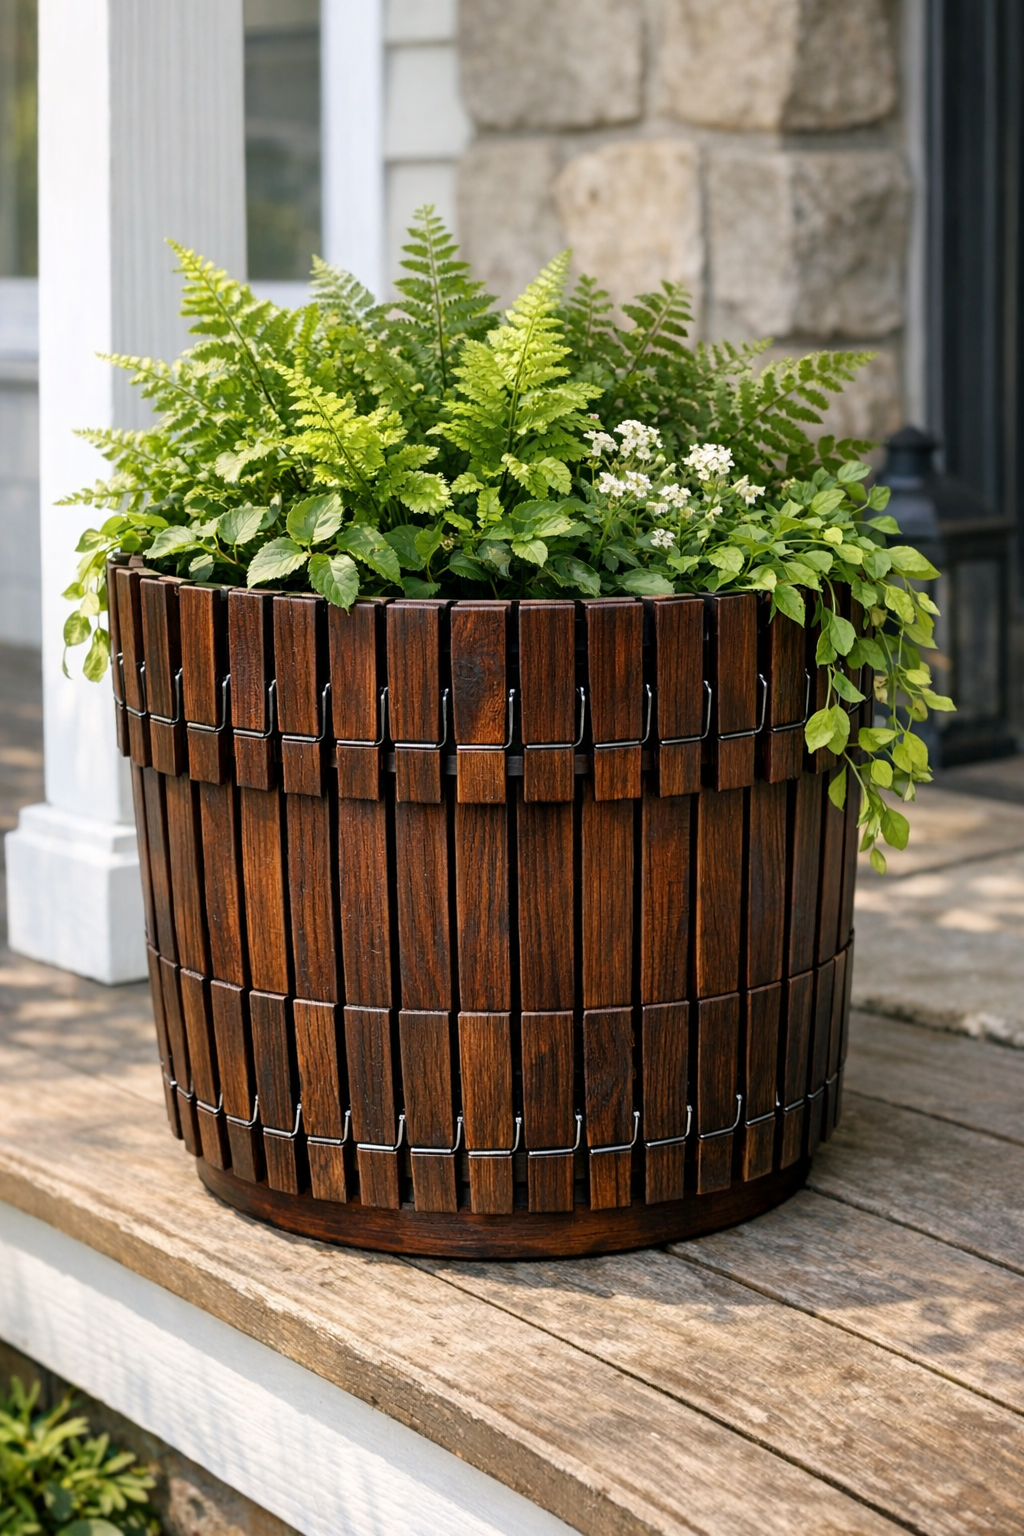
This rustic faux wood porch planter is one of those wonderfully simple projects that looks a lot more expensive than it is. By spray-painting inexpensive plastic spring clothespins a deep mahogany brown and clipping them all the way around a plain white plastic paint bucket, you get the look of a slatted wood planter without having to cut, stain, or build a thing.
I love projects like this because they fit real life. I can knock out the painting on a weekend afternoon, let everything dry while I catch up on chores, and then assemble it in just a few minutes. If you want an easy porch update, a renter-friendly planter cover, or a clever way to dress up a utilitarian bucket, this one is absolutely worth trying.
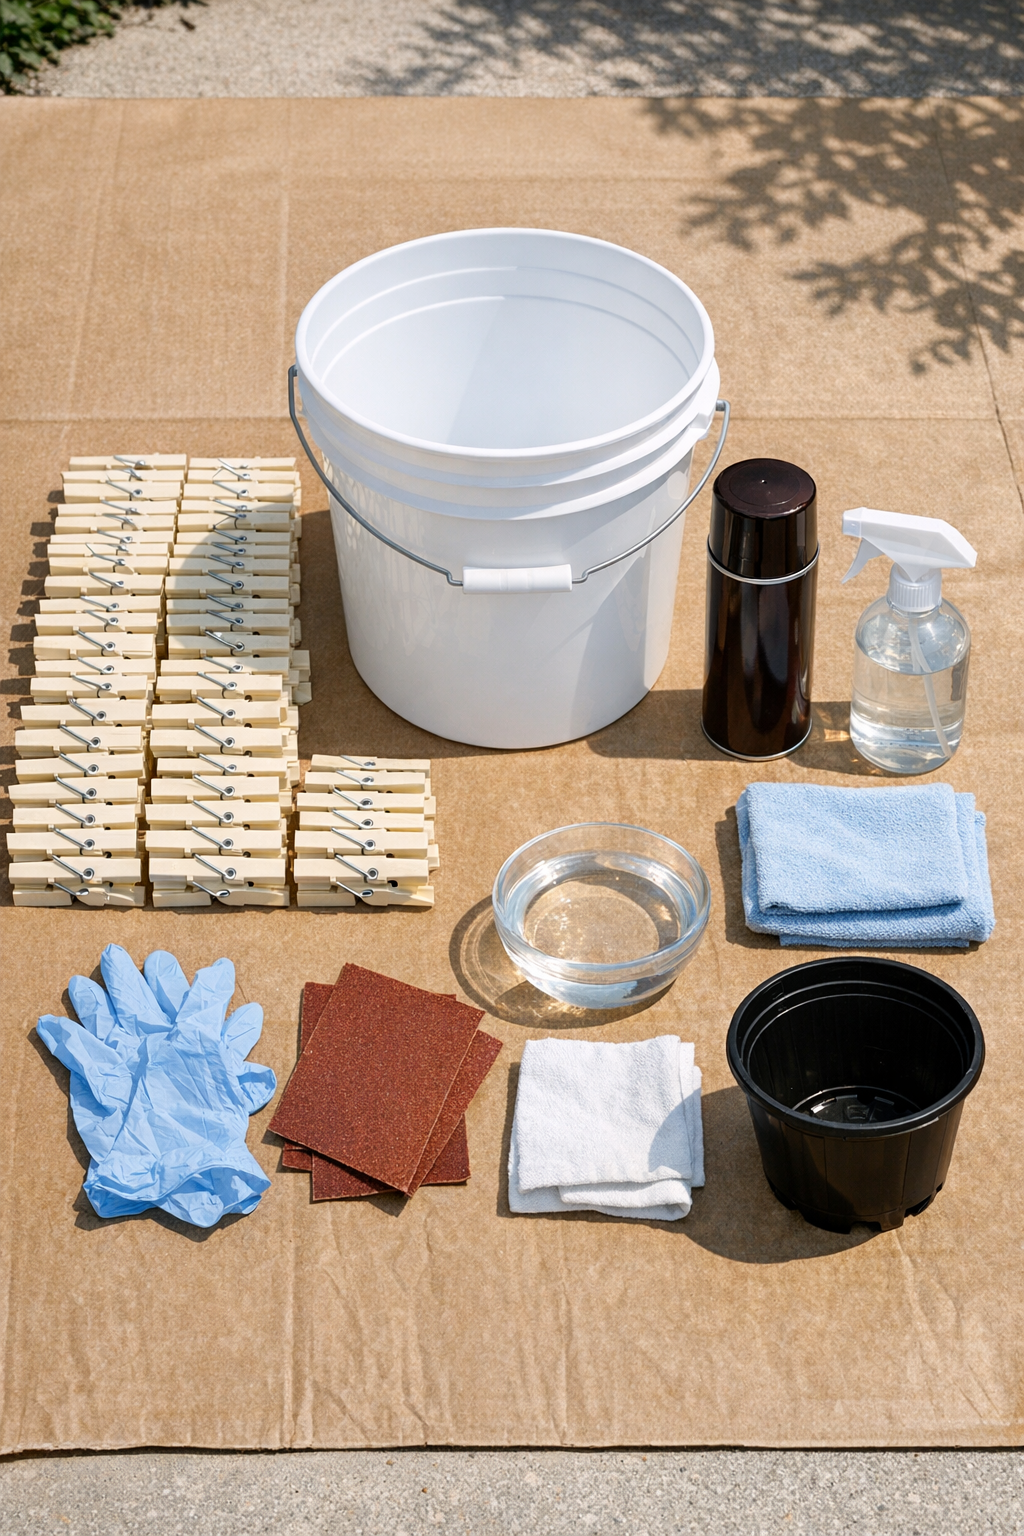
Materials
Instructions
1. Wash the plastic clothespins and the outside of the paint bucket with warm soapy water, then dry them fully so the paint adheres better.
2. Lightly scuff the outside surfaces of the clothespins with 220-grit sandpaper, then wipe them down with rubbing alcohol to remove dust and oils.
3. Spread the clothespins in a single layer on your drop cloth or cardboard, leaving a little space between them so the spray paint can reach the edges.
4. Spray the clothespins with light, even coats of dark mahogany brown paint, holding the can about 8 to 10 inches away to avoid drips.
5. Let the first side dry for about 20 to 30 minutes, flip the clothespins, and spray the other side and any missed edges with another light coat.
6. Allow the painted clothespins to cure fully according to the spray paint directions, usually at least 1 to 2 hours before handling and longer if the weather is humid.
7. Wipe the outside of the white bucket clean, then decide whether you want the clothespins clipped straight up and down or packed slightly tighter for a fuller wood-slat look.
8. Start clipping the painted clothespins around the top rim of the bucket, one at a time, making sure each one sits vertically and covers as much white plastic as possible.
9. Continue all the way around the bucket, adjusting spacing as needed until the sides are completely covered and the bucket looks like a rustic wood planter.
10. Set the nursery pot or liner inside the bucket, add potting soil if needed, and place your plants inside so the decorative clothespin exterior stays neat and easy to remove later.
Variations & Tips
Use a liner pot: I really recommend placing a nursery pot inside instead of planting directly into the bucket. It makes watering, seasonal plant swaps, and cleanup so much easier.
Pick the right paint finish: Satin or matte dark brown usually looks more like real stained wood than a super glossy finish. If you want extra depth, add a very light mist of black spray paint over a few areas after the brown dries.
Check your clothespin count first: Bucket sizes and clothespin widths can vary a little, so do a quick test fit before painting all 150. On wider buckets, you may use nearly all of them; on narrower ones, you may have a few left over.
Add drainage carefully: If your inner pot does not have drainage, use it only with very controlled watering or switch to a liner that does. Standing water inside the bucket can make porch planters heavy and messy fast.
Try different color looks: Dark mahogany gives a classic rustic finish, but weathered gray, black walnut, or even matte black can make this same project feel more modern. I like to match the planter color to the front door or outdoor lanterns for a pulled-together porch.
Bring it in during harsh weather: Since the clothespins are clipped on rather than permanently attached, they can shift in strong wind or brittle cold. If you live somewhere with intense Midwest winters like I do, moving it to a sheltered spot will help it last longer.